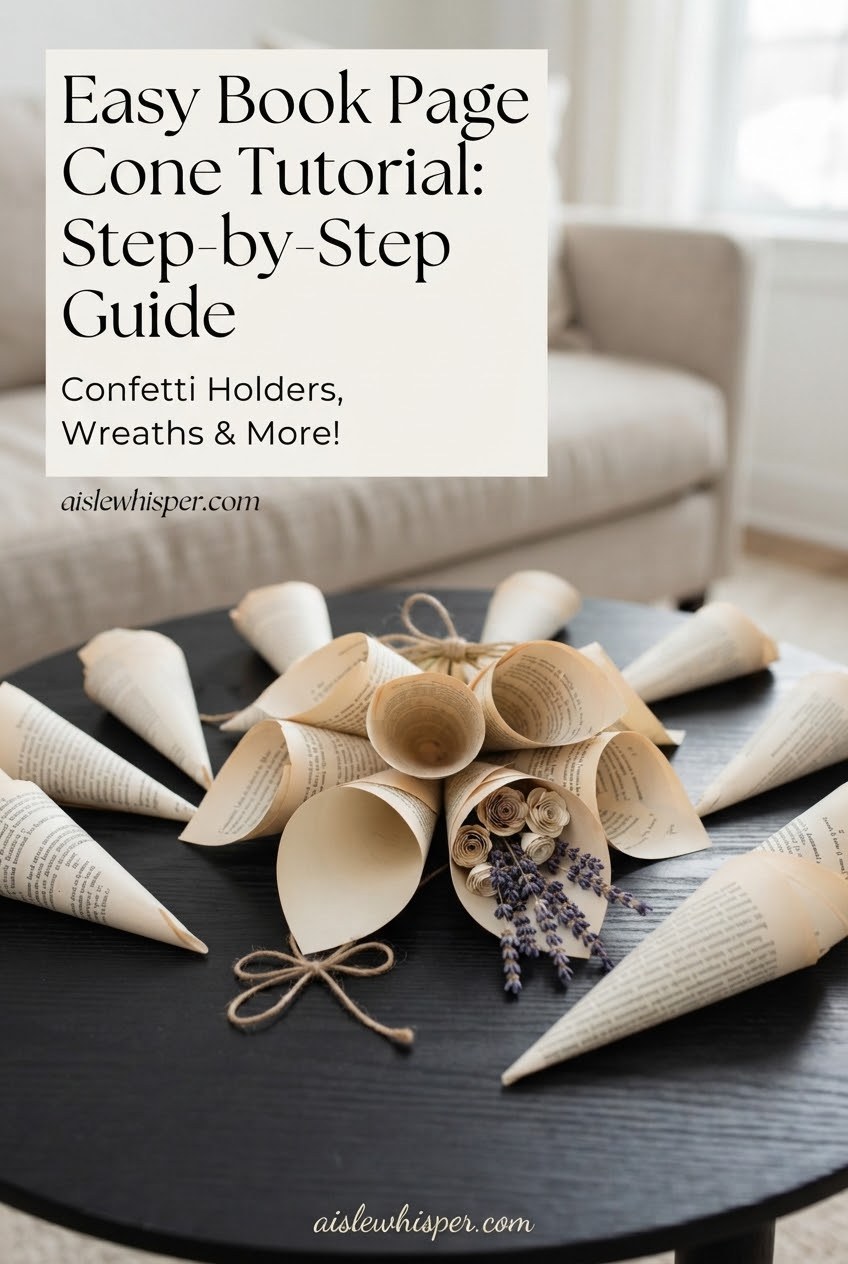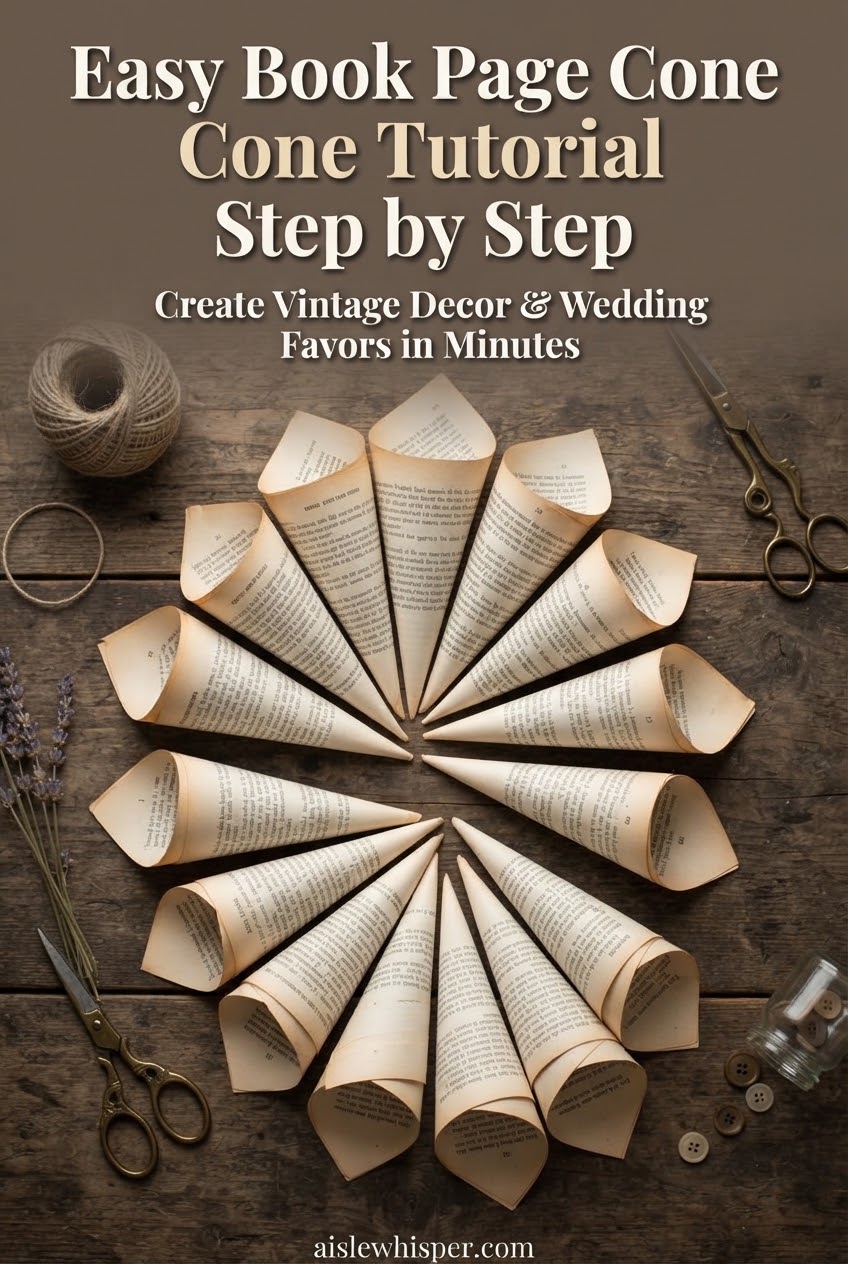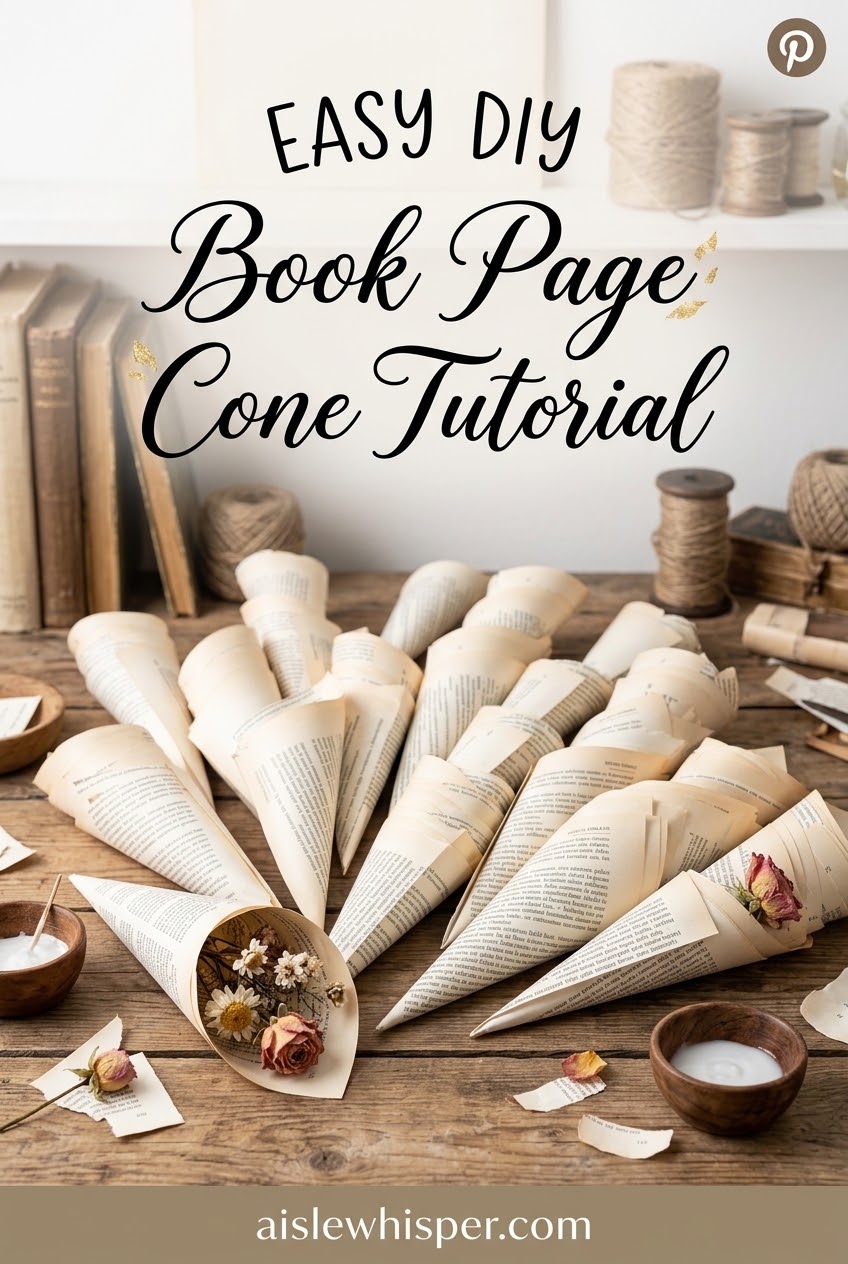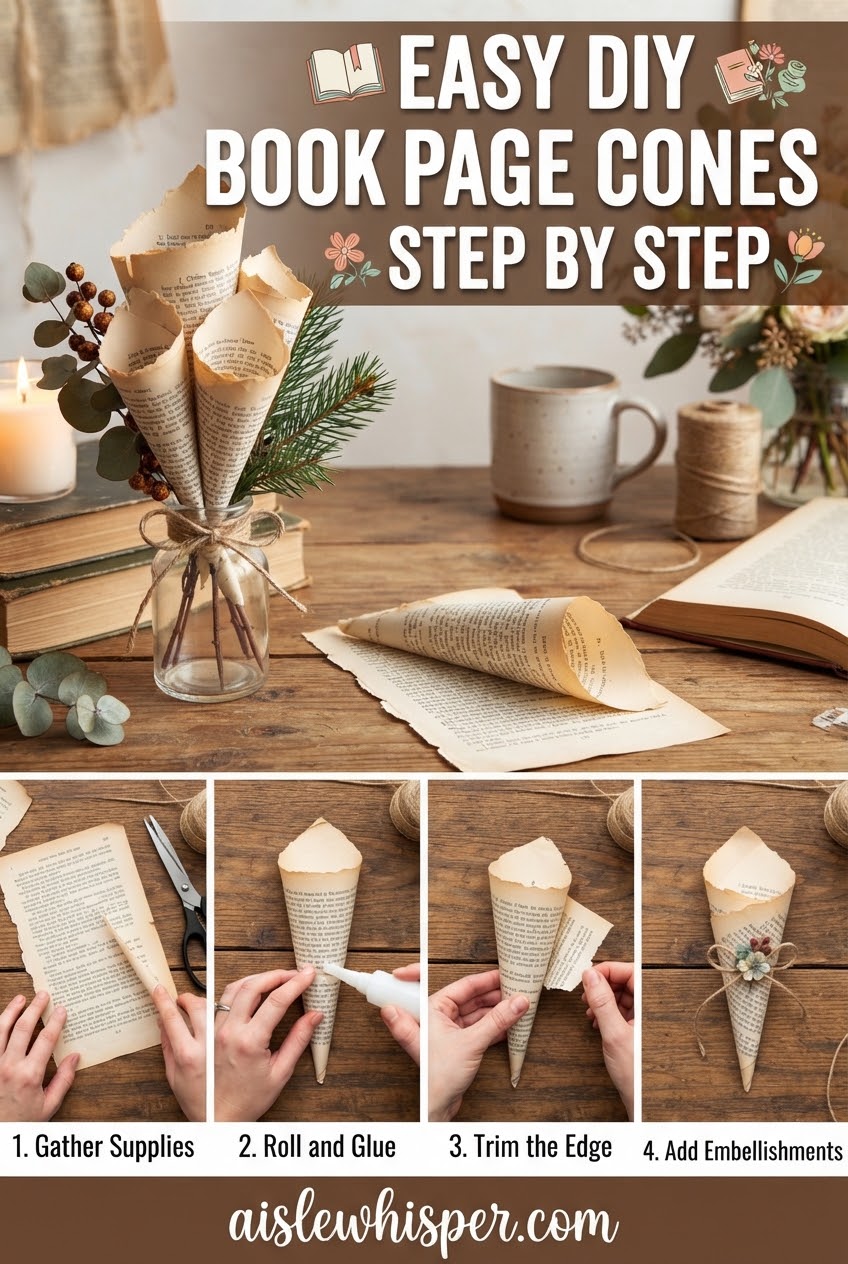
There is something wonderfully quiet about turning an old book page into something new. I have always liked crafts that do not demand a shopping cart full of supplies, and this book page cone is exactly that kind of project. A few careful folds, a little glue, and you have a piece that feels collected rather than manufactured.
I have watched couples spend hours adding tiny handmade details to ceremonies and receptions, and the pieces guests remember are often the ones with a story behind them. This cone works beautifully as a wedding favor holder, a flower cone, a wall accent, or a small seasonal decoration.
What I will walk you through
- Choosing and preparing the right book pages for the project
- Folding the page into a stable cone shape
- Securing the seam so it holds together
- Adding decorations without losing the vintage look
- Displaying the finished cone in a practical way
Materials Needed for a Book Page Cone Tutorial
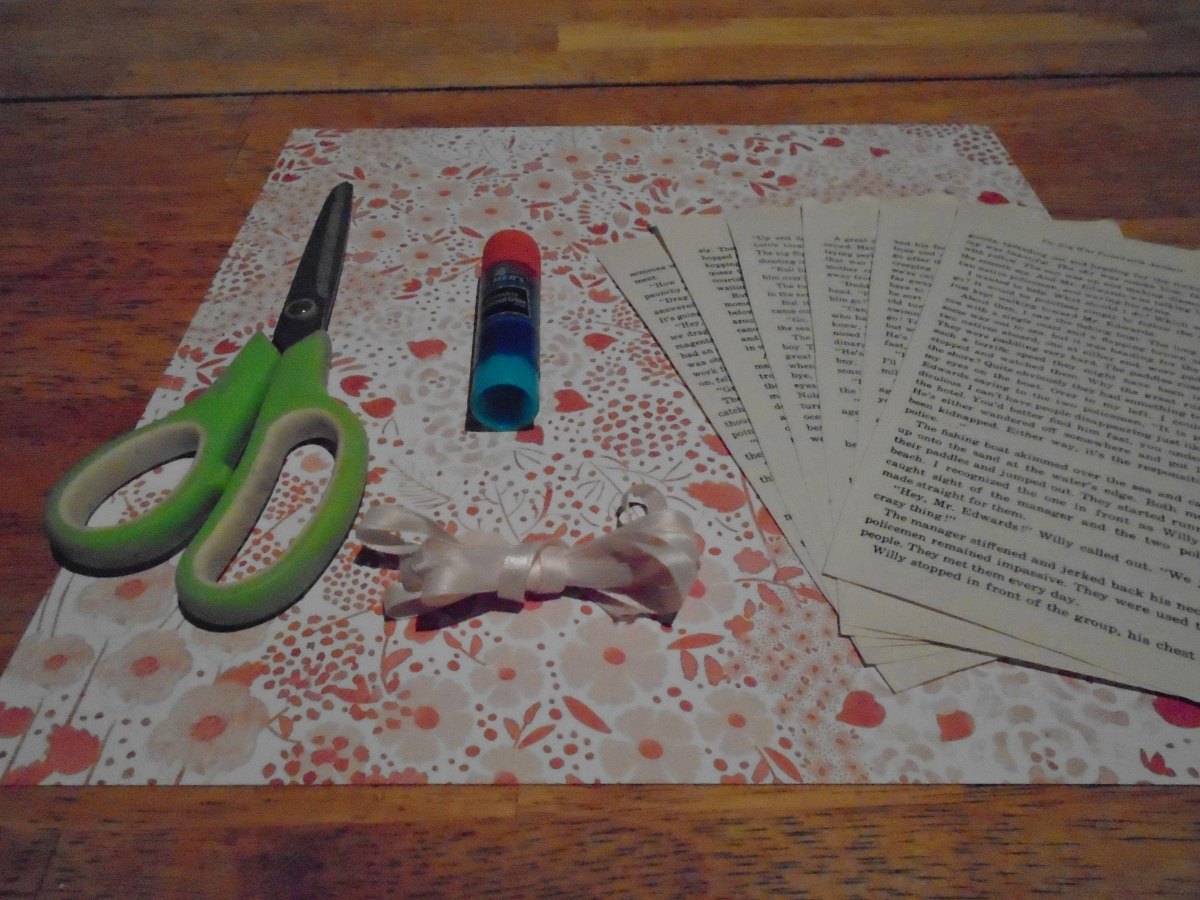
Before I start folding, I gather everything on the table. This is one of those crafts where preparation saves frustration later. I prefer older book pages with a little texture and character, but any paper that folds cleanly will work.
- Old book pages or decorative paper
- Scissors for trimming edges if needed
- Craft glue or a glue stick
- Ribbon, lace, flowers, or other decorations
- A ruler and pencil for optional measuring
My paper tip
I choose pages that are slightly flexible rather than brittle. Very delicate paper can tear right where the folds need the most strength.
Folding and Shaping the Book Page Cone Base
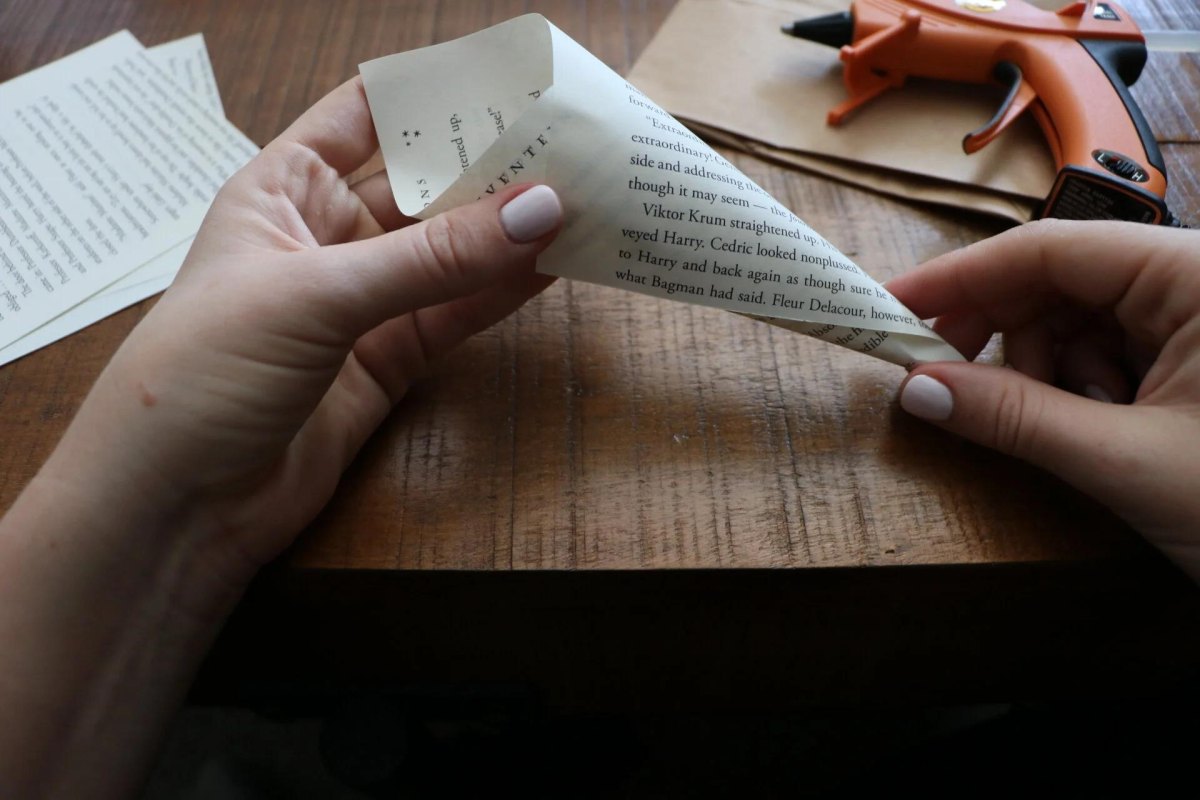
The folding stage is where the flat page finally starts looking like a cone. I take my time here because a neat shape makes every later step easier. From my ceremony work, I know small details look intentional when the foundation is solid.
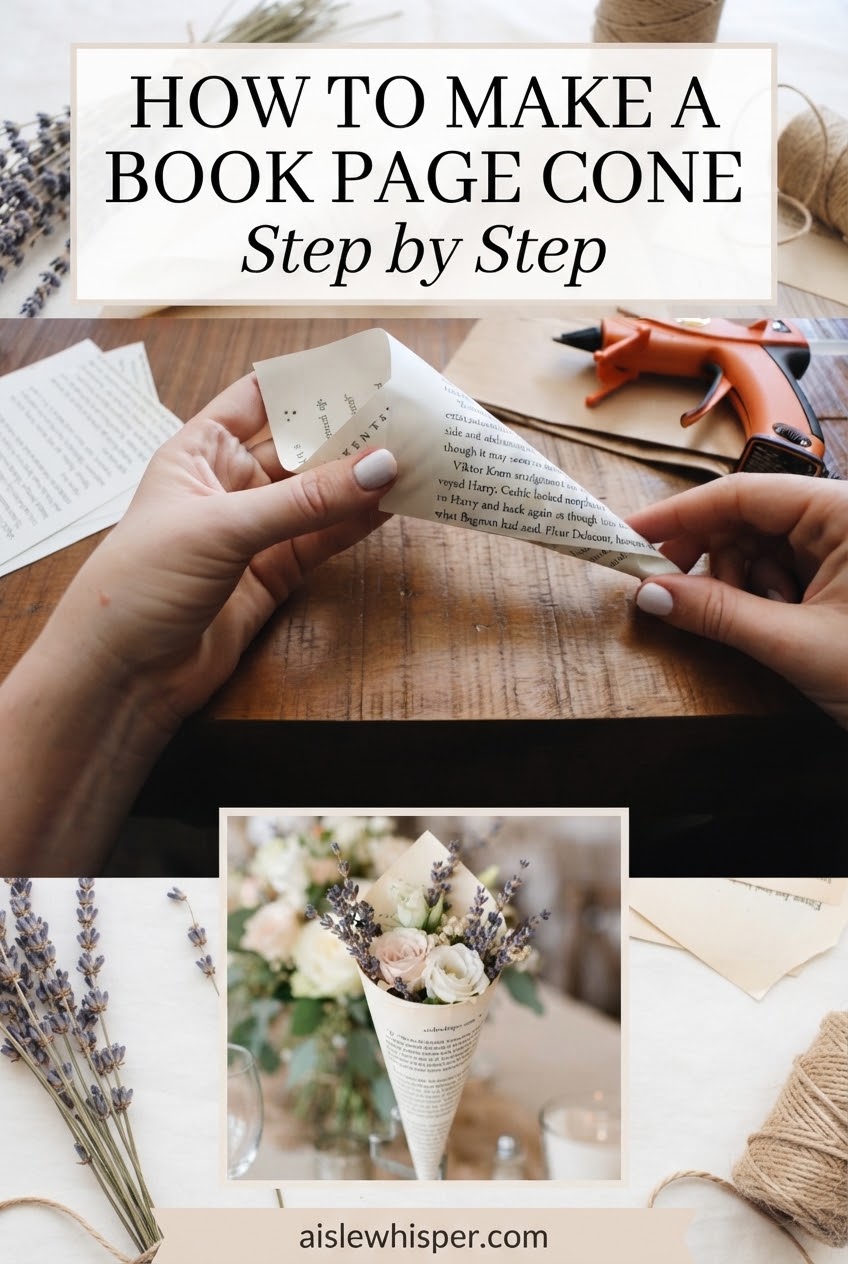
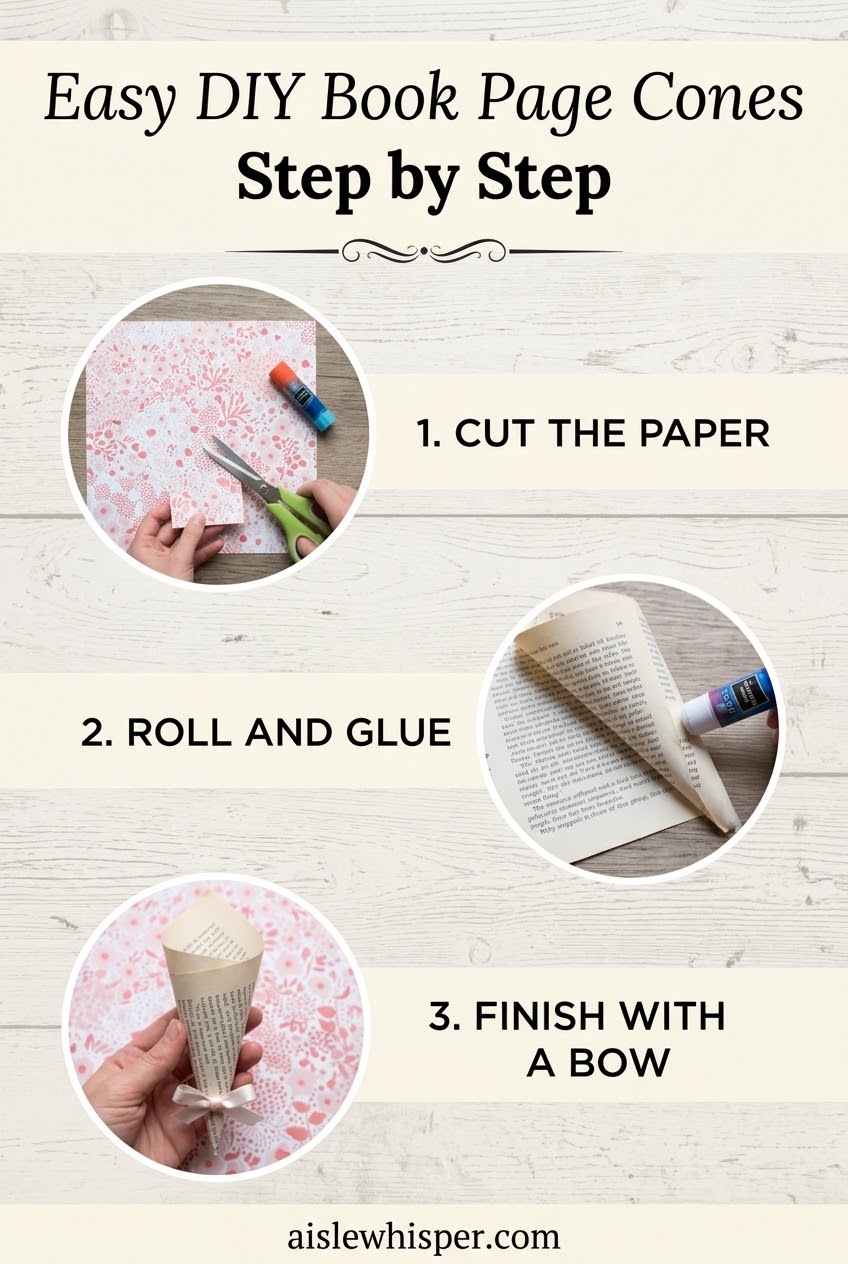
- Position. Lay the page flat and angle it slightly so you can create a tapered point.
- Roll. Bring one corner across the page and continue shaping the paper into a cone.
- Adjust. Tighten or loosen the roll until the opening and point look balanced.
- Hold. Keep the shape in place while preparing the glue.
A mistake I see often
People rush the first fold and end up fighting the paper later. A few extra seconds shaping the cone saves a lot of reworking.
Securing the Cone Structure with Glue
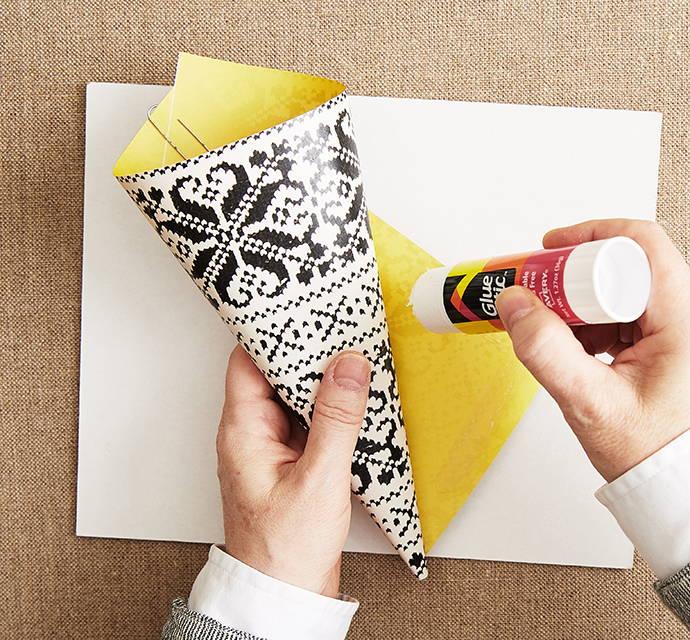
A cone made from a single page is surprisingly sturdy once the seam is secured properly. I think of glue as the quiet support piece, much like the person standing in the background making sure a ceremony runs smoothly.
I apply a thin line of glue along the overlapping edge, then press the seam together until it holds. Too much glue can wrinkle the page, so I use restraint.
- Glue choice: A clear-drying craft glue works well for most paper types.
- Pressure: Hold the seam firmly for a few moments before letting it rest.
- Drying: Give the cone time to fully set before decorating.
Protect the vintage look
A heavy layer of adhesive can make old pages look messy. The charm comes from the paper showing through.
Decorating the Book Page Cone Design
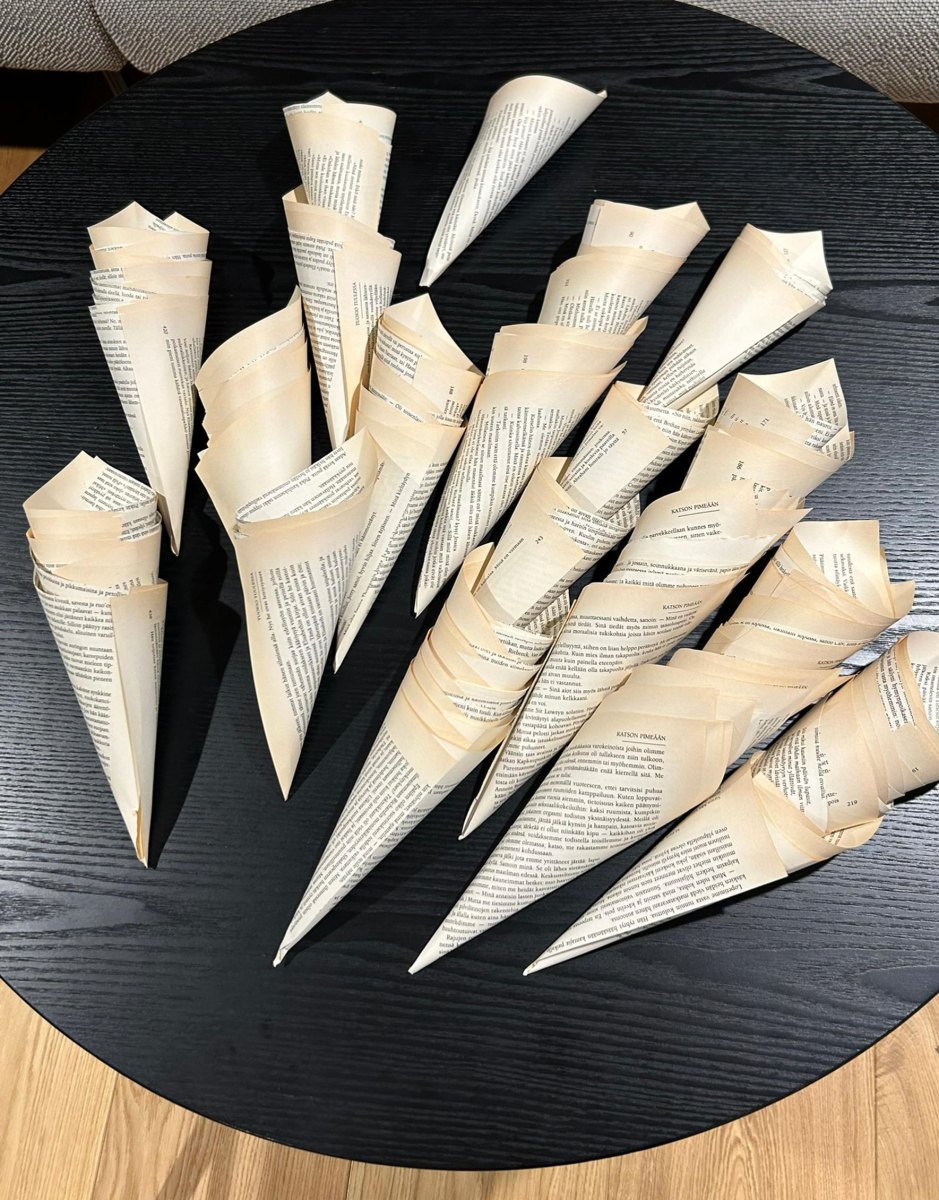
This is where I get to make the cone feel personal. I have always preferred decorations that add a little meaning instead of simply filling space. A small ribbon, dried flower, or simple tag can completely change the finished piece.
Decorations that work well
- Lace trim for a romantic look
- Dried flowers for a natural style
- Small labels for favors or gifts
Things I avoid
- Heavy decorations that bend the paper
- Too many competing colors
- Covering the page completely
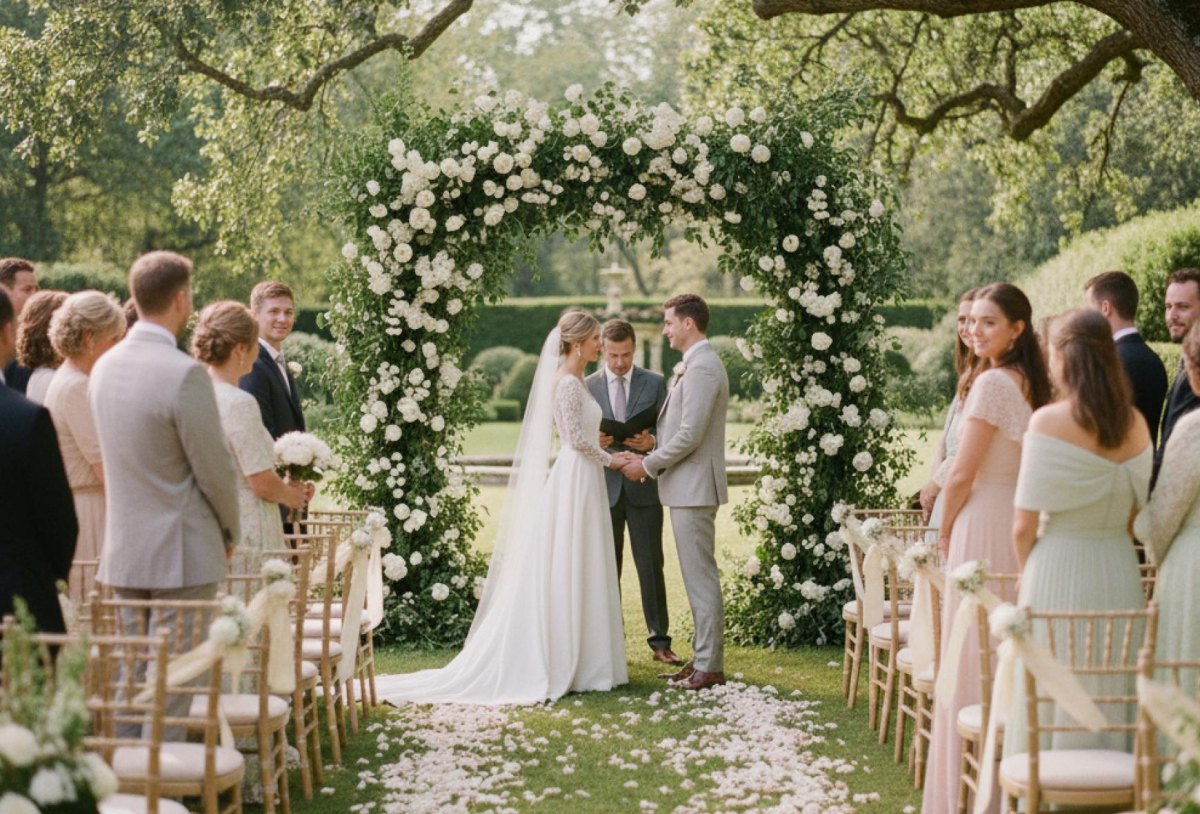
For weddings especially, I like details that guests can pick up and understand immediately. A handmade cone does not need to announce itself; it just needs to feel thoughtful.
Finishing Touches and Display Ideas for the Cone
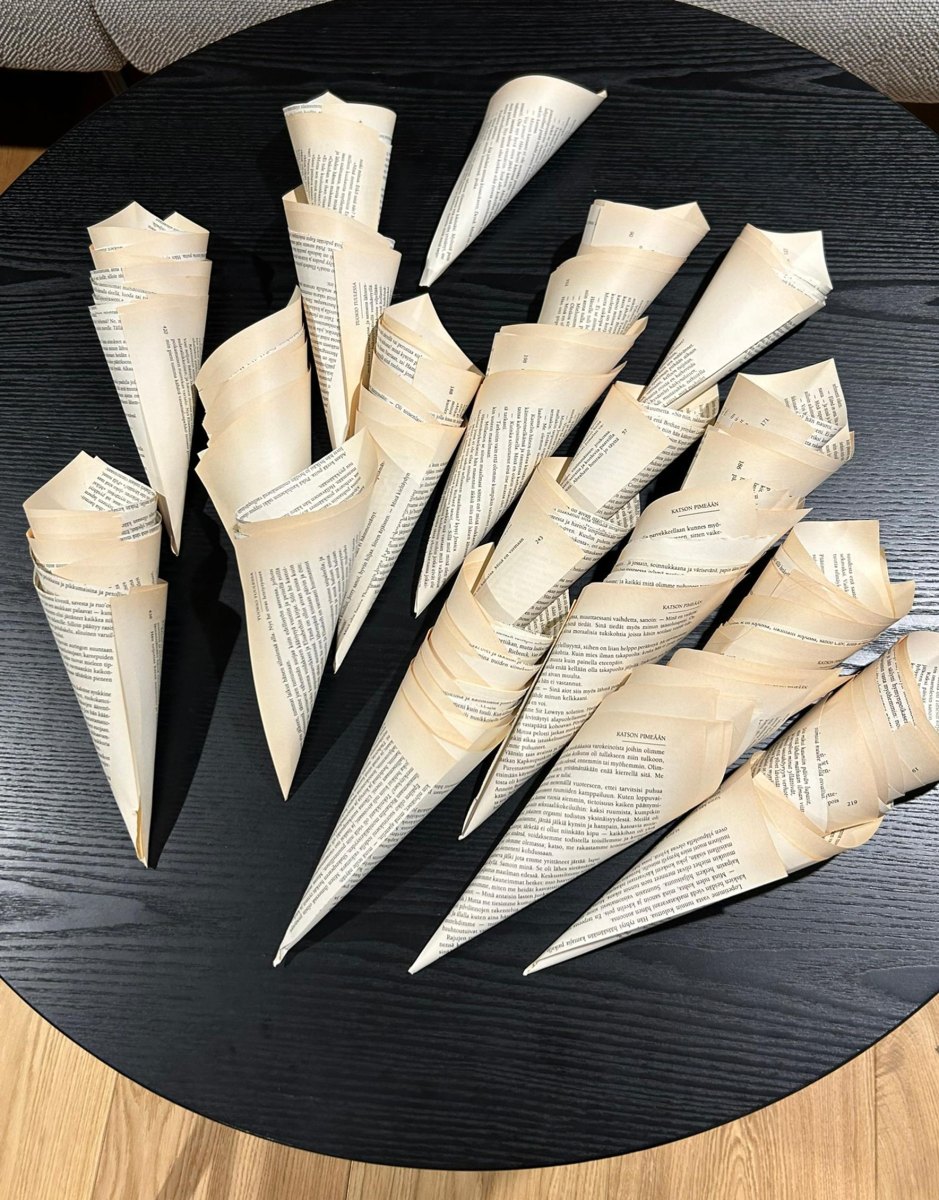
The final step is deciding where this little paper piece belongs. I have seen handmade details used in many ways, and the best placement is usually the one that gives the object a purpose.
- Wedding use: Fill the cone with dried petals, small favors, or a handwritten note.
- Home decor: Hang several cones together for a textured wall display.
- Gift idea: Use it as a charming holder for small treats or flowers.
Can I use any type of book page?
Yes, but I recommend avoiding pages that crumble when folded. A slightly aged but flexible page gives the best result.
How long does this project take?
Most cones can be finished in under an hour, especially once the folding technique feels familiar.
Can I make these ahead for an event?
Absolutely. I would prepare them several days ahead and store them flat or upright in a dry place.
The nicest handmade pieces are rarely the most complicated ones. This cone is proof that a single page, folded with care, can carry a little history into a new moment.
More Pinterest Visuals