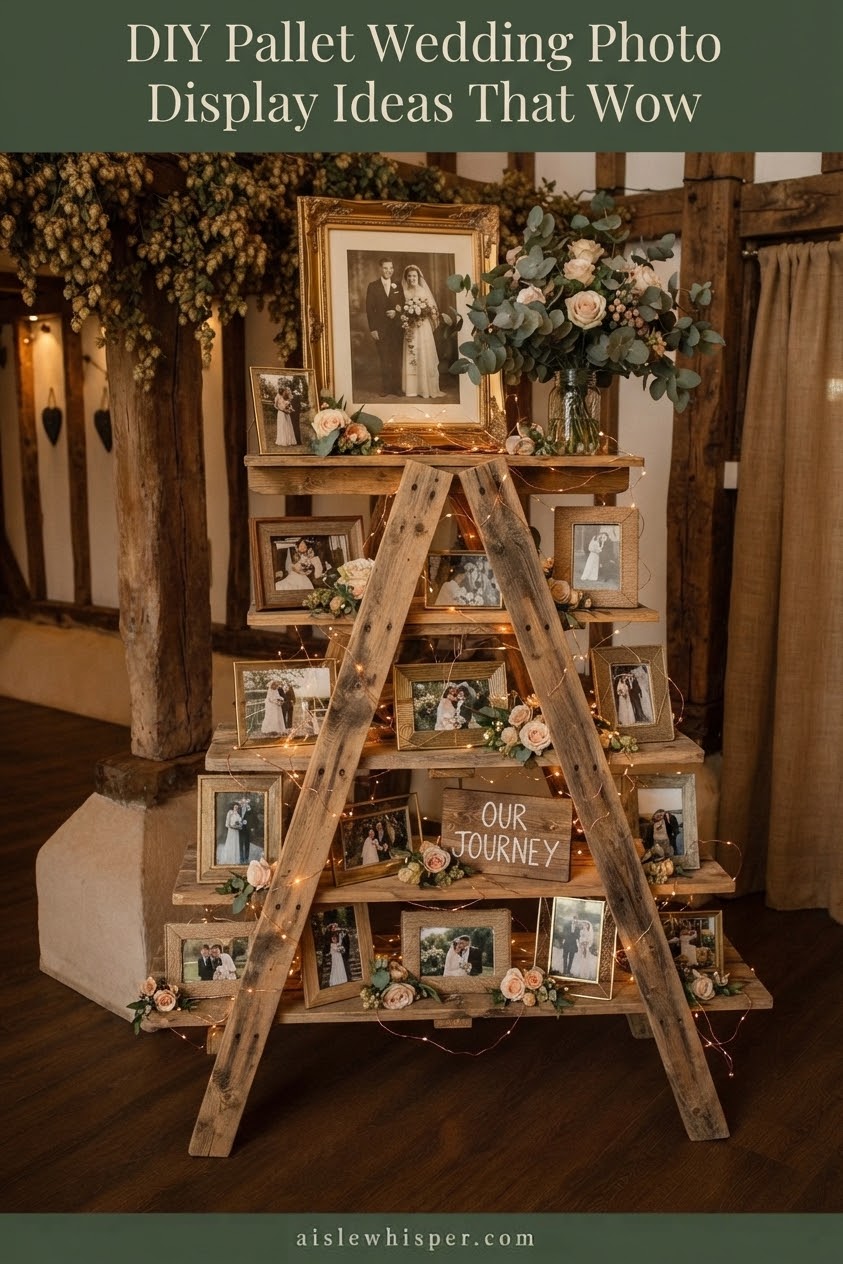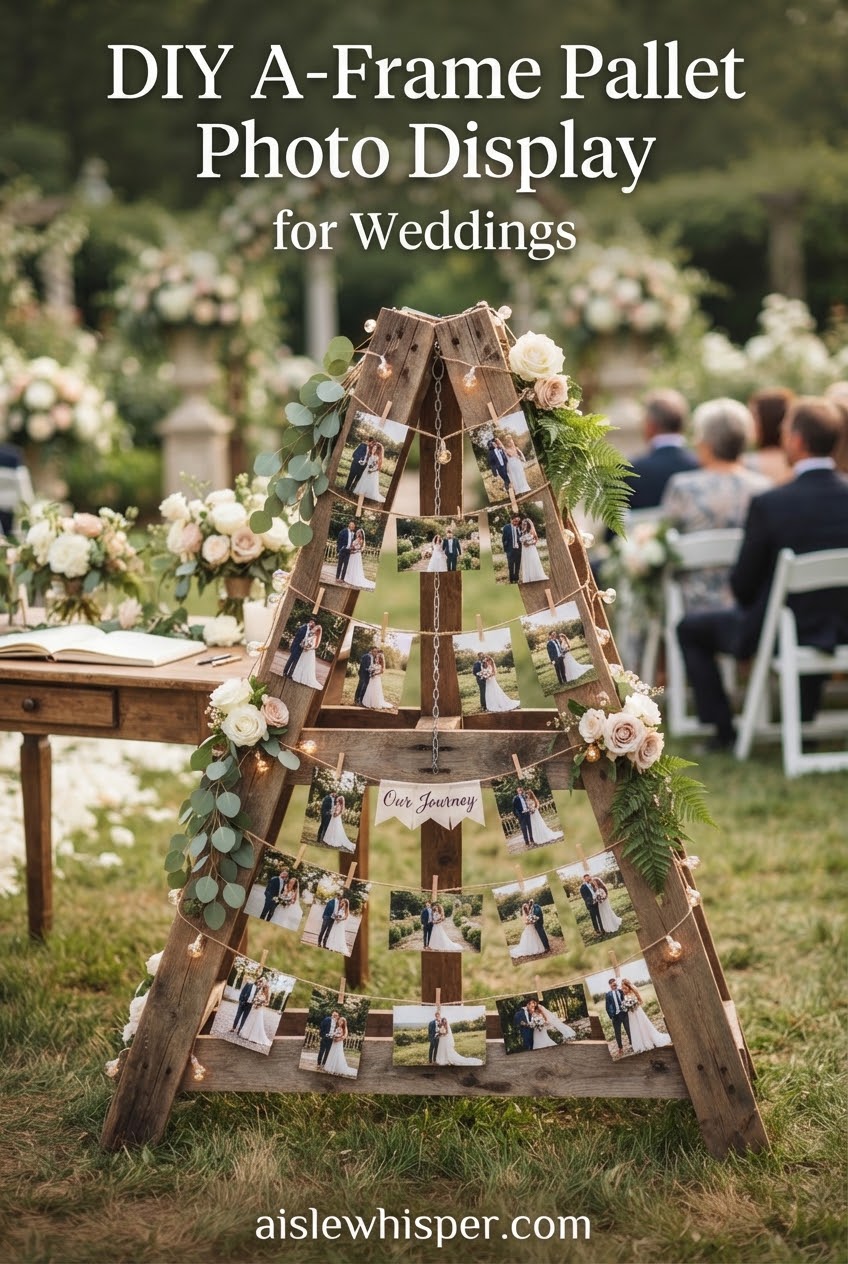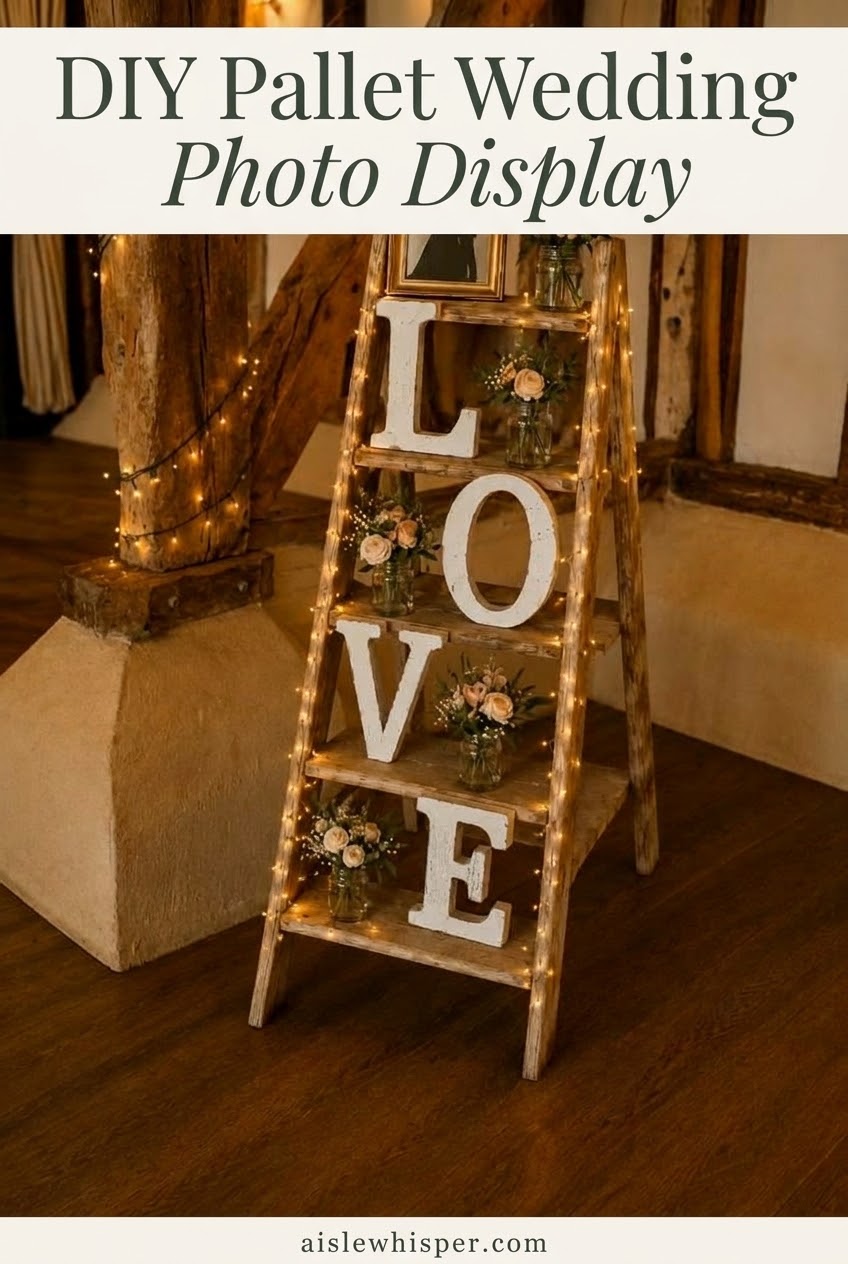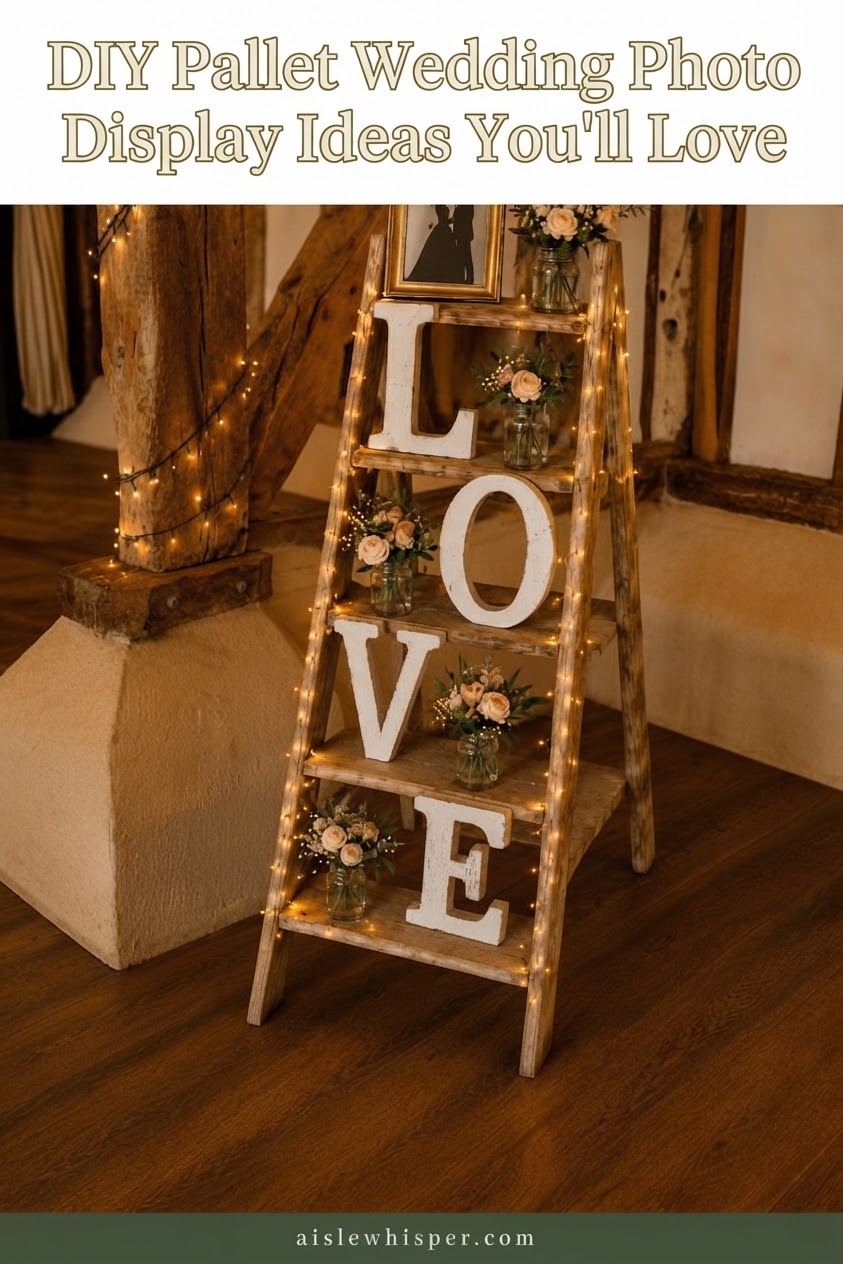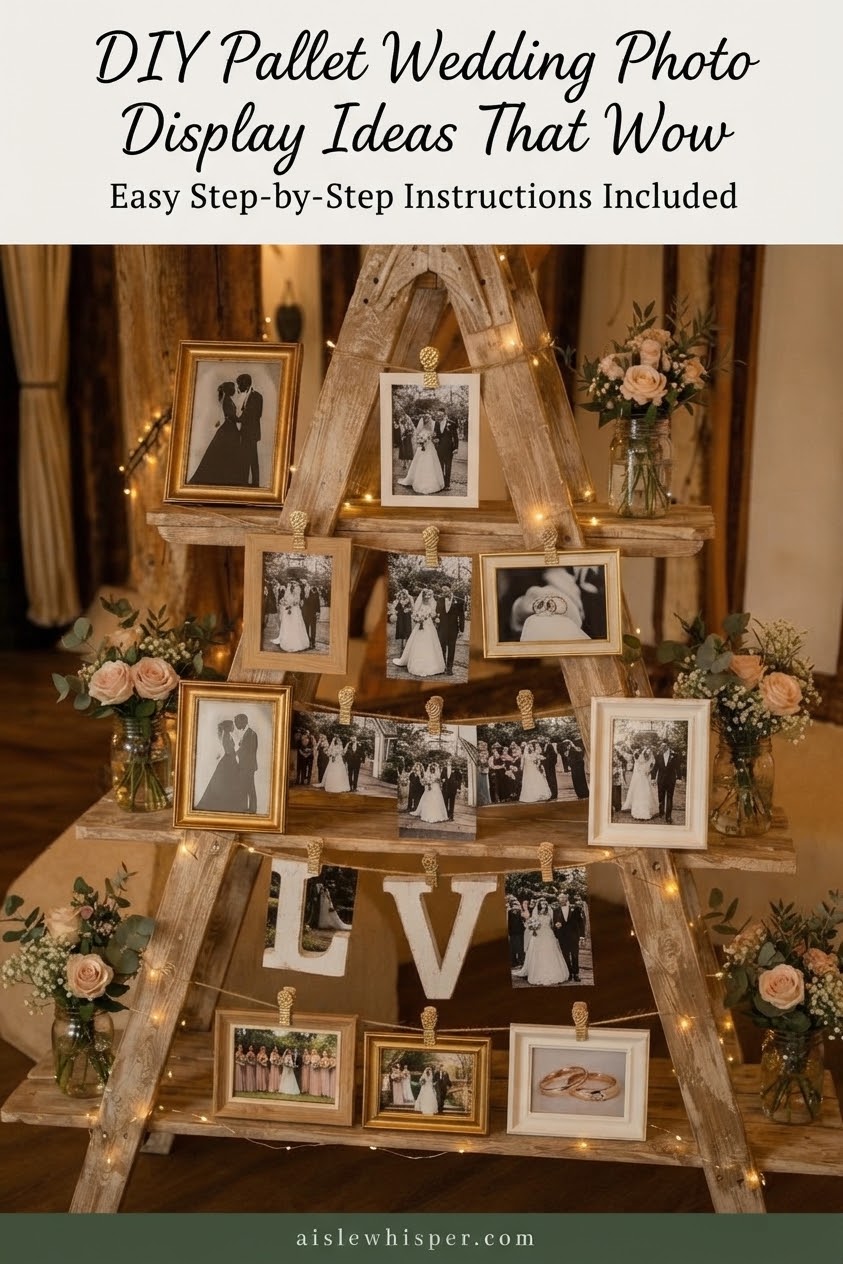
I've stood at enough altars to tell you nobody remembers the centerpieces, but they do remember the moment they walked past a glowing LOVE sign on their way to say their vows. This particular piece — an A-frame pallet ladder loaded with mason jars, flowers, and a framed engagement photo — is one Gil and I have watched half a dozen couples build in their own garages before a Mesa backyard wedding. It's cheap, it photographs like a dream in low light, and if you follow the actual joinery instead of eyeballing it, it won't wobble the first time someone brushes past it during the toasts.
Starting With the Right Pallet Boards and a Tape Measure
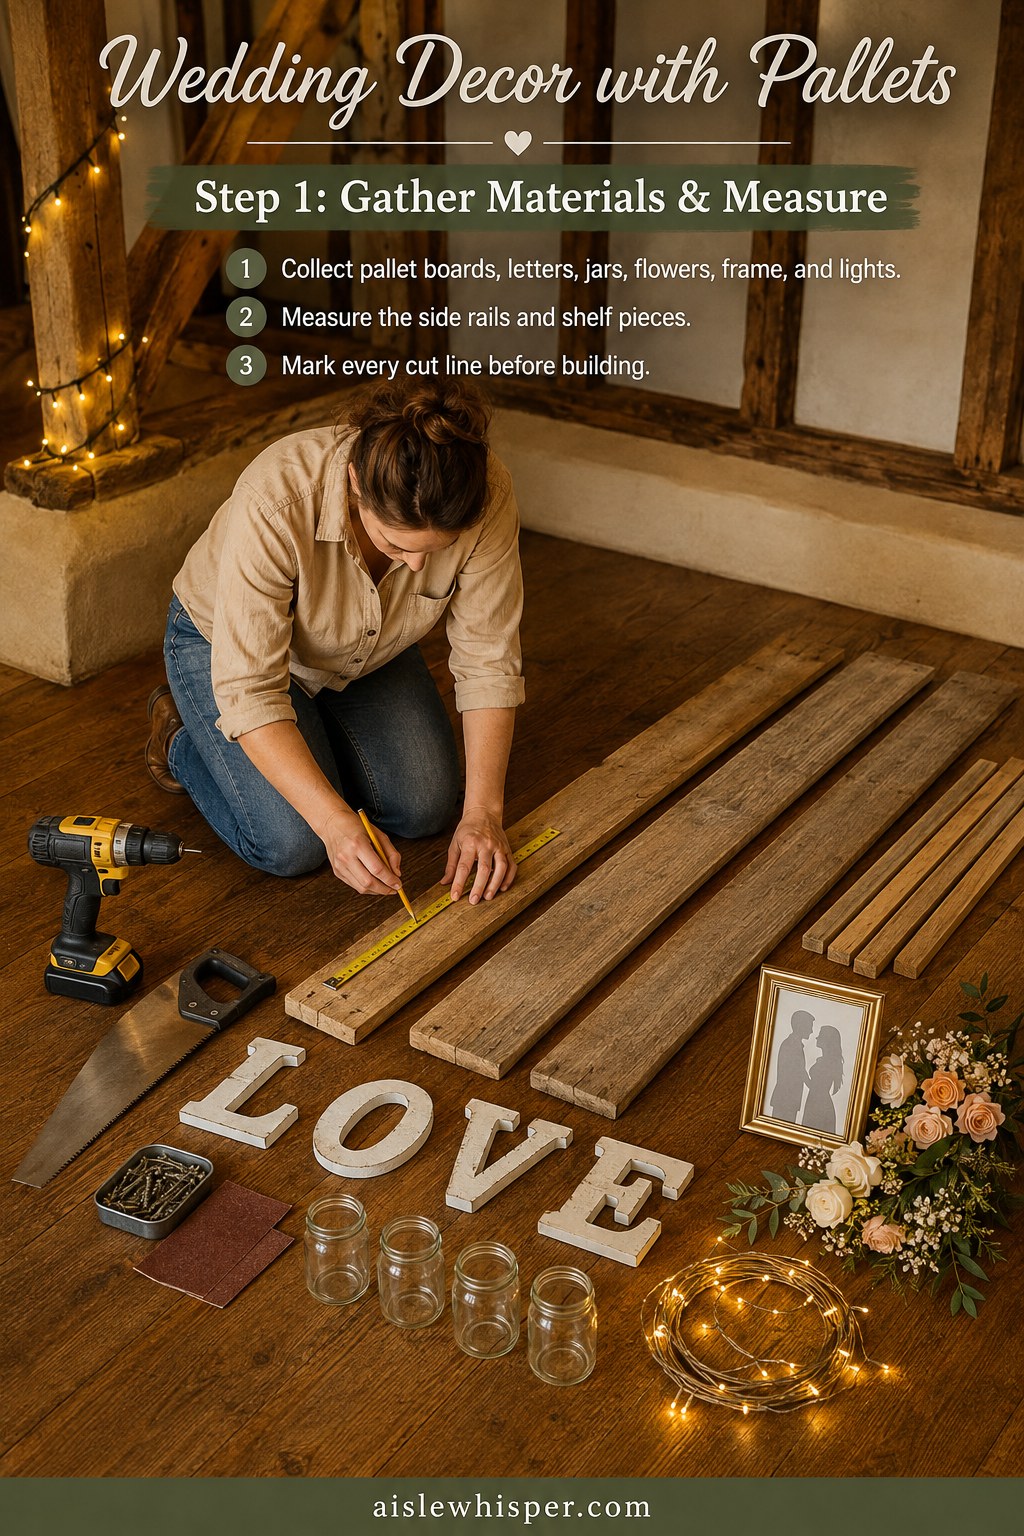
Every pallet project I've watched go sideways started with someone skipping this exact step. Before a single cut, lay out what you're actually working with: pallet boards, a tape measure, a pencil, your drill, a hand saw, and the finishing pieces — mason jars, wooden LOVE letters, a framed photo of the couple, fairy lights, and whatever flowers you're using.
- Measure the side rails first — mine ran just over four feet for a shelf that reads well without dwarfing a table.
- Mark every cut line before you touch the saw, not as you go.
- Check your board count twice — pallet wood splits, and you'll want spares.
This is the part nobody photographs for their own wedding album, and it's the part that decides whether the ladder stands straight in six weeks.
Breaking Down the Pallet Without Wasting a Board
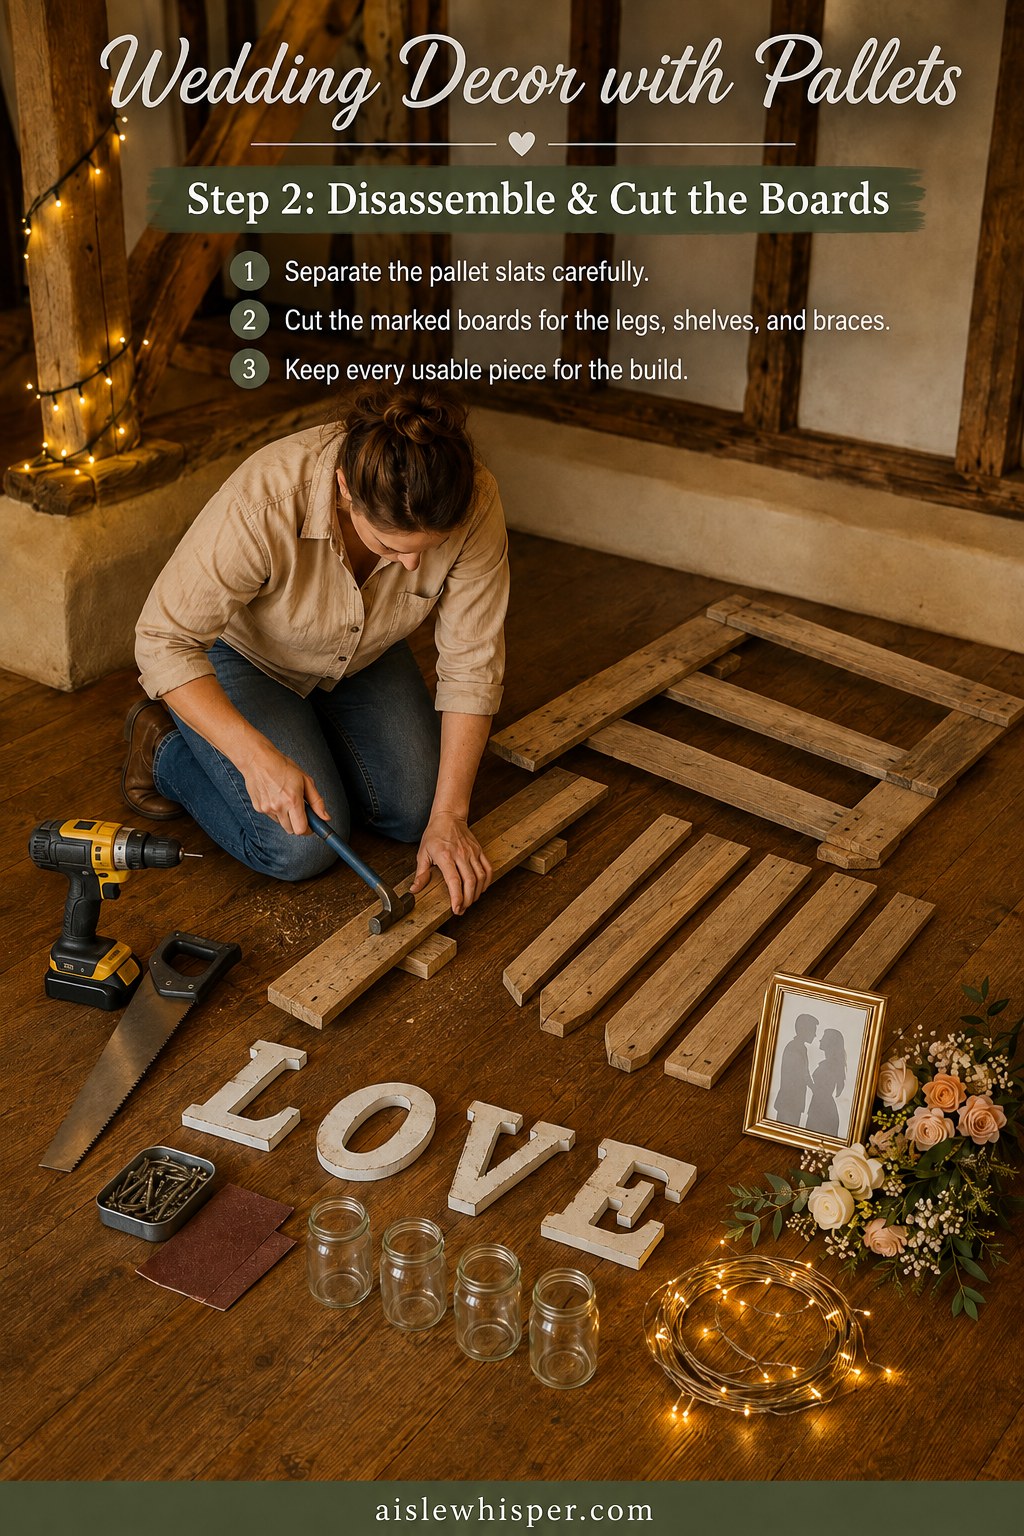
Pulling a pallet apart by hand looks brutish and it mostly is. I use a small pry bar and a hammer, working the nails from the underside so the face grain — the side everyone will actually see under the fairy lights — stays clean.
Go slow around the knots. Pallet wood splits along the grain faster than you'd expect, and a board that cracks becomes a shorter board, not a shelf.
- Separate slats before cutting so you're not fighting the frame and the saw at once.
- Cut legs, shelves, and diagonal braces to your marked lines, checking each against its pair before moving on.
- Keep every offcut — you'll want scrap for test drilling later.
Sanding the Splinters Out, Painting the LOVE Letters White
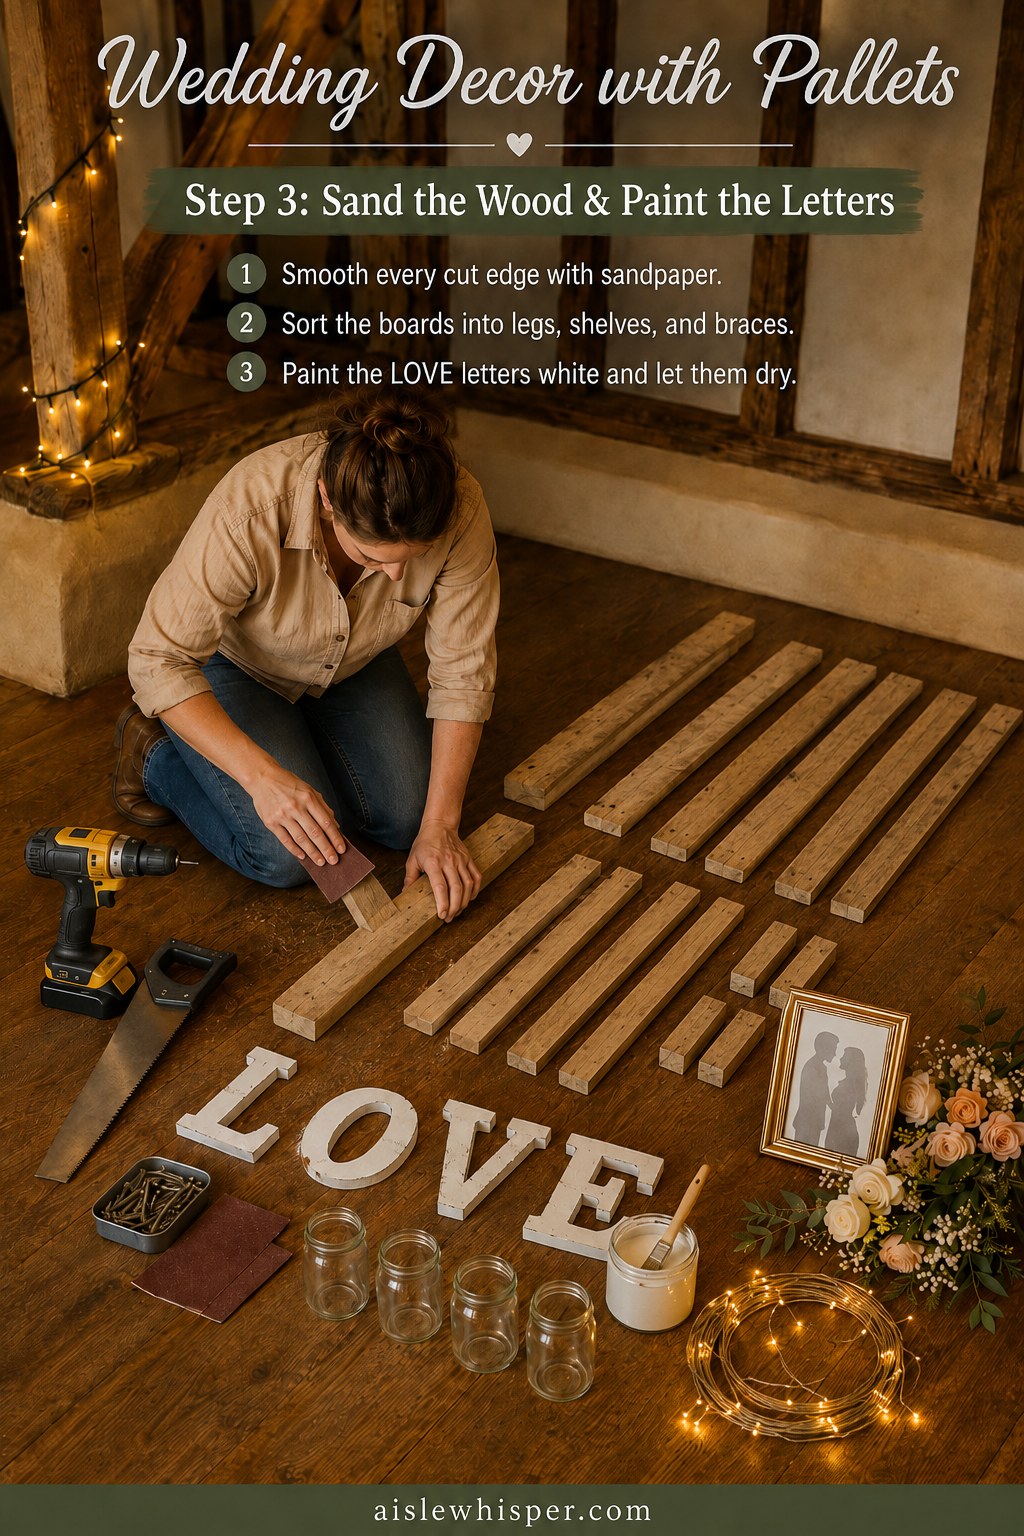
Pallet wood arrives rough and a little dangerous, and I've pulled more than one splinter out of my own palm skipping this step. Sand every cut edge — I go through 80-grit then 150-grit by hand, since a power sander chews up wood this soft.
The finish doesn't need to look new. It needs to look handled, which is the entire appeal of pallet wood at a wedding.
While the boards air out, sort them into legs, shelves, and braces so you're not hunting for pieces later. Then paint your wooden LOVE letters — two thin coats of white craft paint rather than one thick one, because thick paint pools in the corners and dries tacky. Let them sit somewhere the dog can't reach for at least an hour between coats.
Pre-Drilling the A-Frame So It Doesn't Split
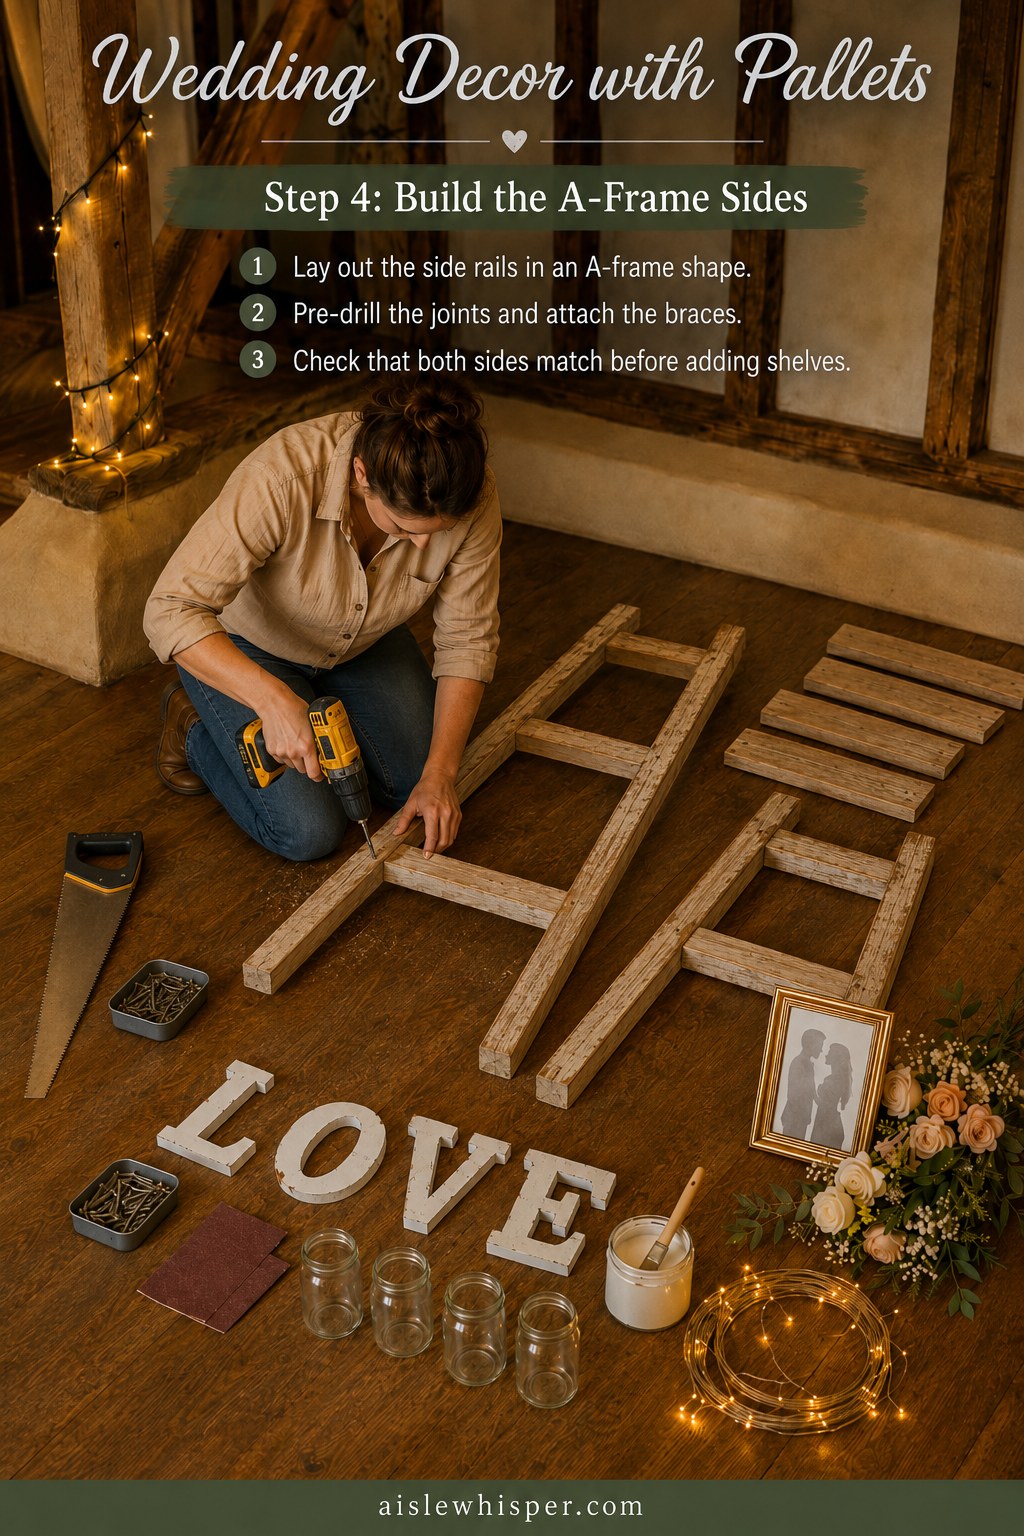
This is where the project either becomes furniture or becomes kindling. Lay the side rails out in an A-shape on the floor first, so you can see the angle before you commit a single screw.
- Pre-drill every joint with a bit slightly narrower than your screw — pallet wood is dry and old, and it splits if you drive straight in.
- Attach the diagonal braces to lock the angle before adding anything else.
- Build both sides, then compare them flat against each other — mismatched angles are the single most common wobble I've seen at backyard weddings.
I use two-and-a-half-inch exterior screws here, not nails; nails back out of pallet wood faster than you'd think, especially once it's outside in Arizona heat for a whole reception.
Standing the Ladder Up and Locking In the Shelves
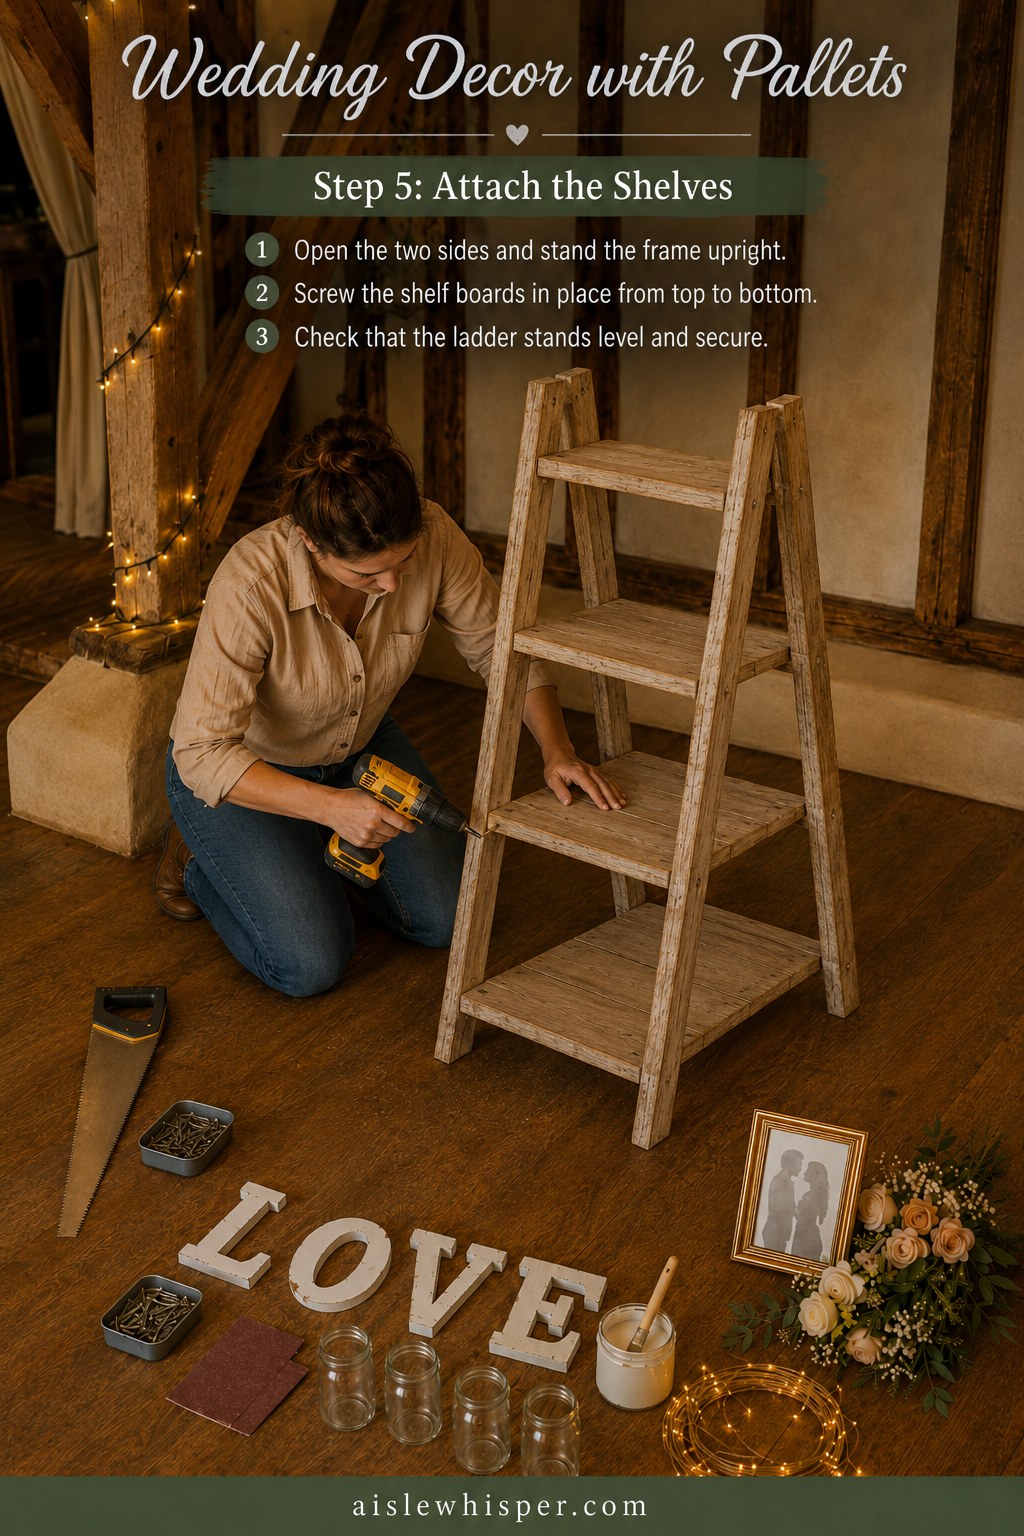
Open the two finished sides into their A-frame and get someone to hold it steady — this is a two-person job, not a stubborn-solo one. Starting at the top and working down, screw each shelf board into the rails, checking with a level after every one.
Top-heavy is the failure mode here. If your top shelf is narrower than the base, as mine is, the whole thing wants to lean forward once weight goes on it. Test it now, before there are jars and flowers on it, by pressing on the top shelf. If it rocks, shim the shorter leg or snug the braces further before you go another step.
Loading the Shelves: One Letter, One Jar, One Photo
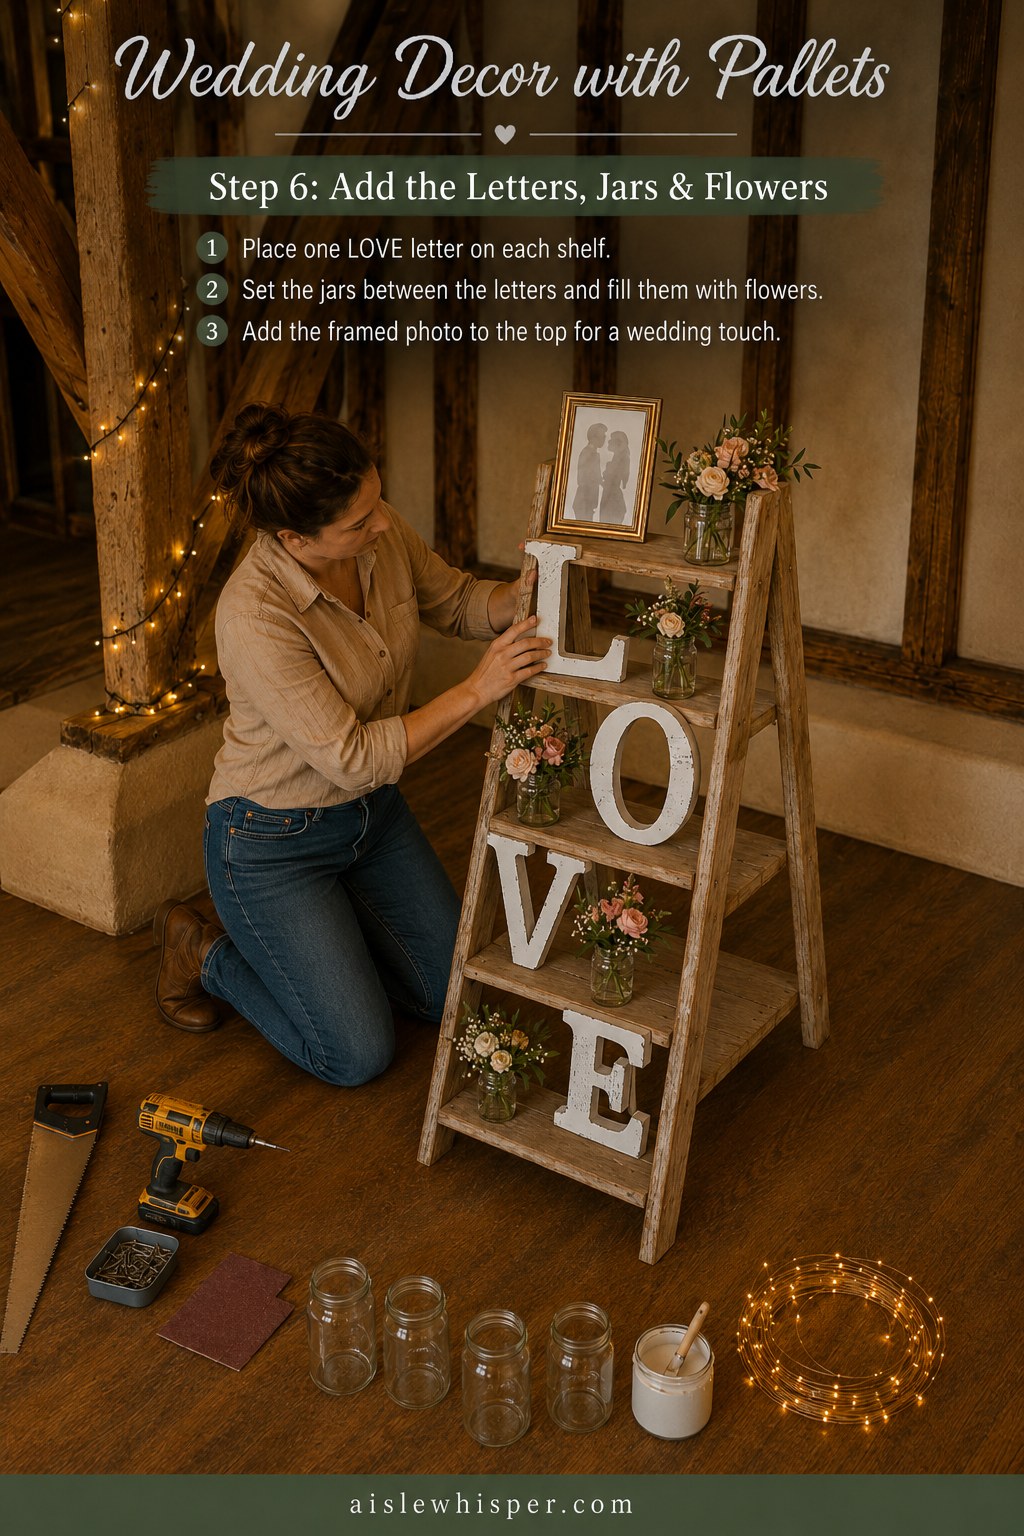
This is the step that turns a wood ladder into wedding decor, and it's also where I've watched people overthink it. One LOVE letter per shelf, a jar or two beside it filled with whatever flowers match the day — I used blush ranunculus and eucalyptus, but any florist's leftover stems work.
- Frame the couple's engagement photo and set it on top; it's the detail guests actually stop for.
- Fill jars roughly two-thirds full of water so stems don't wilt before the ceremony.
- Leave the bottom shelf lighter — it takes the most bumping during setup and teardown.
Wiring in the Fairy Lights Without a Rat's Nest of Cord
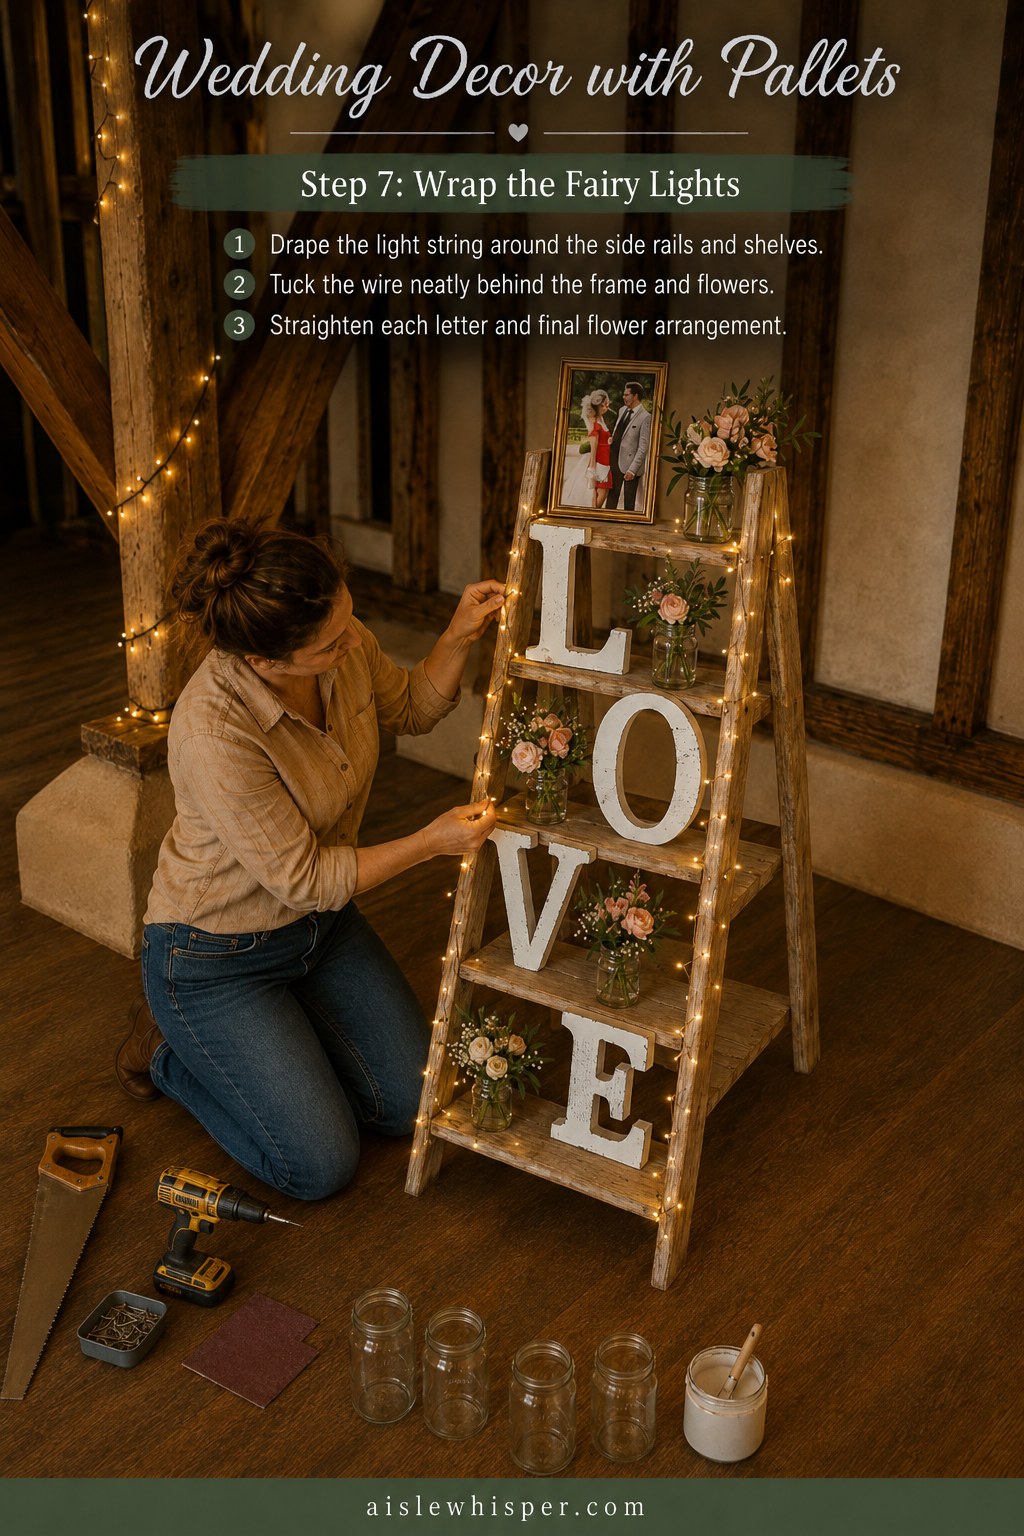
Fairy lights make or break how this reads once the venue's own lights go down. Drape the string around the side rails and shelf edges rather than looping it tight — you want shadow and glow, not a solid ring of light that flattens the wood grain.
Tuck the wire and the battery pack behind the frame, not underneath a shelf where a stray breeze — or a curious flower girl — can find it. Straighten each letter one last time now; paint that looked dry an hour ago sometimes leaves letters slightly tacky where they touched, and they shift.
What This Looks Like Once It's Standing at the Altar
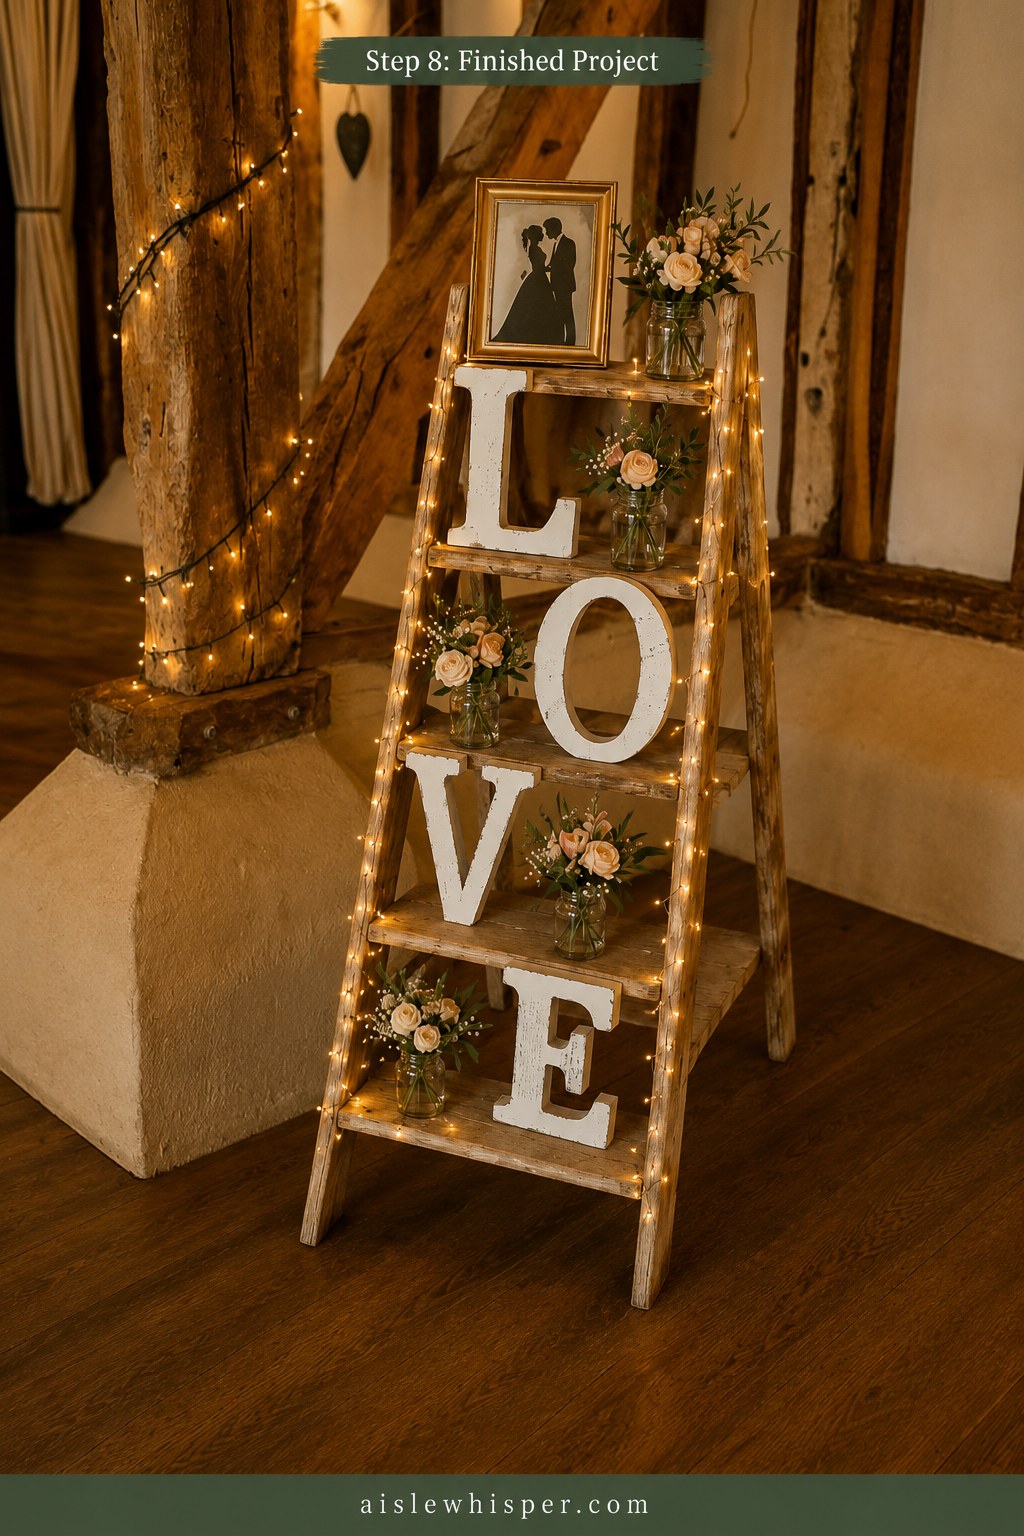
Set against old timber beams or a plain wall, the finished ladder does exactly what I've watched it do at a dozen backyard ceremonies: it gives guests something warm to look at while they wait, and it gives the couple a photo backdrop that didn't cost what the venue wanted to charge for one.
Total cost stayed under fifty dollars in my case, mostly because the pallets were free from behind a hardware store — always ask before you take one. Nobody at the ceremony asked what it cost. Several asked where I bought it, which is the whole point.
Gil still asks why I keep a stack of pallet boards in the garage between wedding seasons, and the answer is this project — it's the one piece of decor I've watched hold up through wind, heat, and a fair amount of bumping into folding chairs, and still look like someone made it on purpose.

- Materials & Tools

Frequently Asked Questions
Will pallet wood decor survive an outdoor Arizona wedding?
The wood itself handles heat fine since it's already dry and weathered, but I wouldn't leave it sitting in direct summer sun for hours before the ceremony — the paint on the letters can soften and pick up fingerprints. Set it up in shade and move it into final position last.
Do I need special tools for this?
Just what's in the photos: a hand saw, a cordless drill, sandpaper, and a tape measure. No table saw required, which is honestly why I like recommending this to people who've never built anything before.
Where do I even find pallets?
Ask behind hardware stores, garden centers, and furniture shops — many will hand them over rather than pay to have them hauled away, but always ask first rather than assuming they're free for the taking.