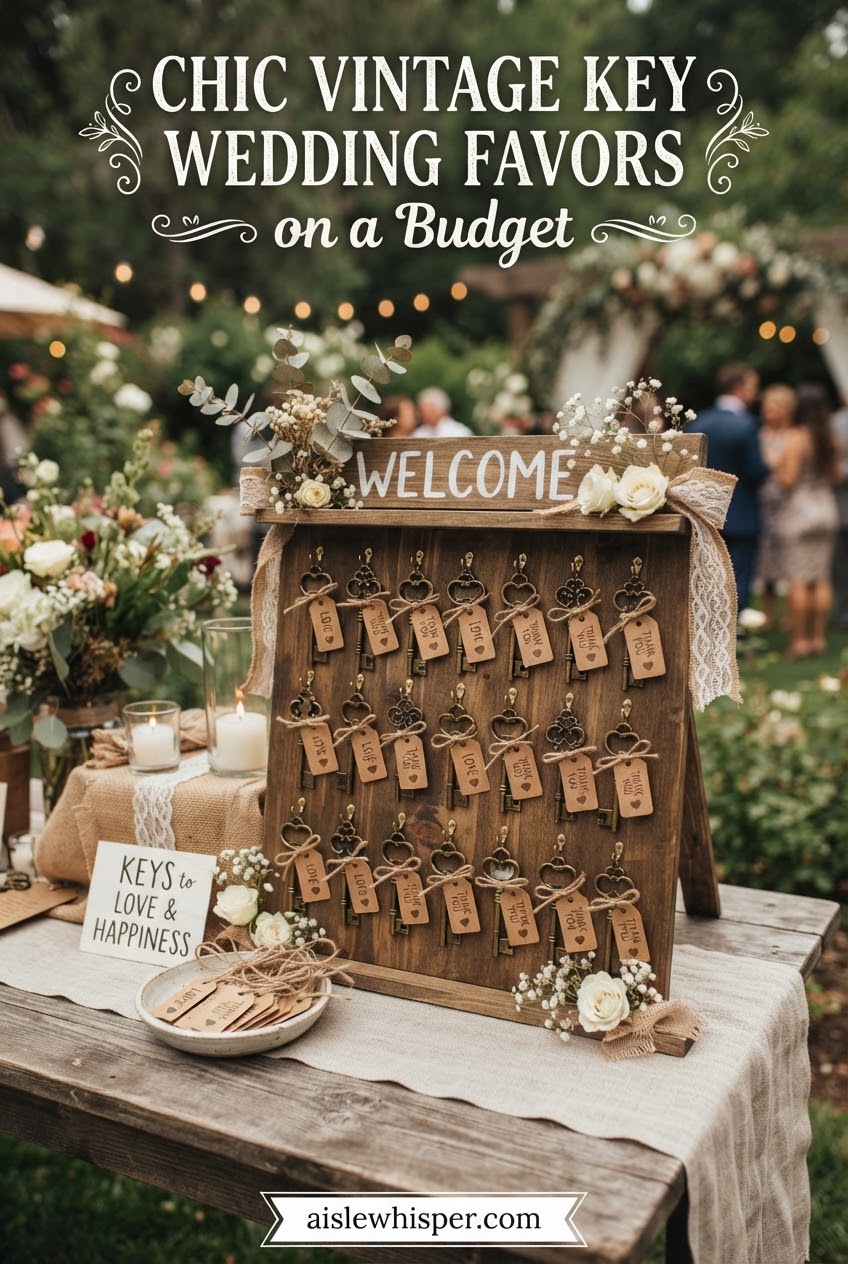
From where I stand during a ceremony, I watch guests more than I watch the couple, and I can tell you the thing they linger over afterward is never the centerpieces. It's the small, personal table by the door — the one that asks them to leave something behind. This vintage key favor is one of the least expensive ideas I've seen work at a backyard or micro wedding, and it doubles as a guest book alternative, which is exactly the kind of two-jobs-in-one thinking a tight budget rewards.
Start With What's Already Sitting in Your House
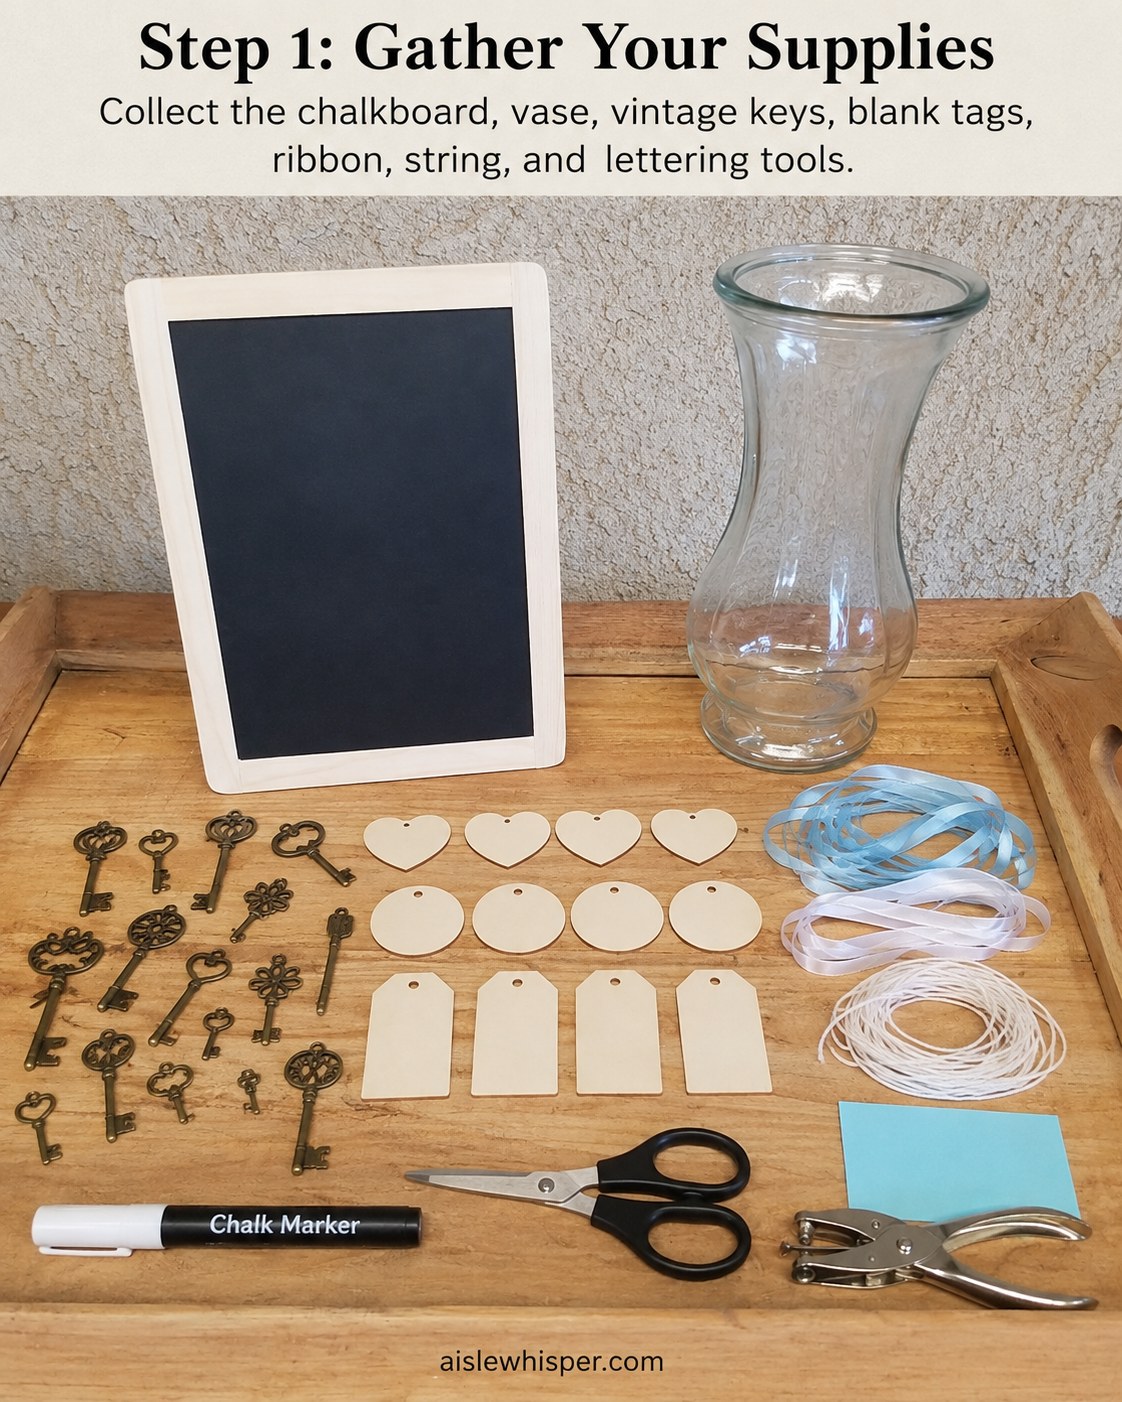
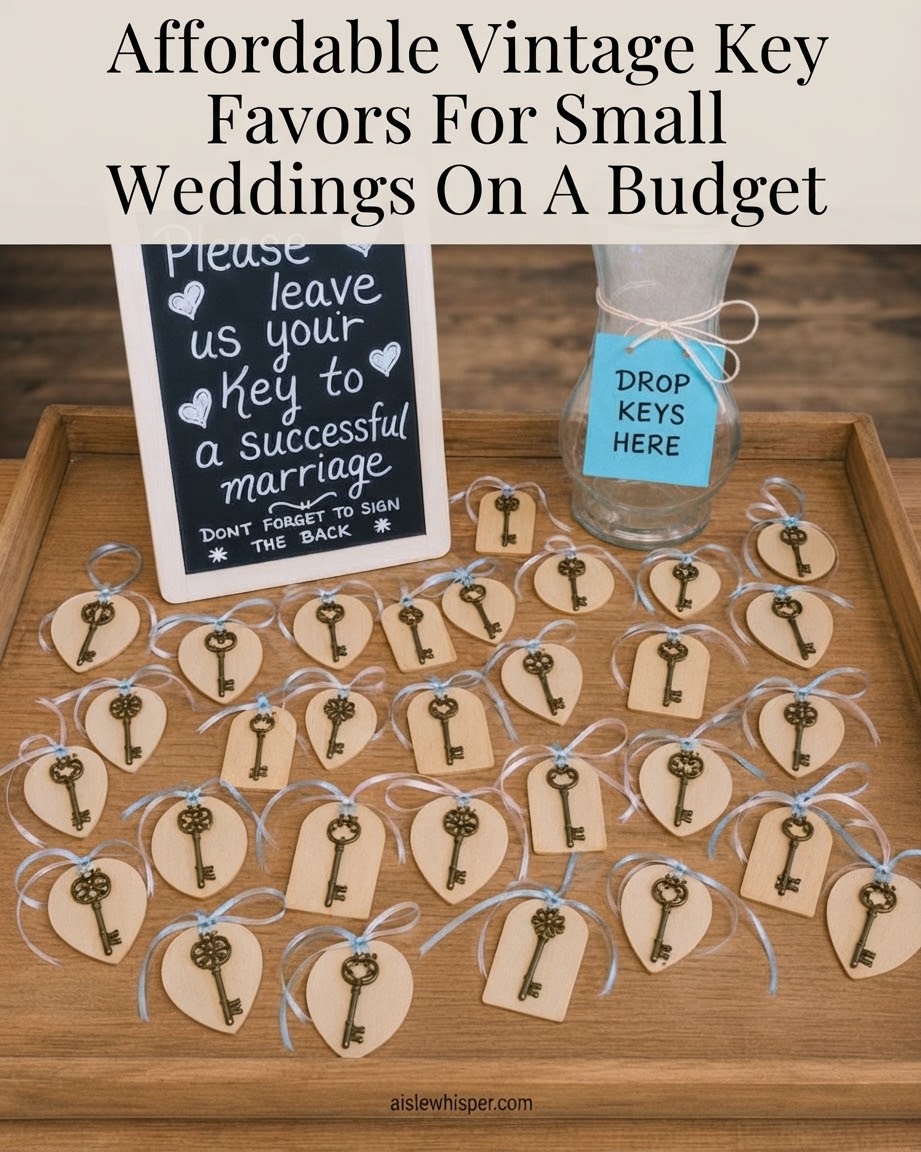
Every good budget project starts on a tray, and this one is no exception. What you actually need is small: a chalkboard easel sign, a glass vase, a stack of vintage-style skeleton keys, blank wooden tags, ribbon, string, and a chalk marker. None of it is rare or expensive — thrifted keys and a dollar-store vase do the job as well as anything boutique.
This is the moment I'd apply the test I use on every couple's budget line item: will a guest remember this specific object in a year? A key they got to keep, probably yes. A $9 votive candle, almost never.
- Chalkboard sign — any small easel-back board works
- Wooden heart tags — pre-drilled hole makes step three painless
- Ribbon and twine — two colors add contrast without adding cost
Pairing Keys and Cutting Ribbon to Length
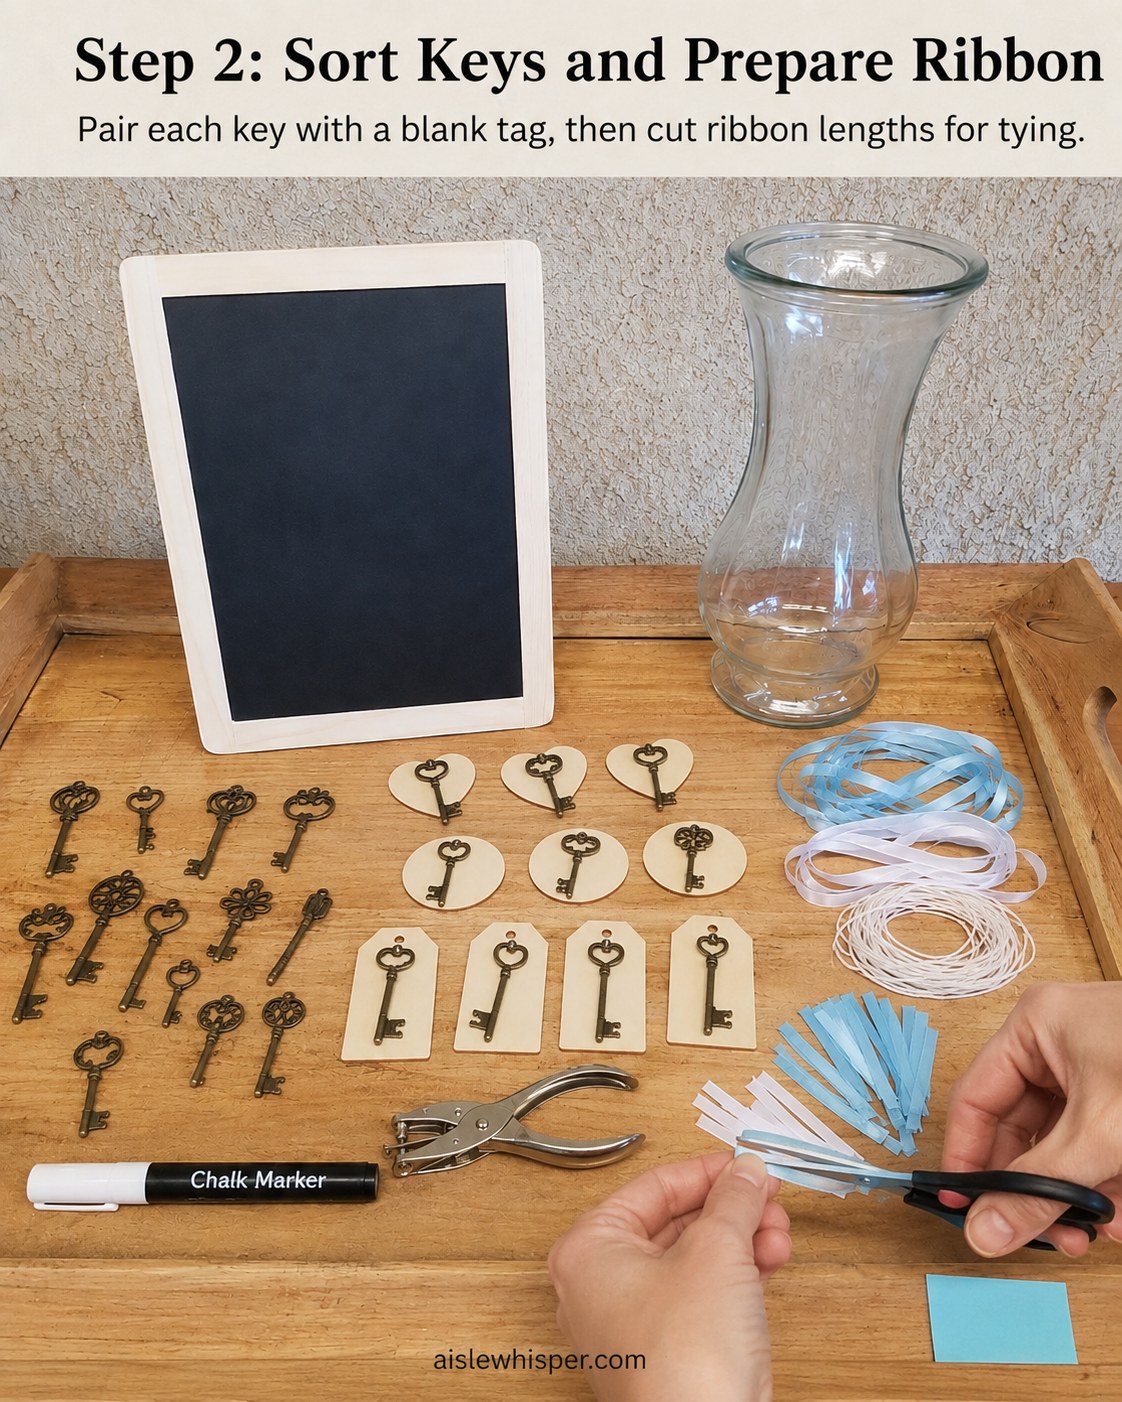
Once your supplies are out, the real math starts: how many keys do you actually need? This is guest-count logic in miniature — count your invited adults, not your hoped-for headcount, and add a handful for stragglers. A twenty-person backyard wedding needs roughly twenty-four to thirty keys, which is exactly what's laid out in this batch.
Pair one key with one blank tag, then cut your ribbon into short, even lengths — six inches worked well here, long enough to loop and tie but short enough that it doesn't dangle sloppily once the tag is hanging from someone's wine glass or place setting.
Assembly-line thinking saves you an evening. Sort first, tie second, letter last — never all three at once.
Threading the Ribbon Through Tag and Key
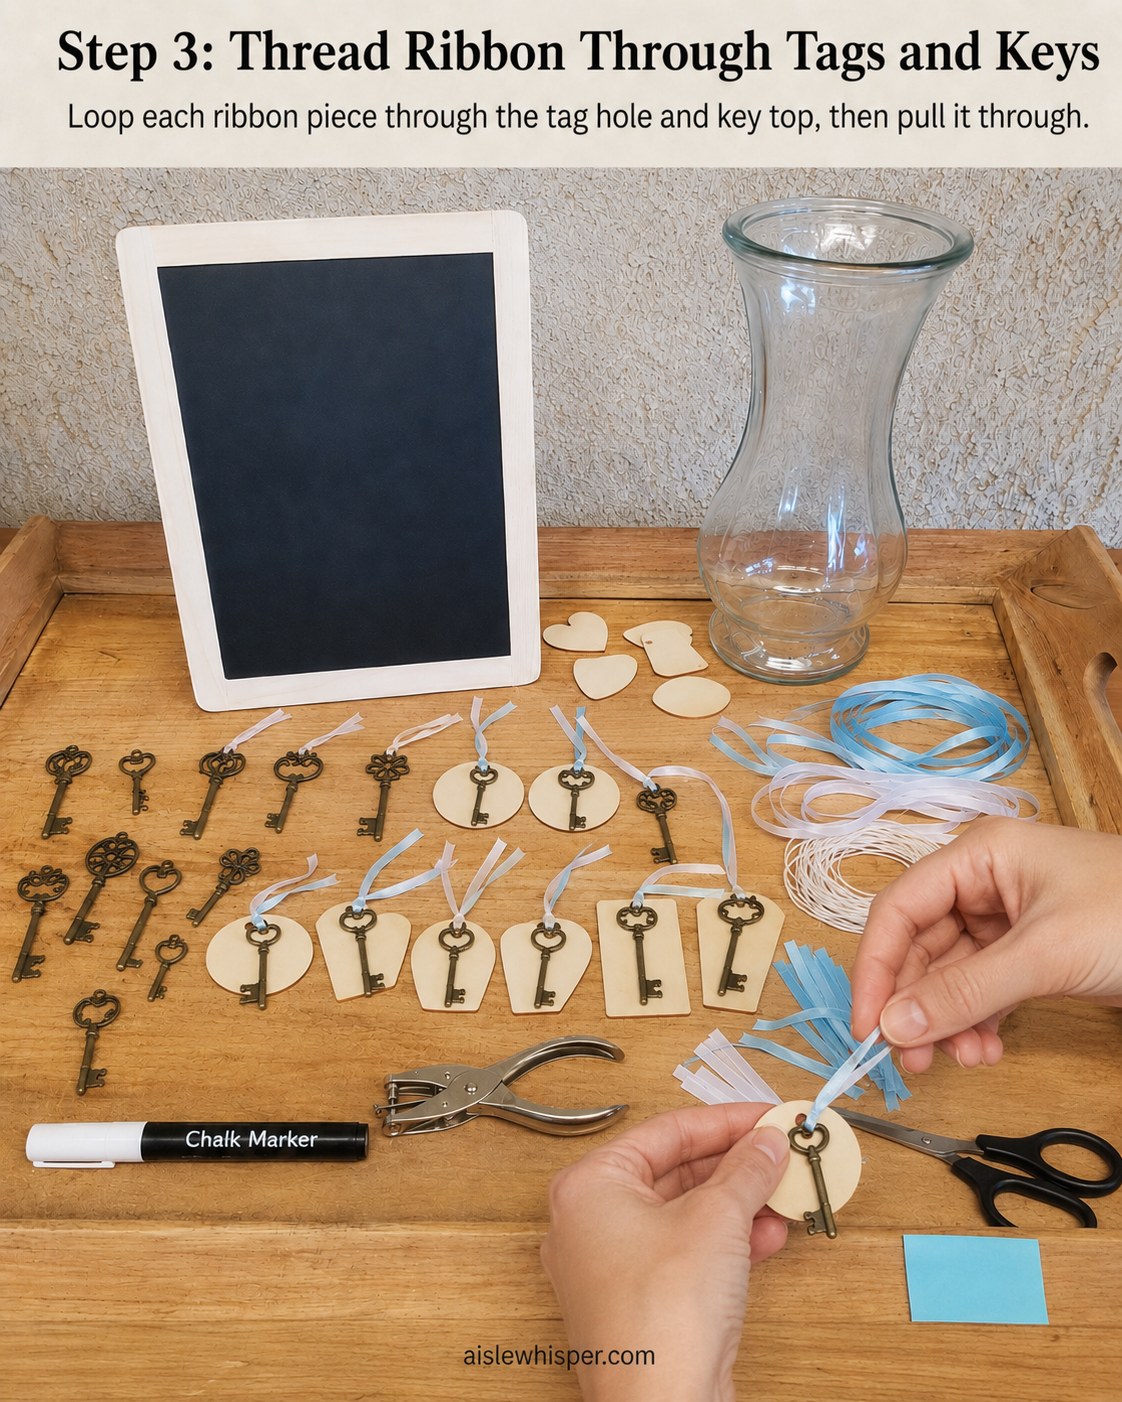
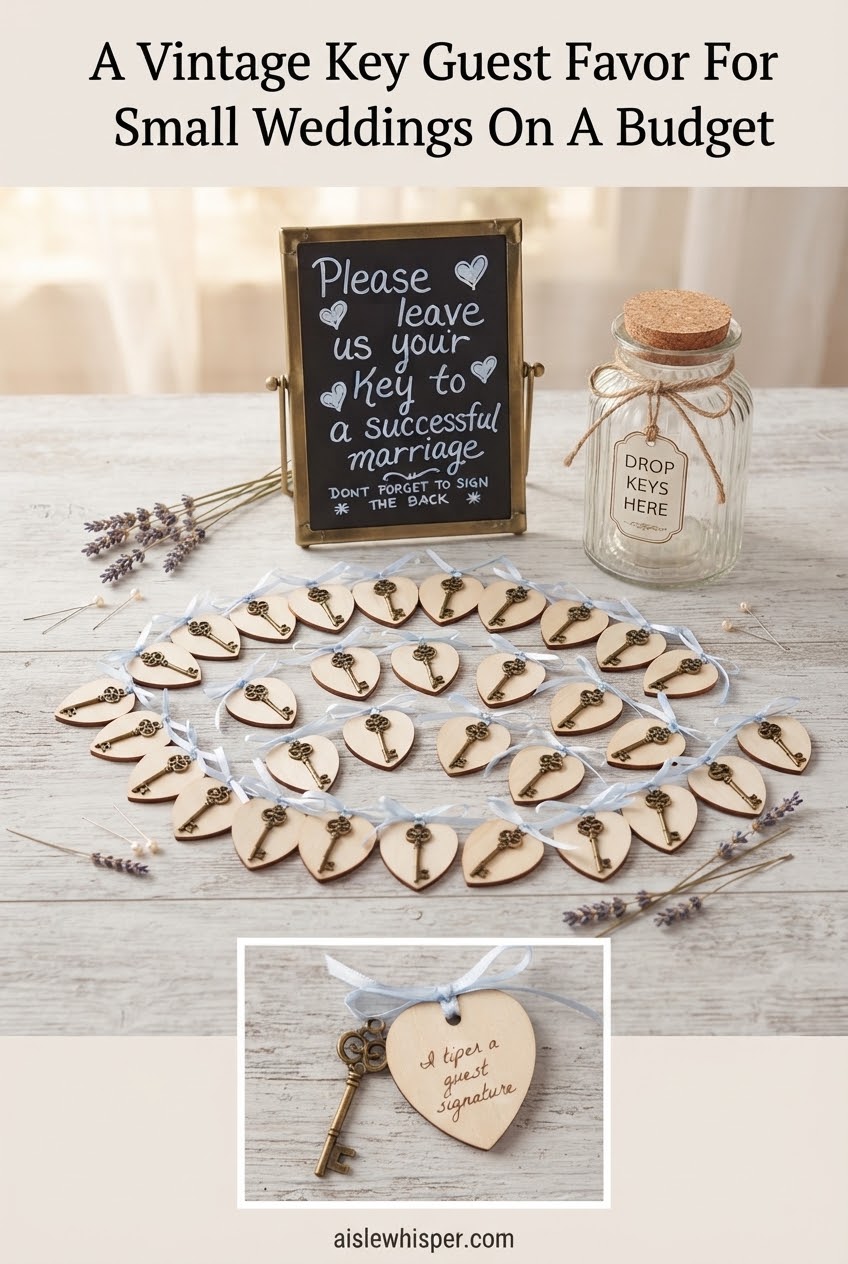
This is the fiddly part, and the photo doesn't hide that — it's two hands and a lot of small loops. Feed the ribbon through the tag's punched hole, then through the loop at the top of the key, and pull it snug rather than tight. You want the key to swing a little, not choke against the wood.
If your tags didn't come pre-drilled, a basic hole punch handles it in seconds — no need for a specialty tool. Do a handful at a time rather than trying to finish all thirty in one sitting; your fingers will thank you, and so will the knots, which come out neater when you're not rushing.
Tying Off Without Looking Homemade in the Wrong Way
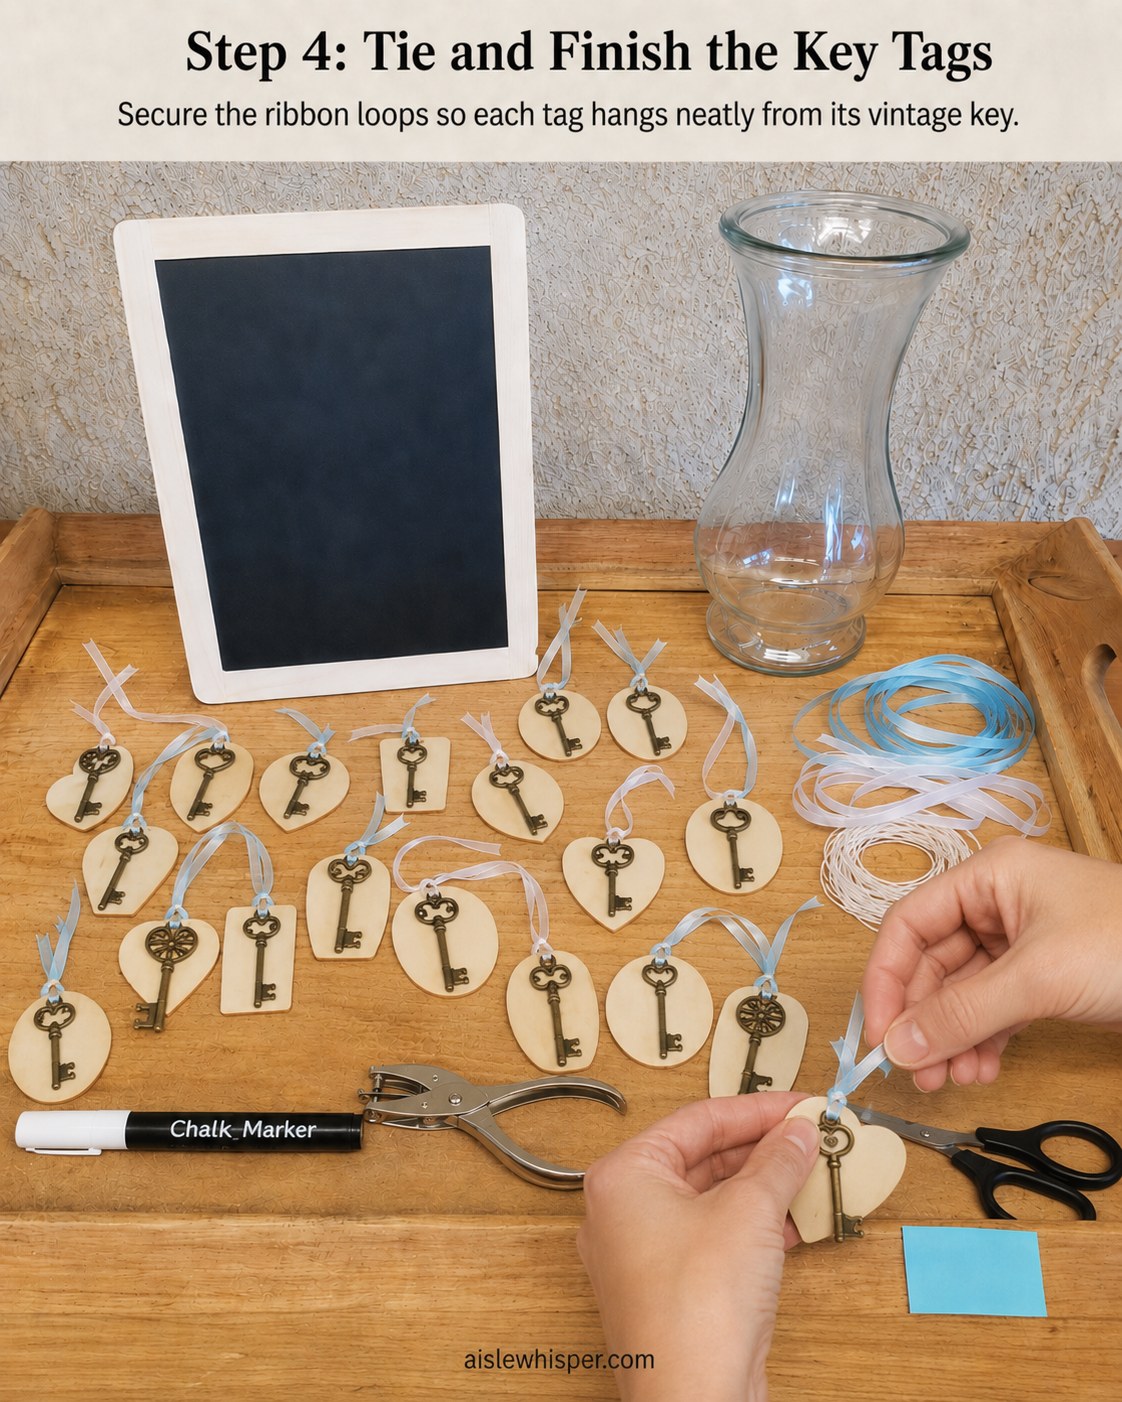
There's a difference between handmade-charming and handmade-sloppy, and it lives entirely in the knot. A simple double loop, pulled flat against the tag, keeps the ribbon from twisting once it's sitting on a table. Consistency matters more than perfection — thirty slightly imperfect knots read as intentional; three wildly different ones read as rushed.
- Keep the tails even so nothing droops noticeably longer
- Alternate ribbon colors across the batch for visual movement without extra cost
- Test one before you tie thirty to confirm the length feels right
This is the stretch where the pile finally starts looking like a finished favor instead of loose parts on a tray.
Labeling the Vase Is Where the Idea Clicks
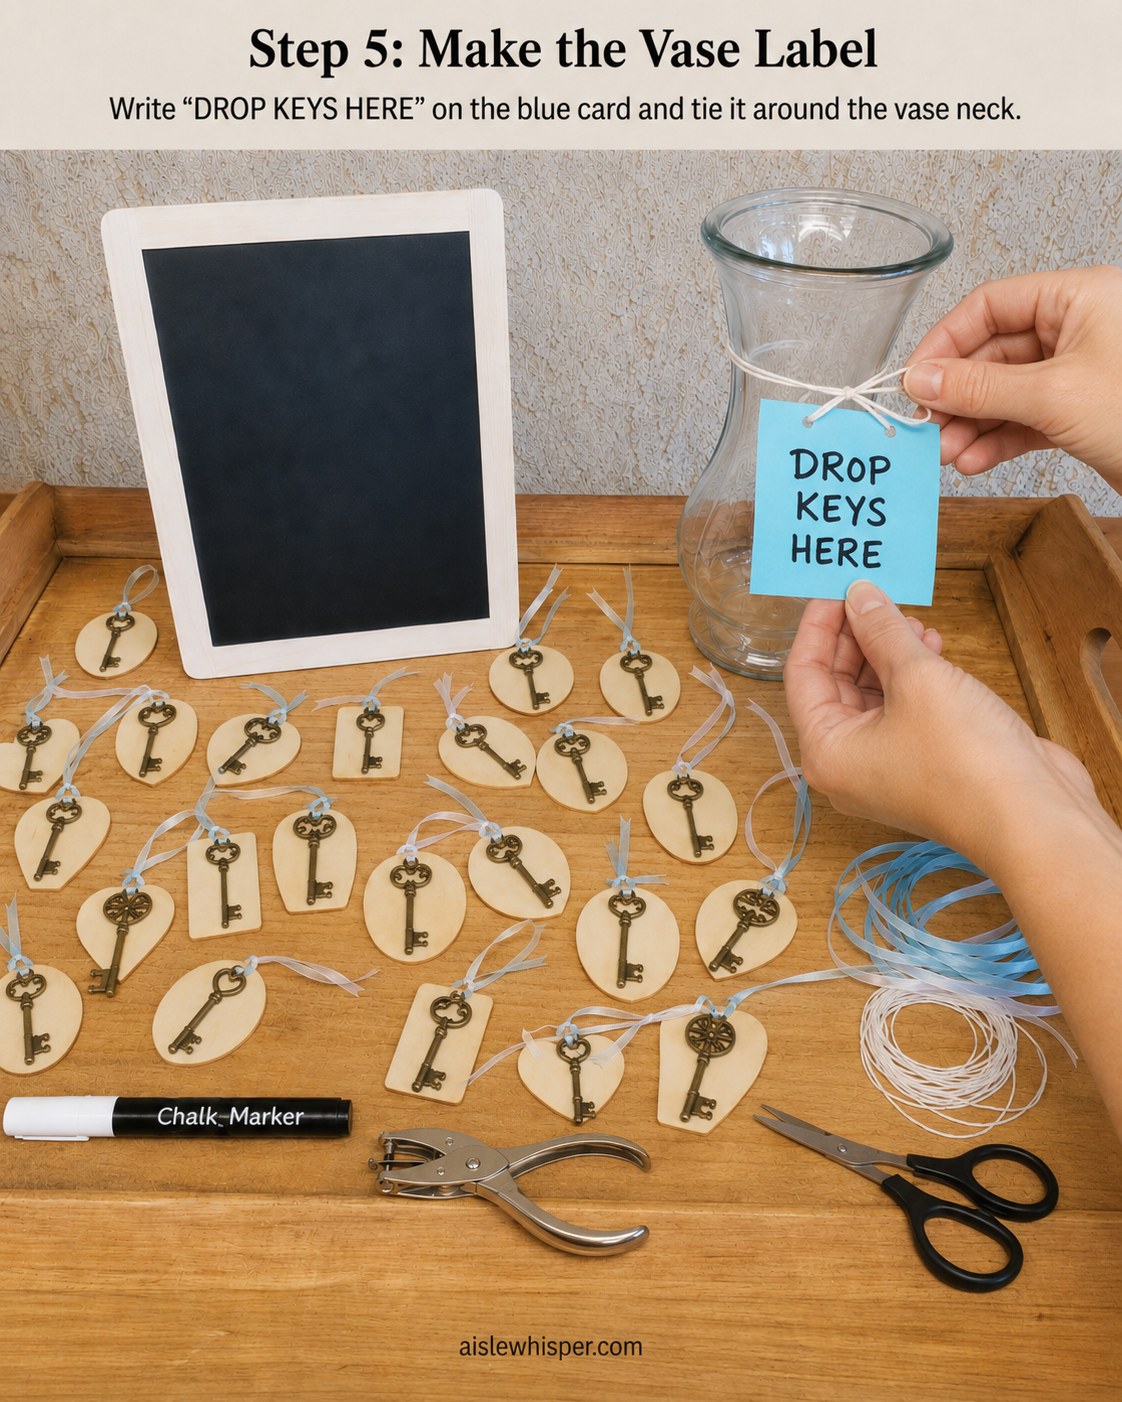
A plain glass vase becomes the whole point of this project the moment you tie a hand-lettered "Drop Keys Here" card around its neck. Blue cardstock and white twine cost pennies, and this is the piece that tells guests what to actually do with the favor they've just been handed.
I've officiated enough small weddings to know that guests need one clear instruction, not three. A single tag on a vase does more work than a paragraph on a printed card ever will — people read short things at a cocktail hour, not long ones.
Lettering the Sign That Explains the Ritual
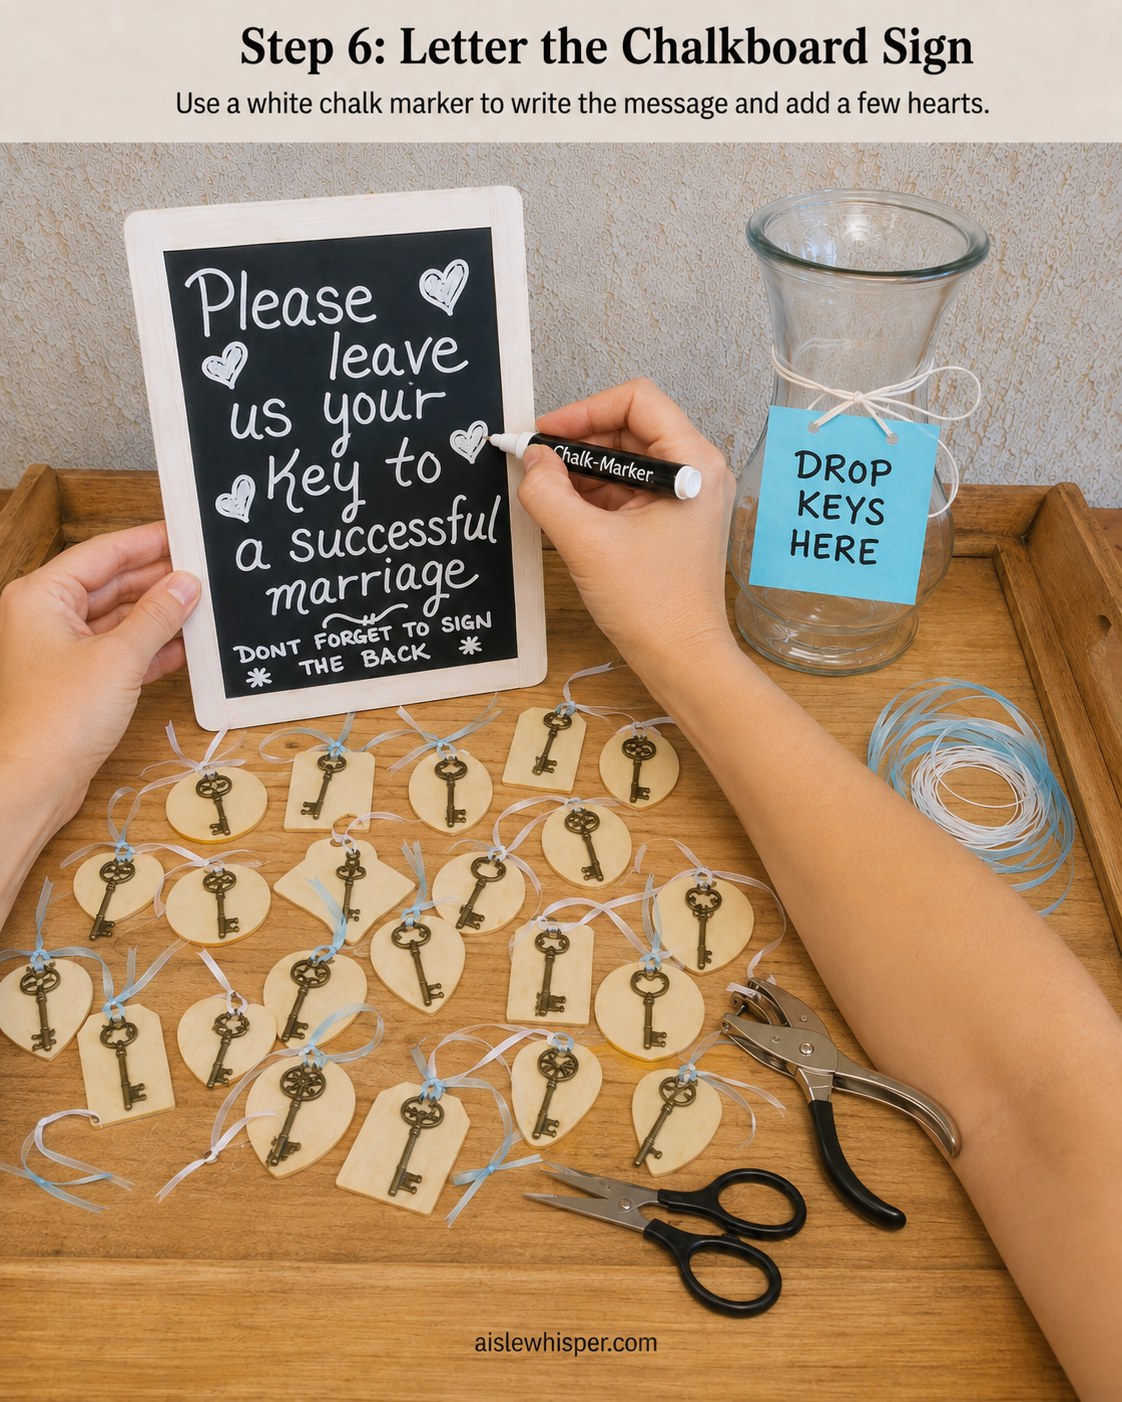
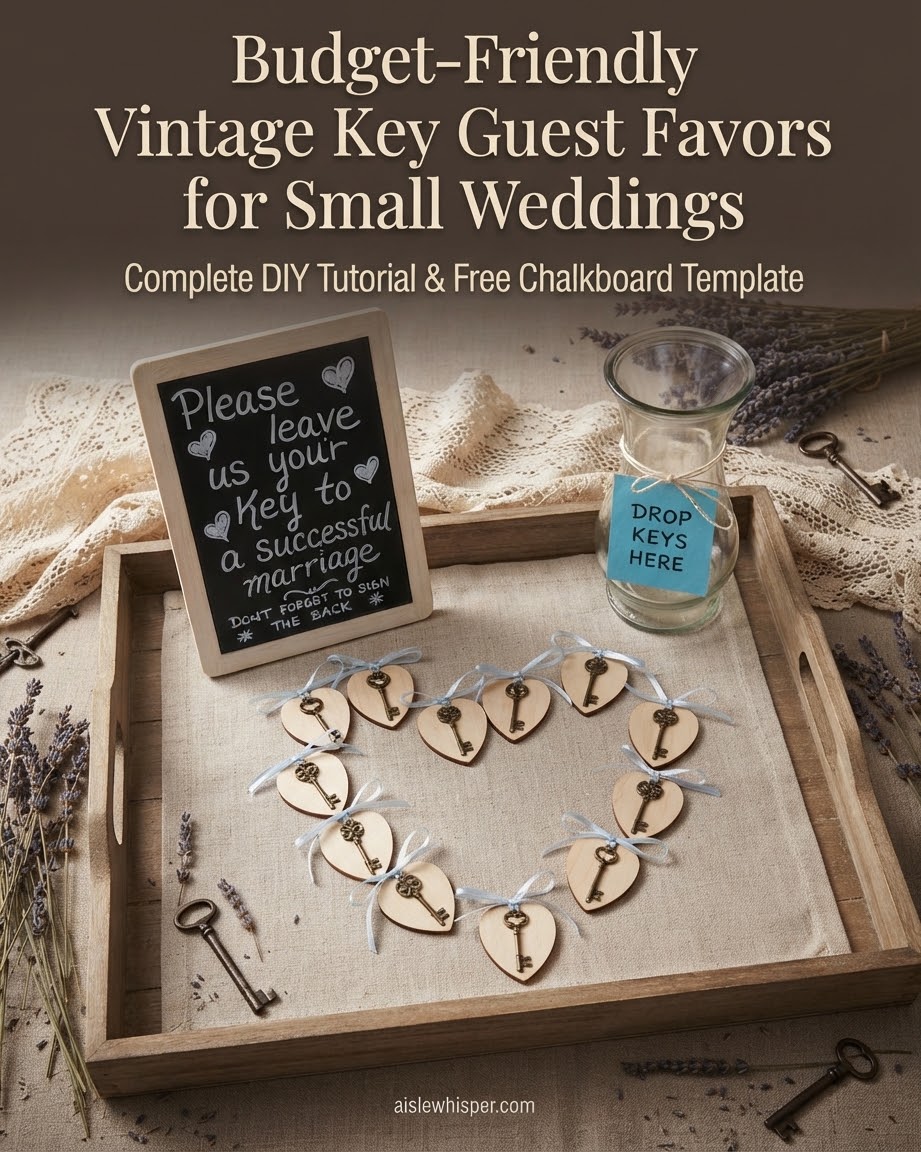
Here's the sentence doing the heaviest lifting in the whole display: "Please leave us your key to a successful marriage. Don't forget to sign the back." A white chalk marker on a dark board is forgiving — mistakes wipe clean, and a few hand-drawn hearts soften any wobble in your handwriting.
That instruction to sign the back is what turns a favor into a guest book alternative. Instead of a page in a book nobody opens again, you get thirty small notes on the backs of keepsakes guests actually take home. I've read a few of these on anniversaries with couples years later — they hit harder than a signed mat ever does.
Staging the Tray Before the Guests Arrive
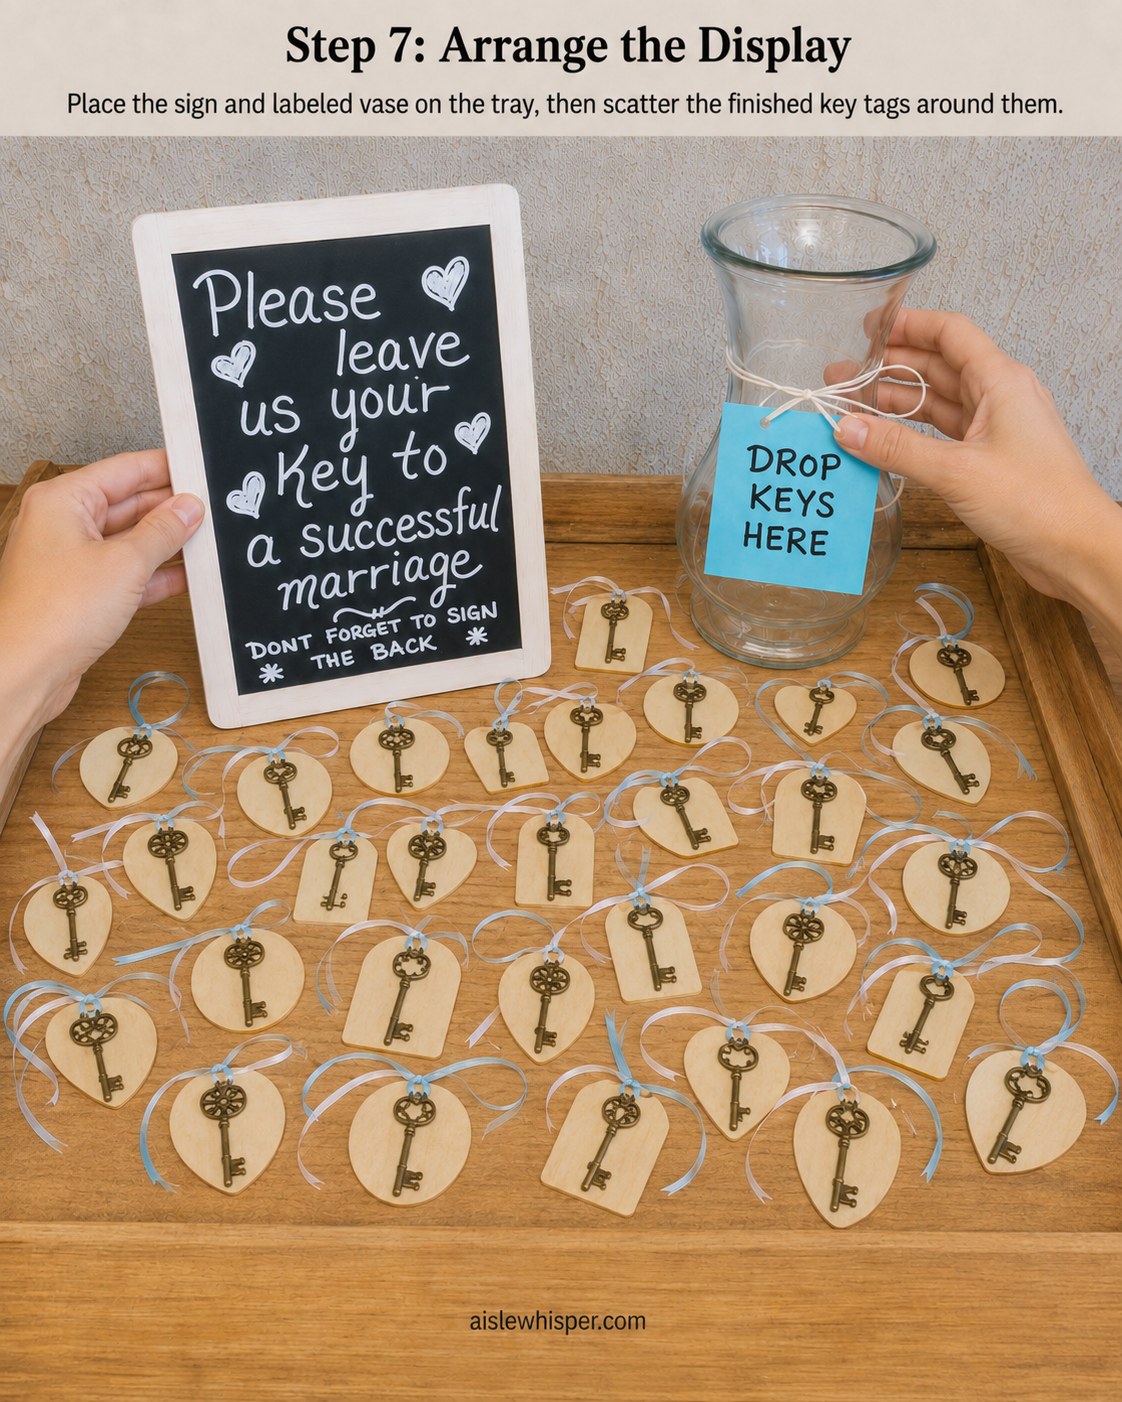
Set the sign and the labeled vase at the back of the tray, then scatter the finished keys loosely in front — not lined up in rows, which reads stiff, but not a heap either. A wooden tray like this one is a backyard-wedding trick worth stealing on its own: it's portable, it protects the table underneath, and you can carry the whole display in one trip from kitchen counter to guest table.
One honest note if you're setting this up outside in an Arizona spring or fall: keys are heavy enough to sit still in a breeze, but a lightweight chalkboard easel is not. Weigh the base or bring it in if wind picks up before guests arrive.
The Finished Display, Ready for Guests
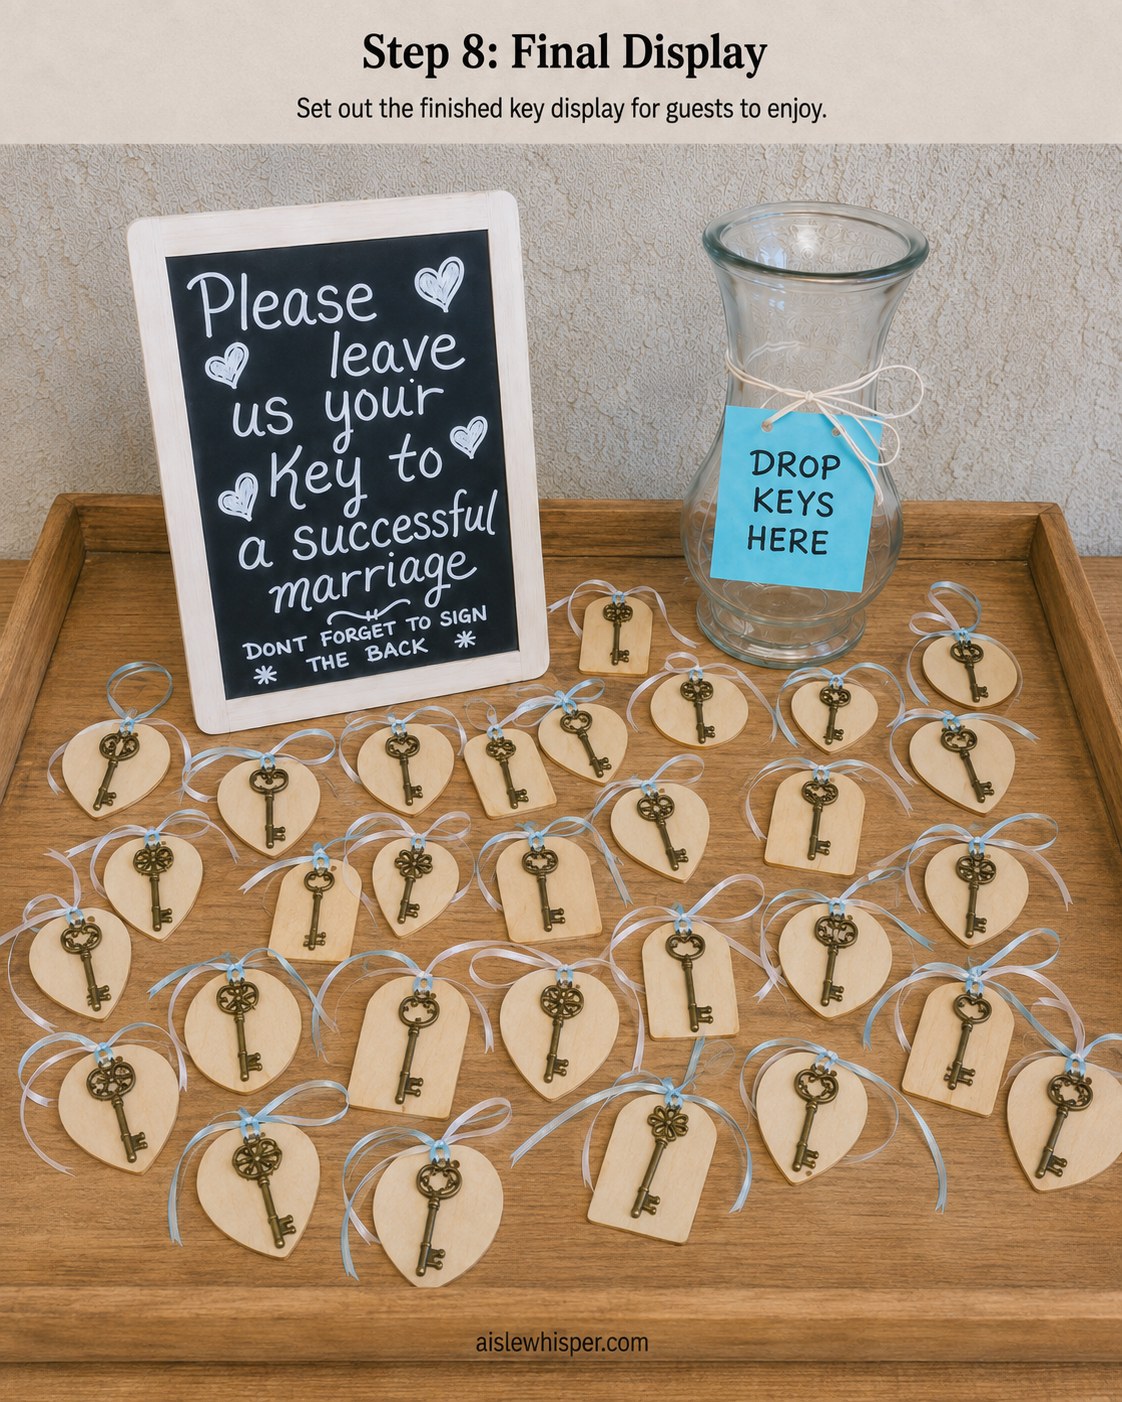
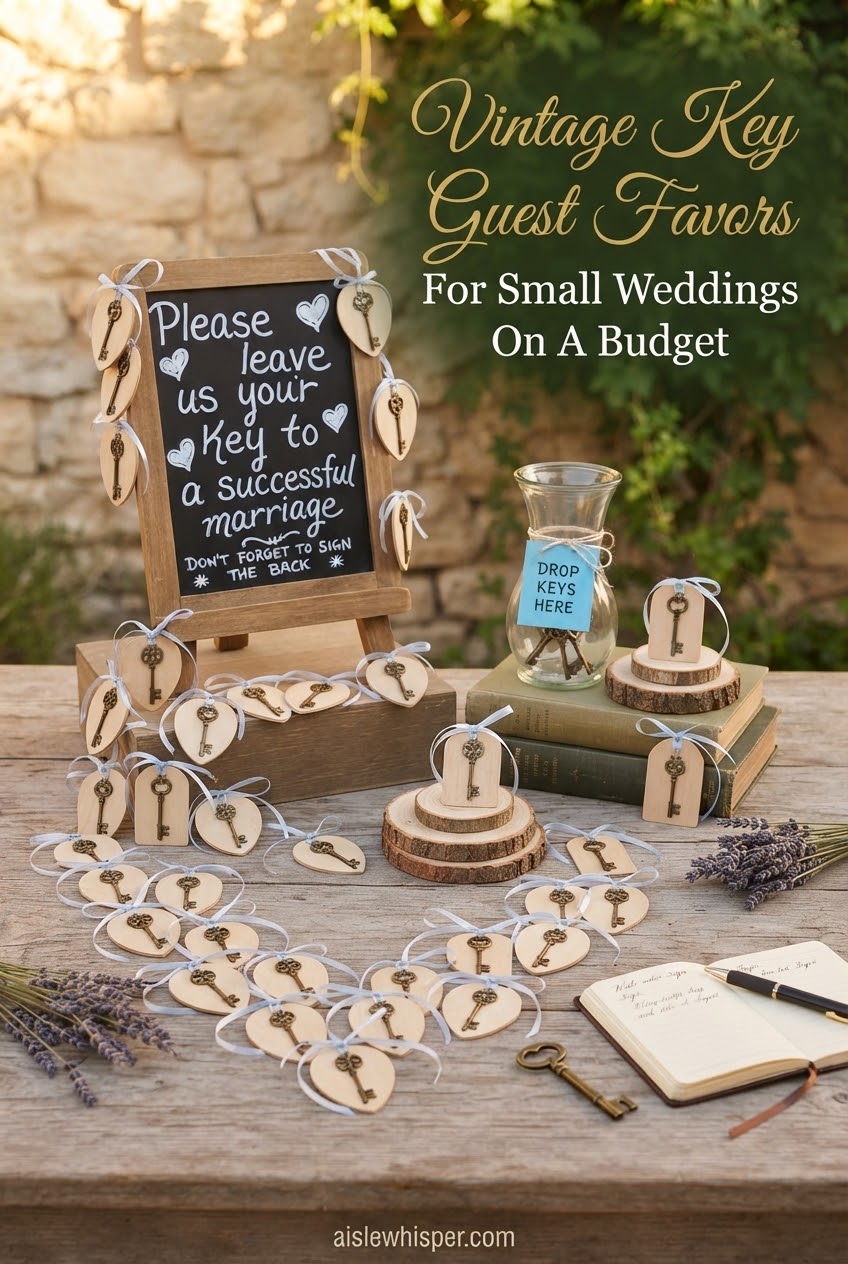
This is what a guest actually walks up to: a chalkboard with a clear ask, a labeled vase waiting for a key, and a scatter of keepsakes that took a few evenings and well under fifty dollars to make. Nobody at this table is going to ask what it cost — they're going to pick up a key, flip it over, and think about what to write.
That's the whole case for a project like this in a small-wedding budget: it does double duty as decor and as a memory-keeping ritual, for the price of one afternoon and a bag of thrifted keys.
I've watched a lot of guest tables get ignored at receptions, and I've watched a few get crowded the whole night. This one, in my experience, is the second kind — cheap to build, easy to explain, and the rare piece of wedding decor someone actually takes home.

- Supplies

Frequently Asked Questions
About how much does a display like this cost?
In my experience pricing out small-wedding DIY projects, a batch of twenty-four to thirty keys, tags, ribbon, a vase, and a chalkboard sign runs somewhere around thirty-five to forty-five dollars total, especially if you thrift the vase and buy keys in bulk. Prices shift by region and by where you source vintage-style keys, so treat that as a ballpark, not a promise.
Will the chalkboard sign hold up at an outdoor Arizona wedding?
Chalk marker on a board is fine in shade and calm air, but I wouldn't trust an easel-back sign to a windy afternoon or a July ceremony without shade. Bring it inside between setup and the actual event, or weigh the base, and keep your outdoor ceremony timing and shade plan realistic regardless of the decor.
What do couples actually do with all the keys afterward?
Most couples I've talked to keep them in a bowl or jar somewhere visible in the house, and a few string them onto a ring as a small anniversary tradition. The backs with guests' notes tend to matter more over time than the keys themselves.
Can this scale up for a guest list bigger than thirty?
Yes — the ratio holds. Count your invited adults, add a small buffer, and multiply the ribbon and tag quantities accordingly. The main limit is patience during the threading and tying steps, which take longer in higher volume.