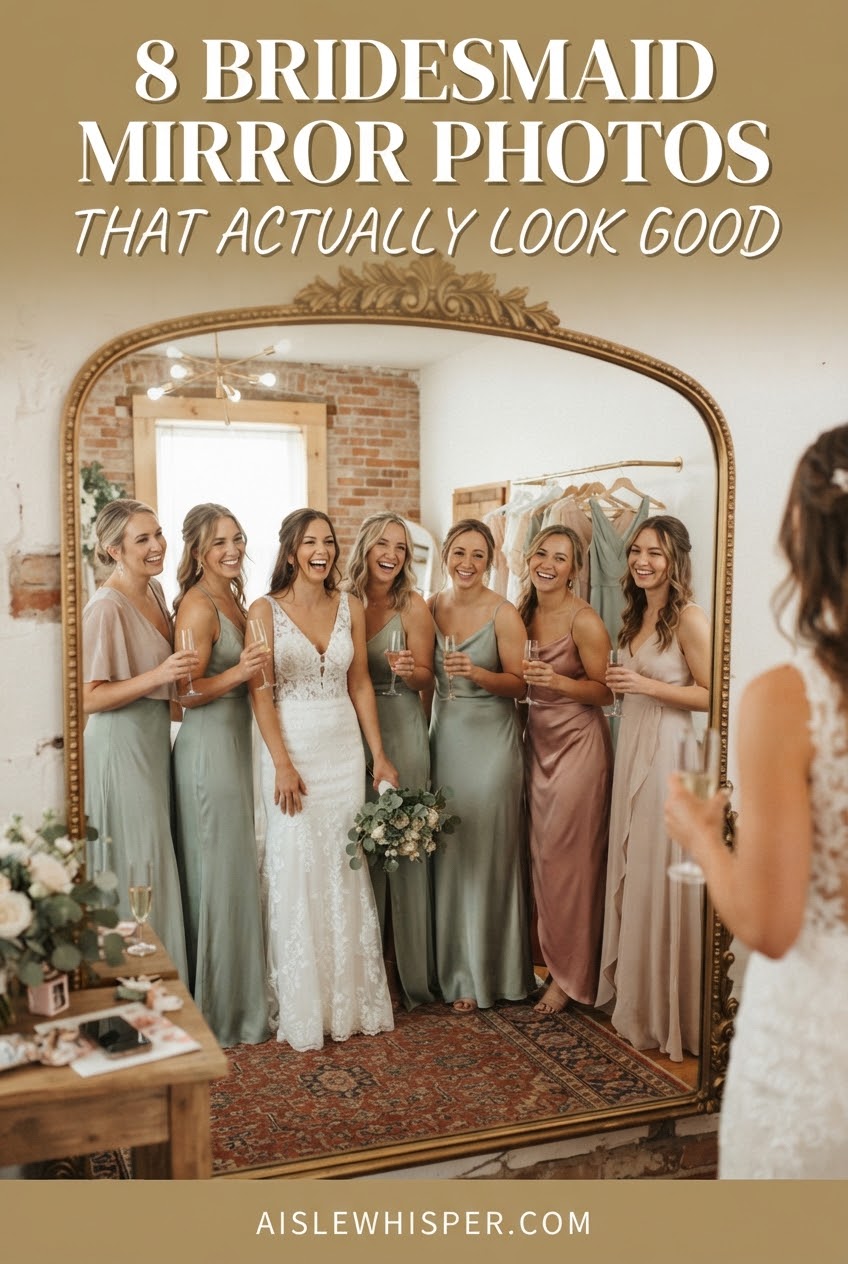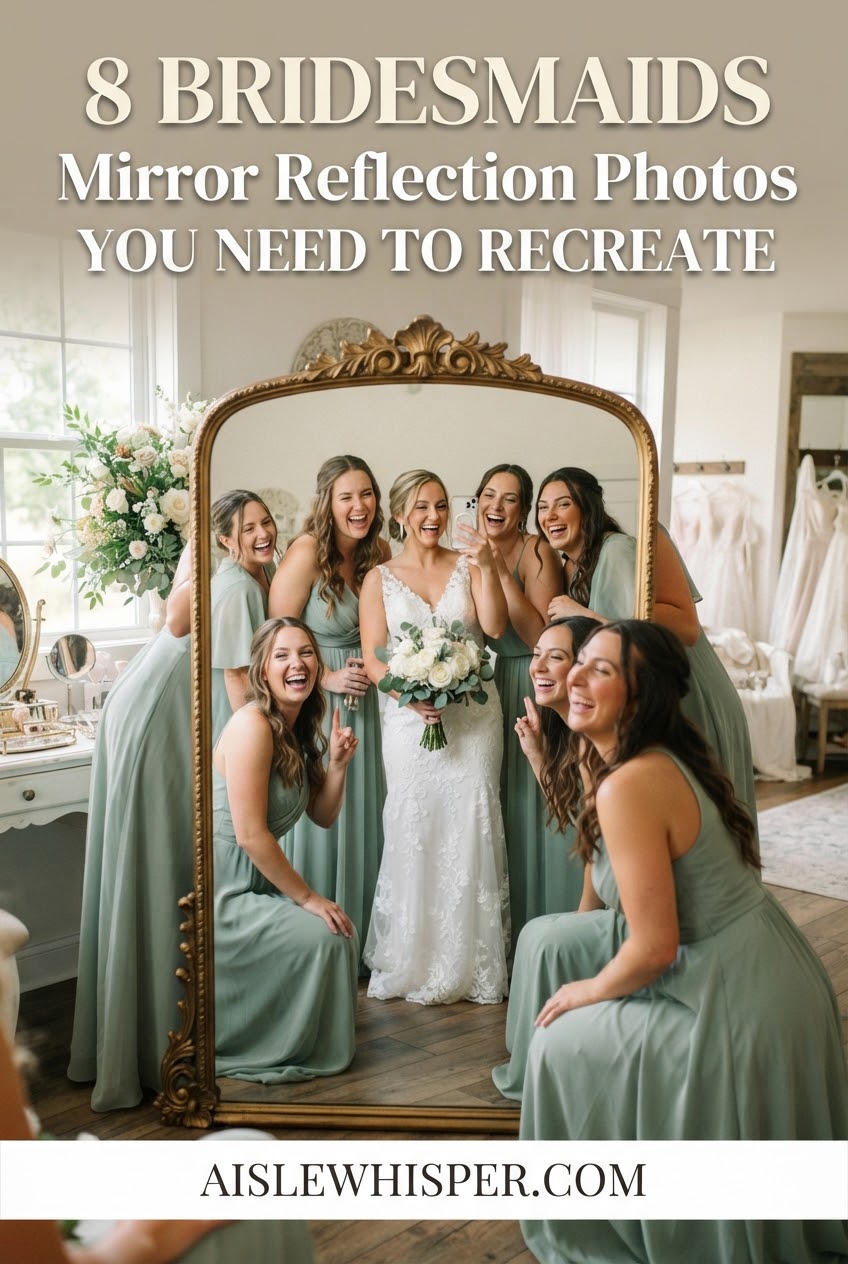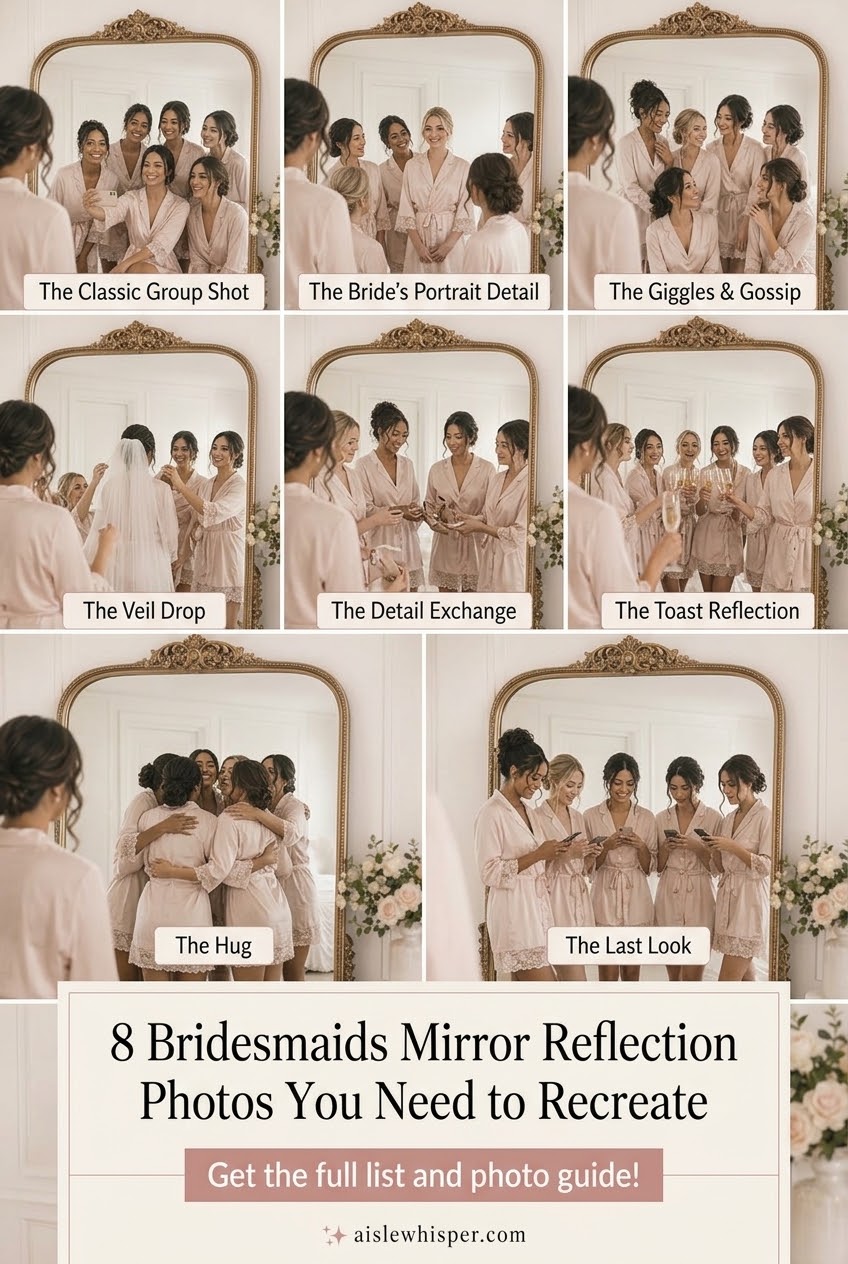
I usually arrive at a wedding with about forty minutes to spare, which is exactly enough time to catch the tail end of the getting-ready chaos: seven women crowded around one enormous mirror, somebody's elbow in somebody else's ribs, all of them laughing at nothing in particular. I'm not the one taking that photo — I'm the officiant, not the photographer — but between eleven years of watching it happen and a decade of advising a high school yearbook staff before that, I've got opinions on what separates the framed version from the one that never leaves someone's camera roll. Here are the eight elements that actually make it work.
Pick a Mirror With Presence
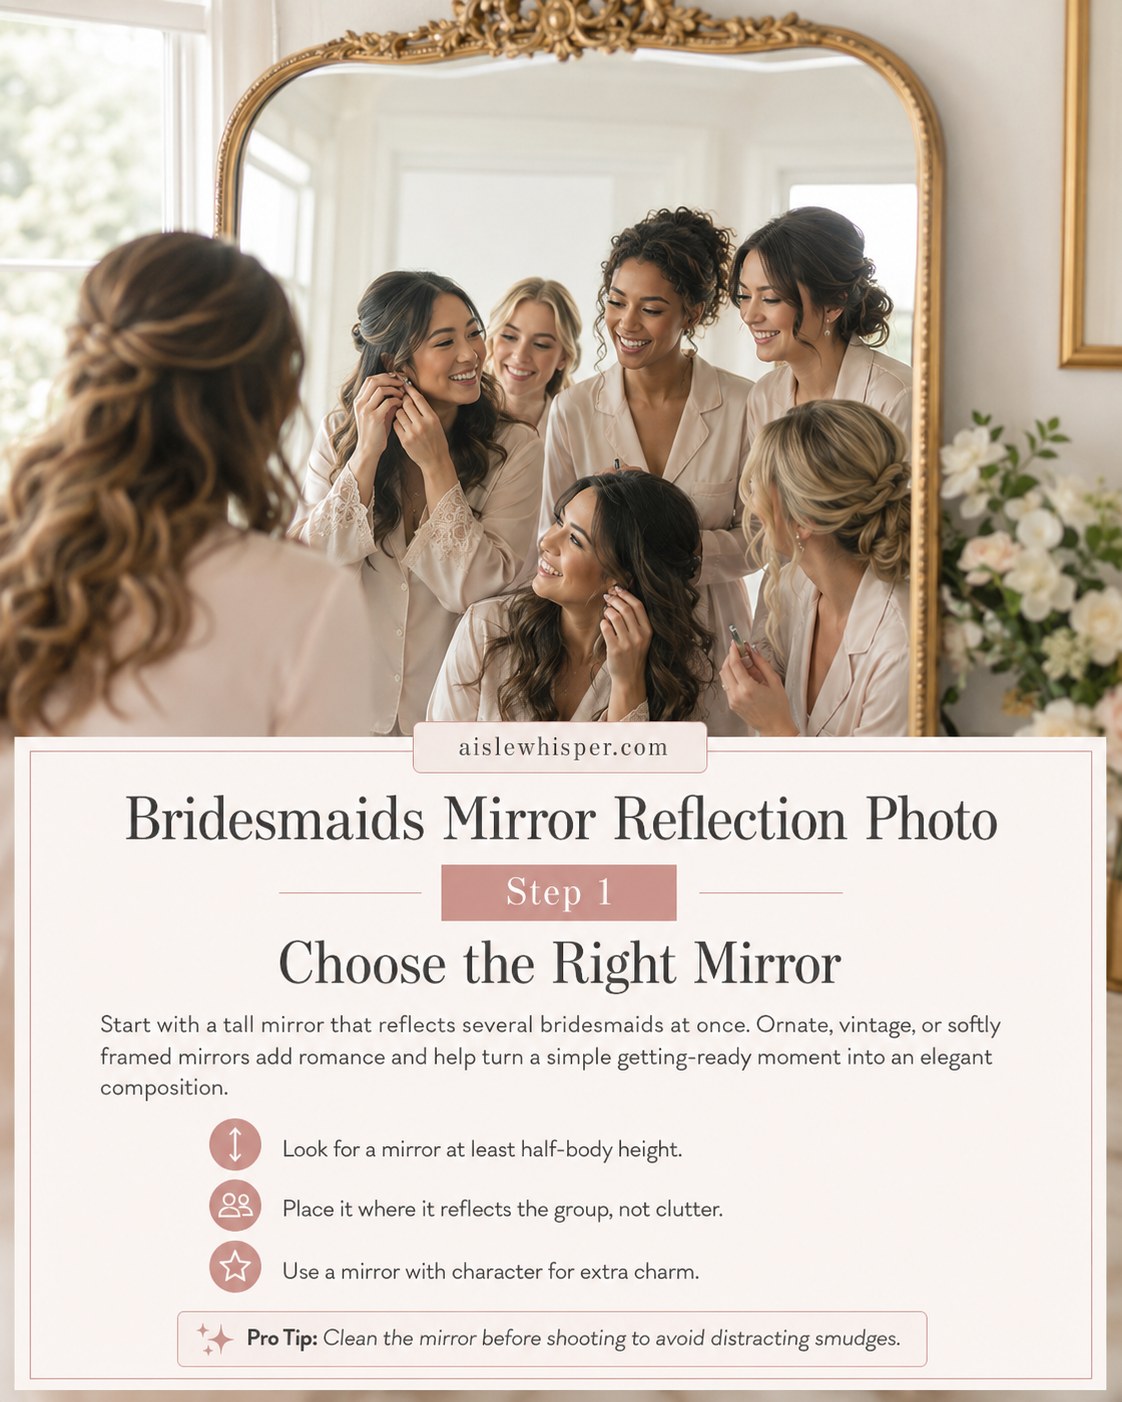
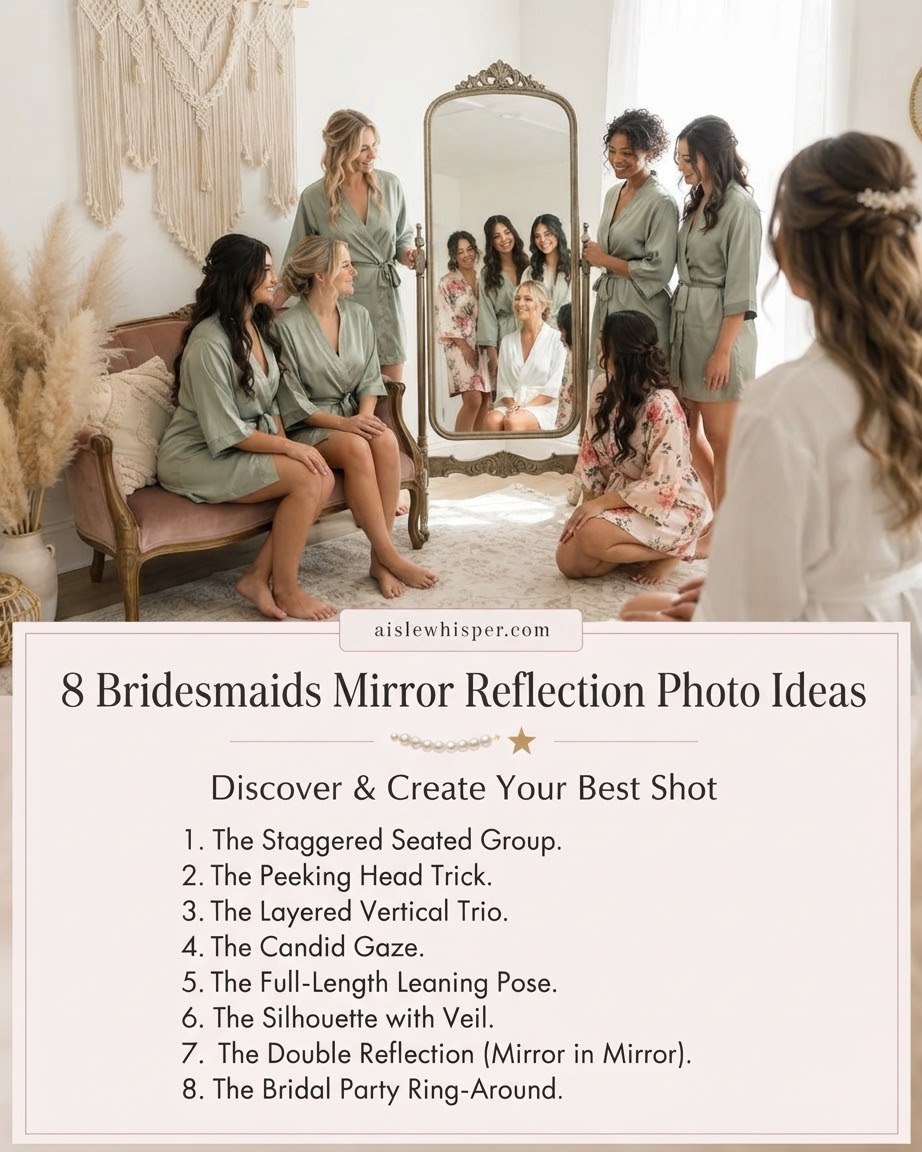
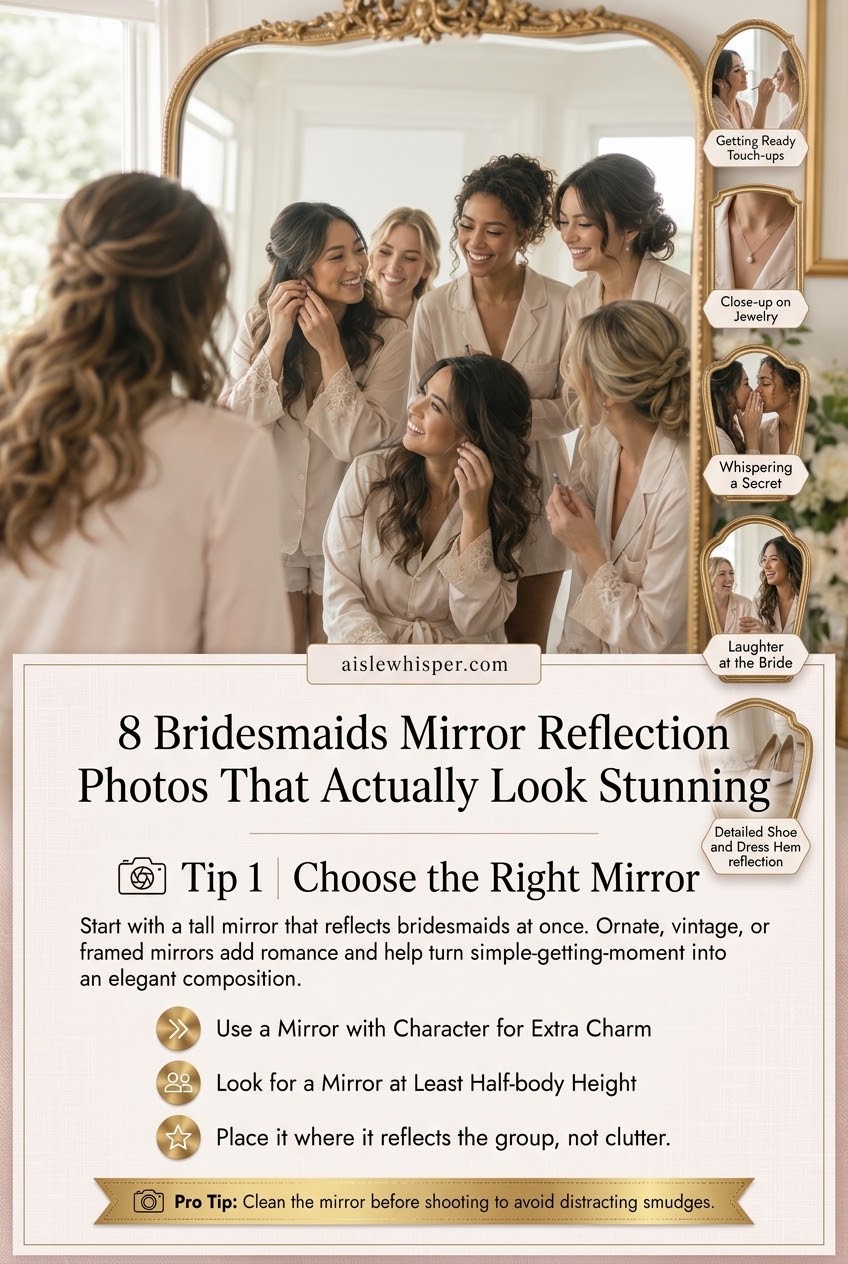
The mirror is doing half the work in this photograph, so it earns real thought before anyone touches a lip gloss. A tall mirror with a softly ornate or vintage frame reads as intentional in a way a plain bathroom mirror never will, and it needs enough height to catch several people from roughly waist-up, not just a row of stacked faces.
- Height beats width — a mirror at least half-body tall reflects the whole group, not just heads.
- Placement beats decoration — position it so it reflects the group, not the open closet door.
- Character adds a border for free — a gilded or antique frame gives the shot structure a flat mirror can't.
I've stood in enough rented bridal suites to notice everyone gravitates toward the biggest, oldest-looking mirror in the room without being told. If your space doesn't have one, ask your venue coordinator or photographer ahead of time about bringing a freestanding one in — a small fix, a very different photo.
Clear the Background First
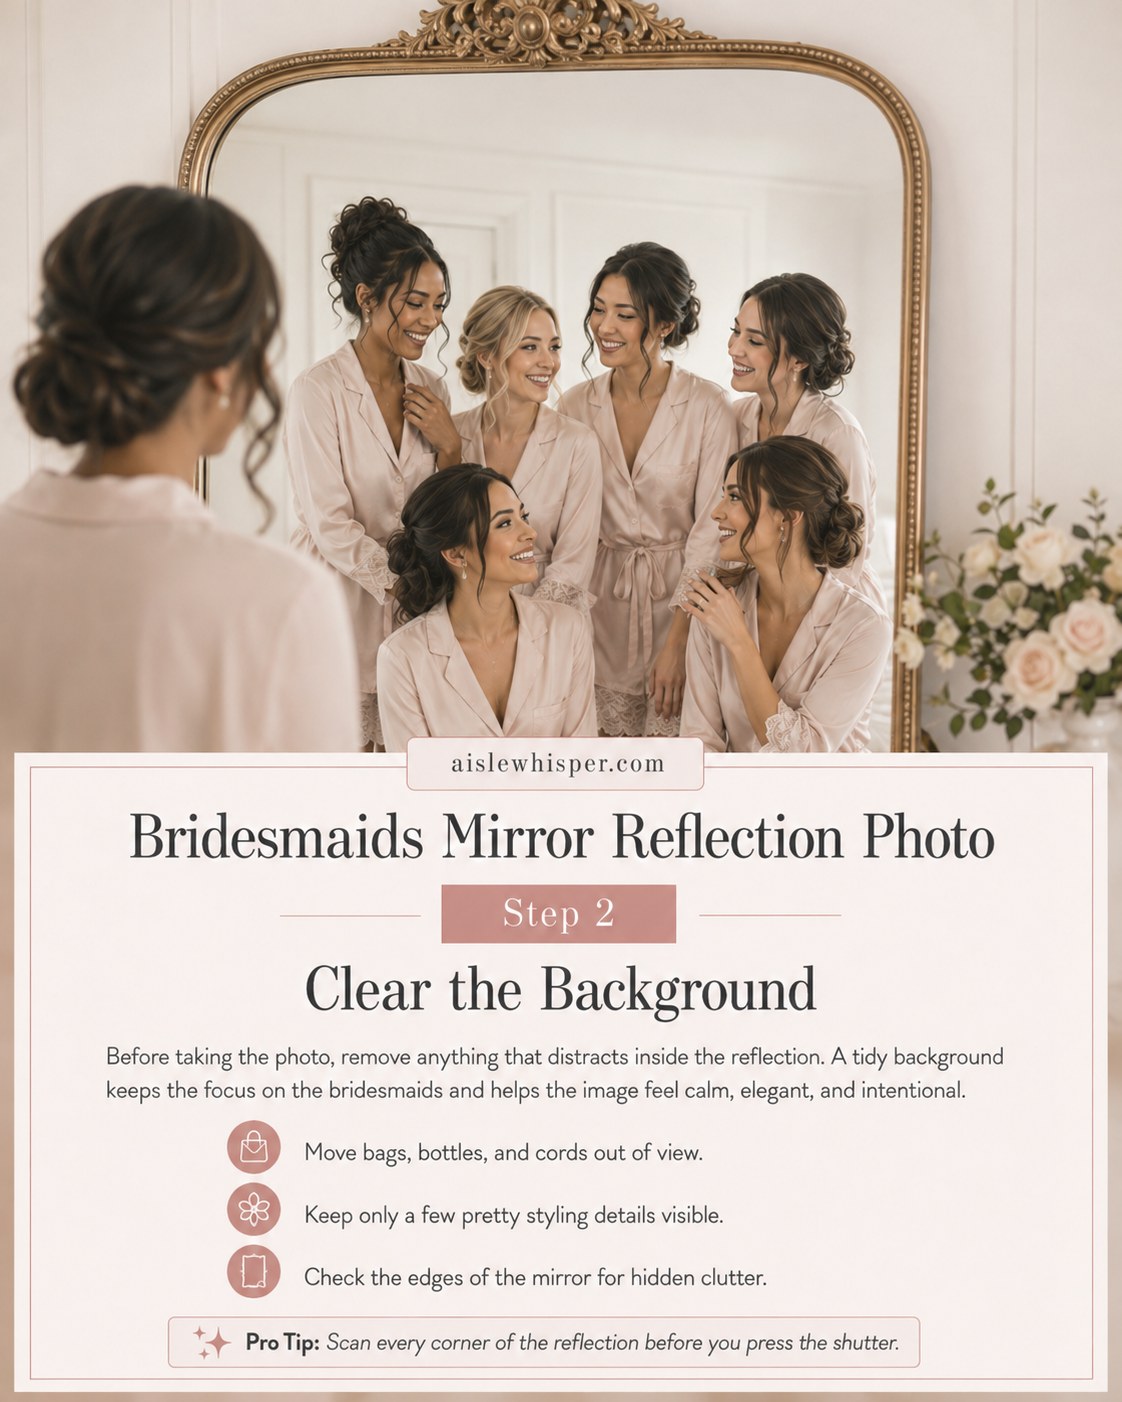
Before anyone reaches for a phone, somebody should do a slow lap of the room. A gorgeous mirror photographs like a cluttered mess if there's a robe bag hanging off the frame or a phone charger snaking across the reflection, and once it's printed, that clutter is permanent.
What to move before you shoot
- Bags, cords, and shoe boxes — anything that reads as errand-running rather than getting ready.
- Half-empty coffee cups and styling tools — leave only what's pretty on purpose.
- The corners of the mirror — clutter loves to hide at the edges of a reflection where nobody's looking.
This is a two-minute task and it's the single most skipped step I've heard photographers complain about after the fact. A calm background is what makes the whole image feel elegant instead of hurried — and hurried is not a feeling anyone wants preserved in an album for the next forty years.
Arrange the Group With Intention
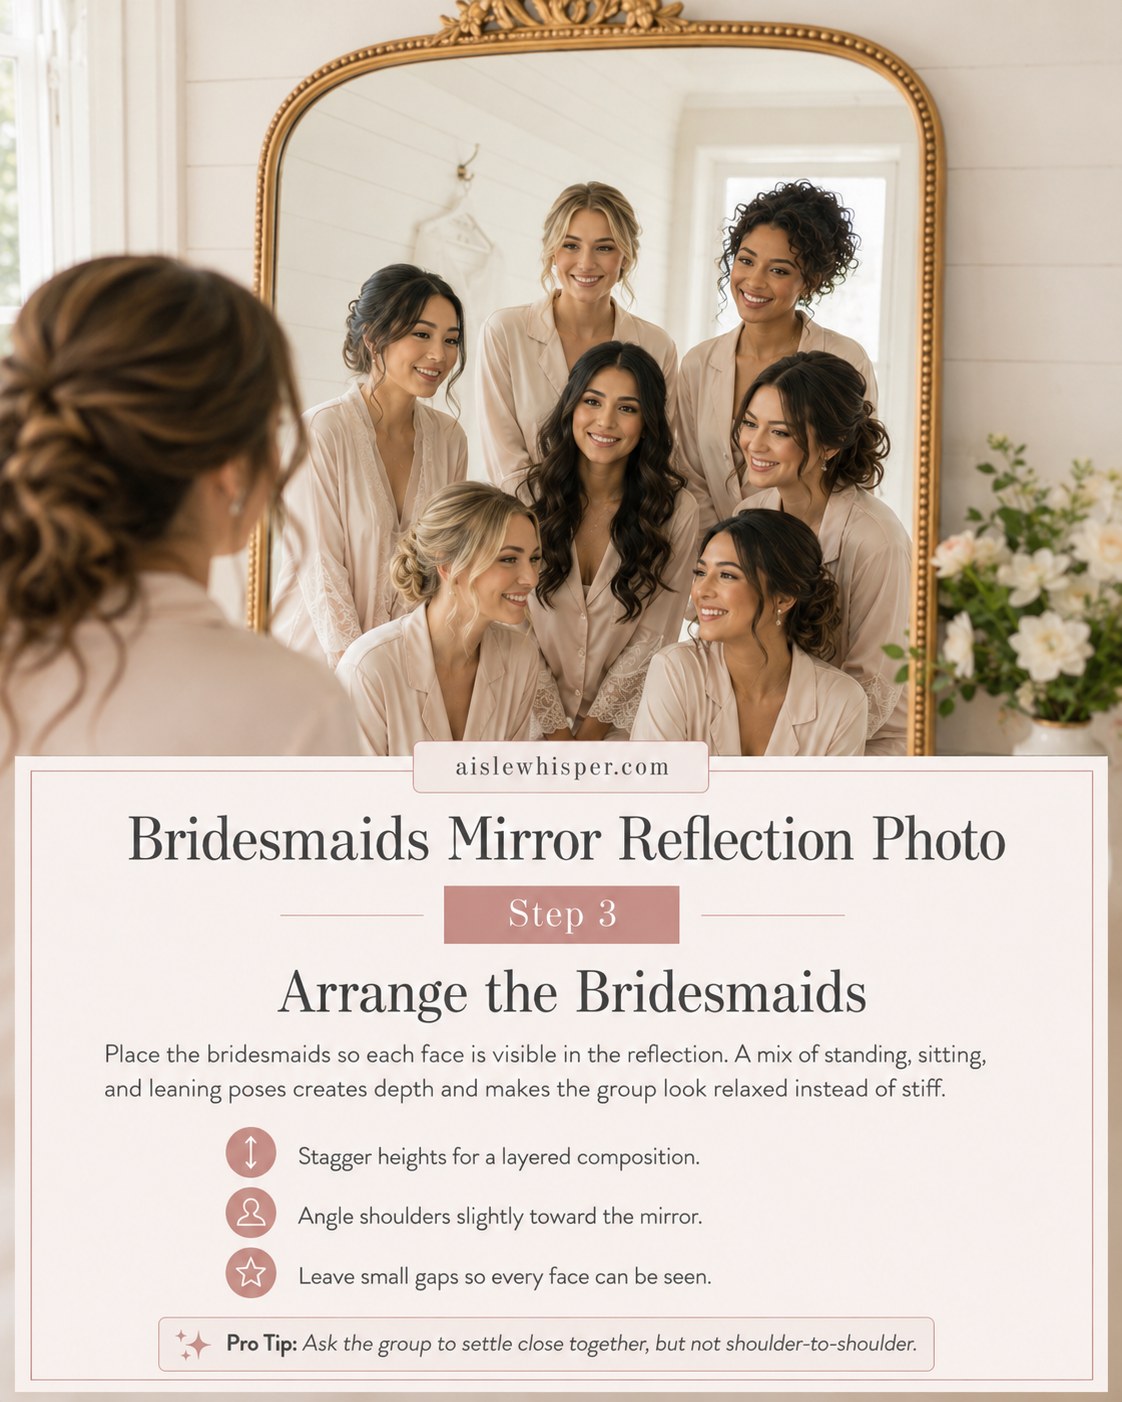
A straight line of bridesmaids shoulder to shoulder looks like a school photo, not a wedding memory. The fix is staggering — some standing, some seated, some leaning in — so every face is visible and the composition has actual depth instead of a flat wall of matching robes.
- Vary the heights. Mix standing, sitting, and leaning to build layers in the frame.
- Angle the shoulders slightly toward the mirror rather than square to the camera.
- Leave small gaps between people so nobody's face is hidden behind a shoulder.
The instruction I've seen work best isn't posed at all — it's simply asking everyone to settle in close but not touching. That small bit of natural space is what keeps the group looking relaxed instead of arranged, and it's the difference between a photo that looks staged and one that looks like a moment someone happened to catch.
Give Everyone Something to Do
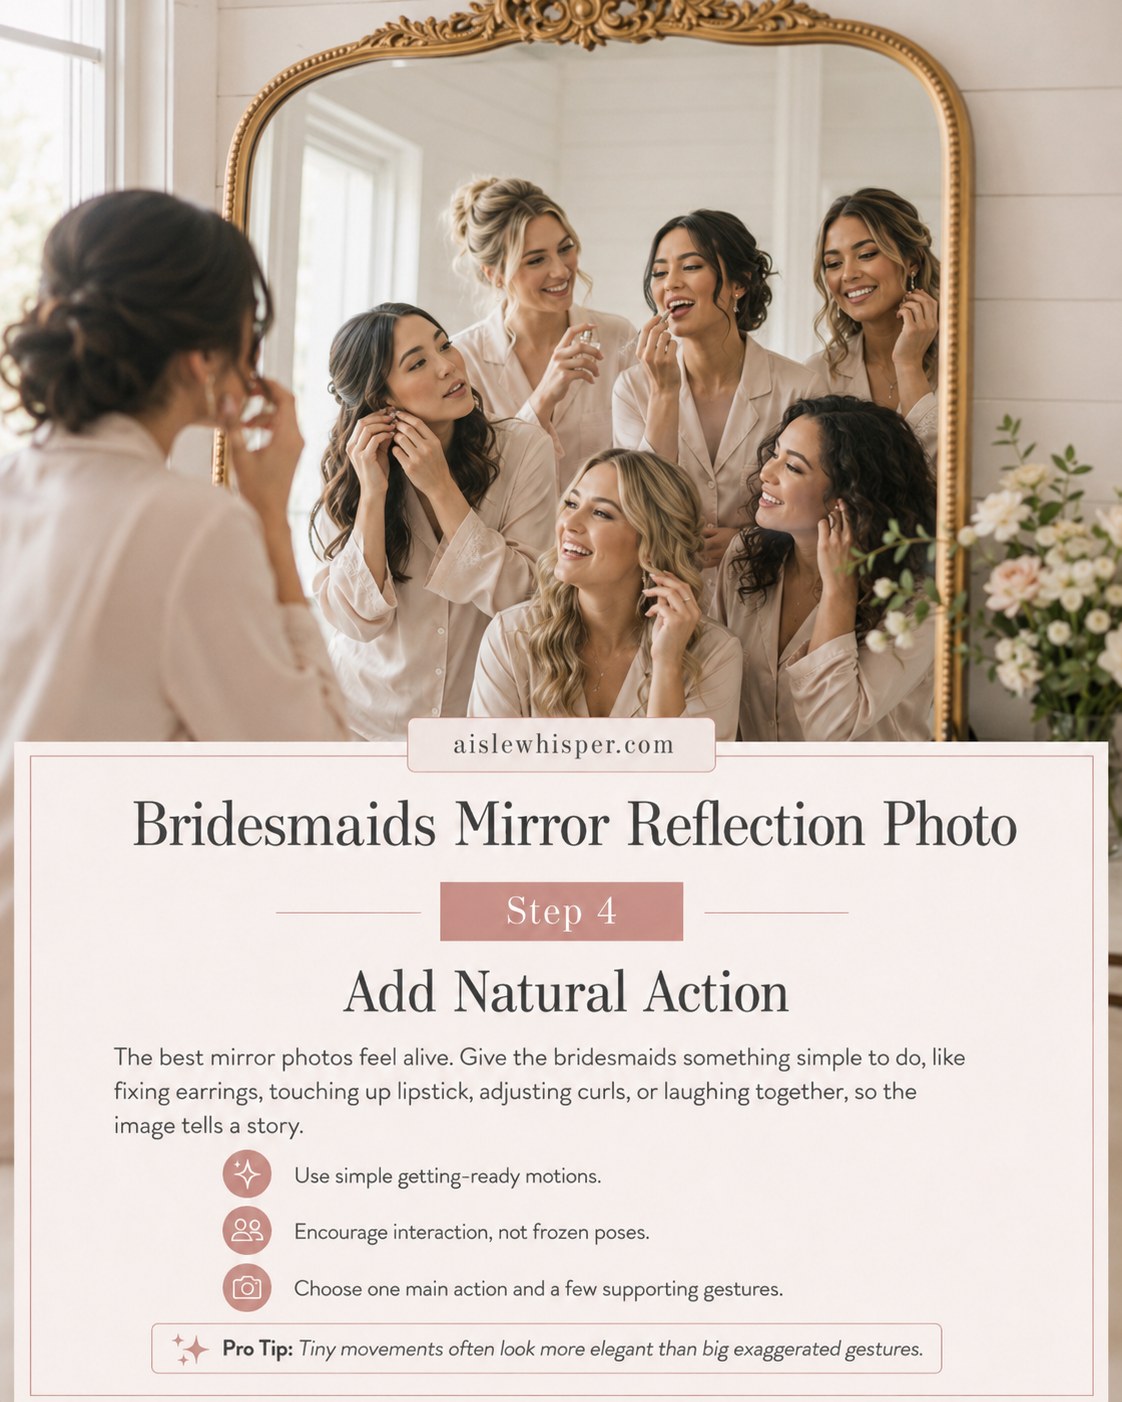
A mirror photo with everyone standing still and smiling at the lens goes flat fast. The ones that get printed and framed almost always have someone mid-motion — fixing an earring, touching up lipstick, laughing at a curl that won't cooperate.
- Pick one main action — a bridesmaid adjusting her hair or jewelry — and let a few others do quieter supporting things around her.
- Encourage interaction instead of forced stillness; talking to each other beats staring at a camera.
- Small gestures read as elegant; big exaggerated ones read as performed.
This is the one place I'll gently push back on perfectionism. Nobody remembers whether a hand was perfectly placed — they remember whether the room felt like itself that morning. Give people a real, small task and step back; the story tells itself.
Let the Window Do the Lighting
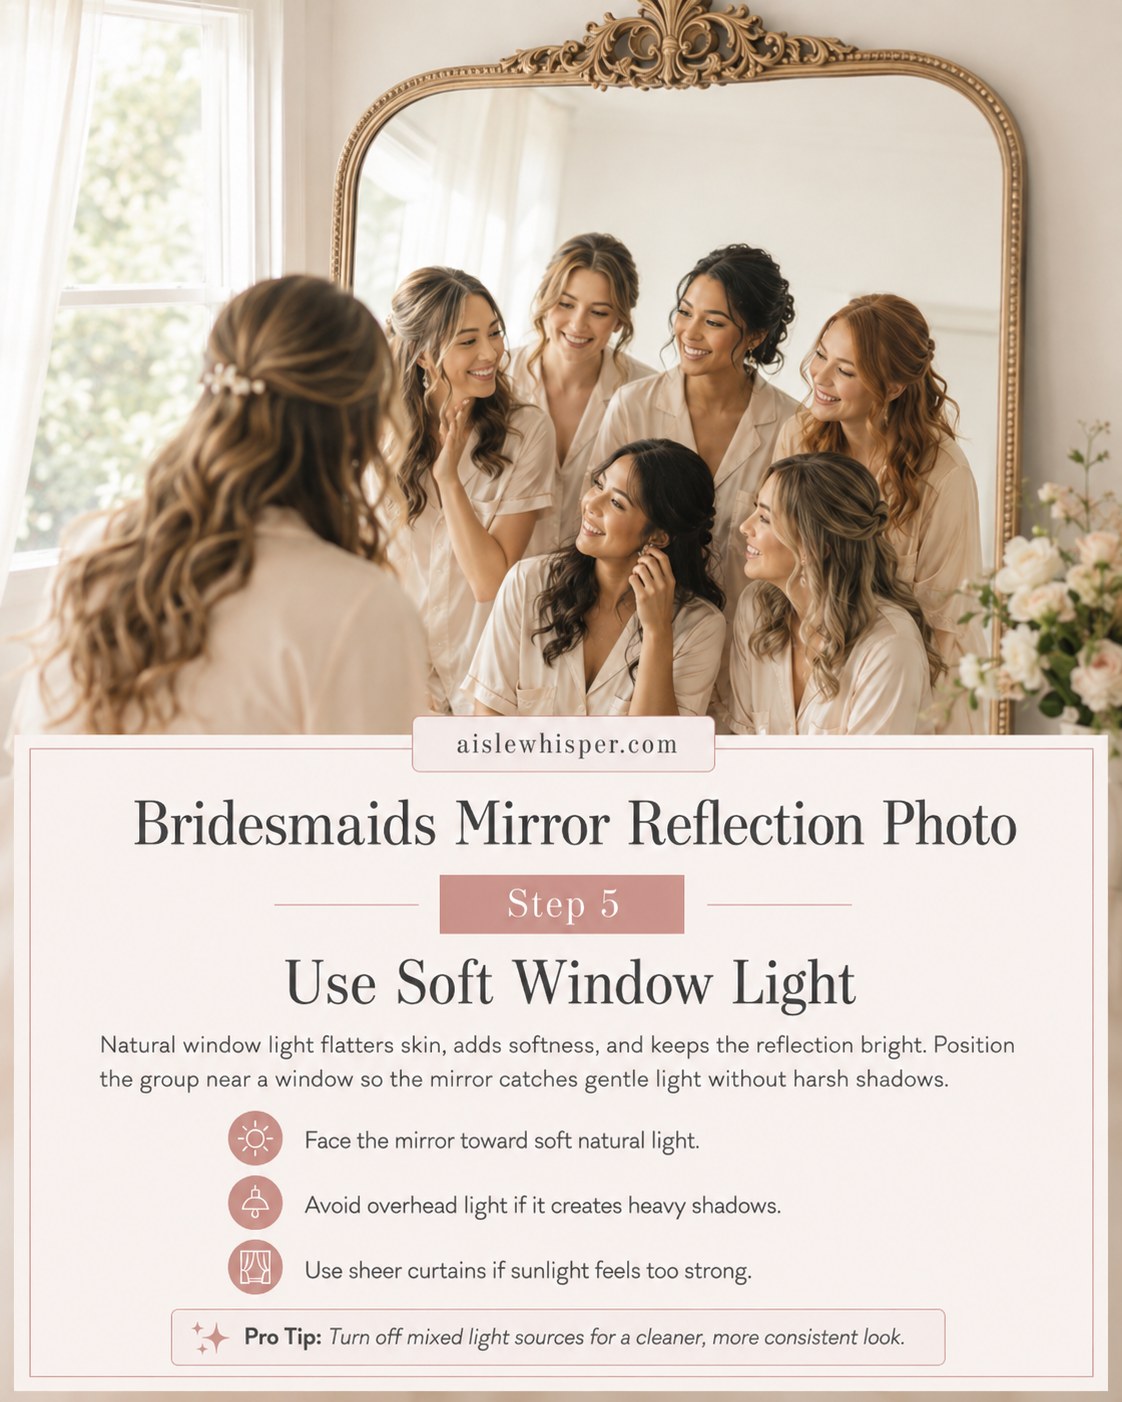
Soft, natural window light is flattering in a way no ring light or overhead fixture manages, and in a mirror shot it does double duty — brightening skin and bouncing gently back through the reflection. Position the group so the mirror faces toward the window rather than away from it.
I've timed enough outdoor ceremonies around Arizona light to know that harsh, direct sun is never the friend you think it is — indoors or out, soft and indirect beats bright and flat every time.
A few practical notes: overhead lighting tends to carve heavy shadows under eyes and chins, so switch it off if the window alone is bright enough. If the sun is too strong and washing everyone out, sheer curtains diffuse it without dimming the room. And turn off any competing lamps — mixed light sources are what give photos that slightly off, greenish-yellow cast that's hard to fix later.
Focus on the Reflection, Not the Foreground
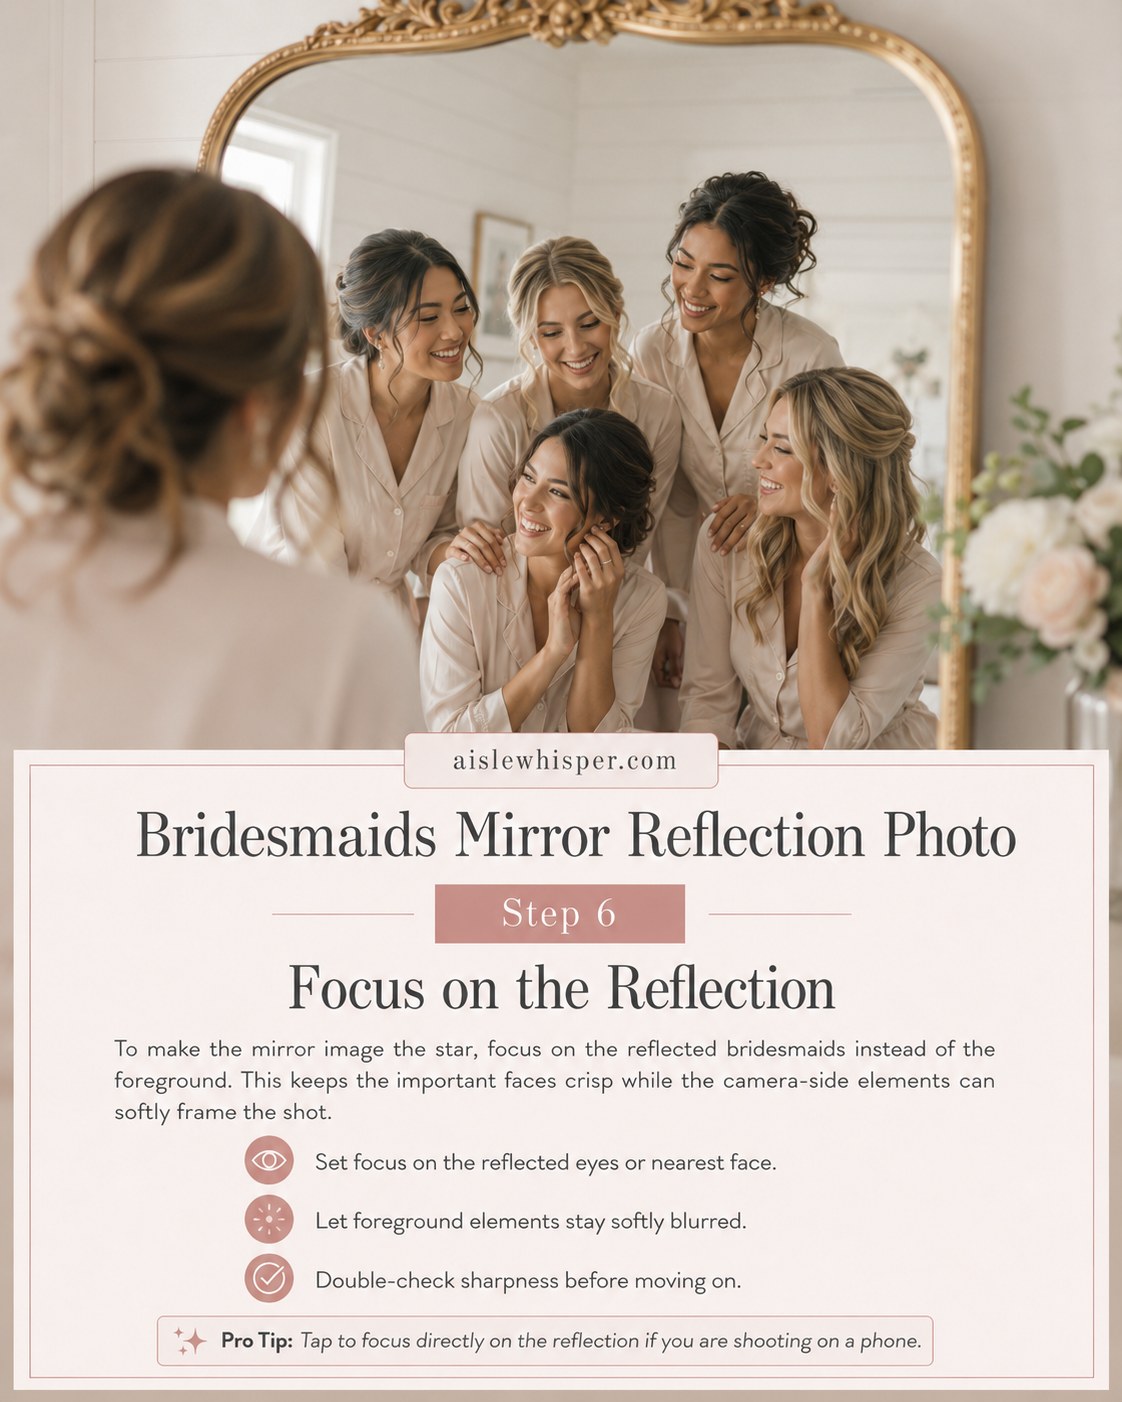
This is a technical note, and I'll say plainly that I'm an officiant, not a photographer — for anything beyond basics, trust whoever's actually holding the camera. But it's worth knowing the principle: the reflected group should be the sharp part of the image, while the person or elements in front of the mirror can stay softly blurred.
- Focus on the nearest reflected eyes, not the foreground shoulder or hair.
- Let the foreground soften — it frames the shot without competing with it.
- Check sharpness before moving on to the next pose; it's much harder to fix afterward than to catch in the moment.
If you're shooting on a phone rather than hiring it out, tapping directly on the reflected faces to set focus does most of this work for you. It's a small habit that makes an enormous difference in whether the final image looks intentional or accidental.
Build the Shot in Layers
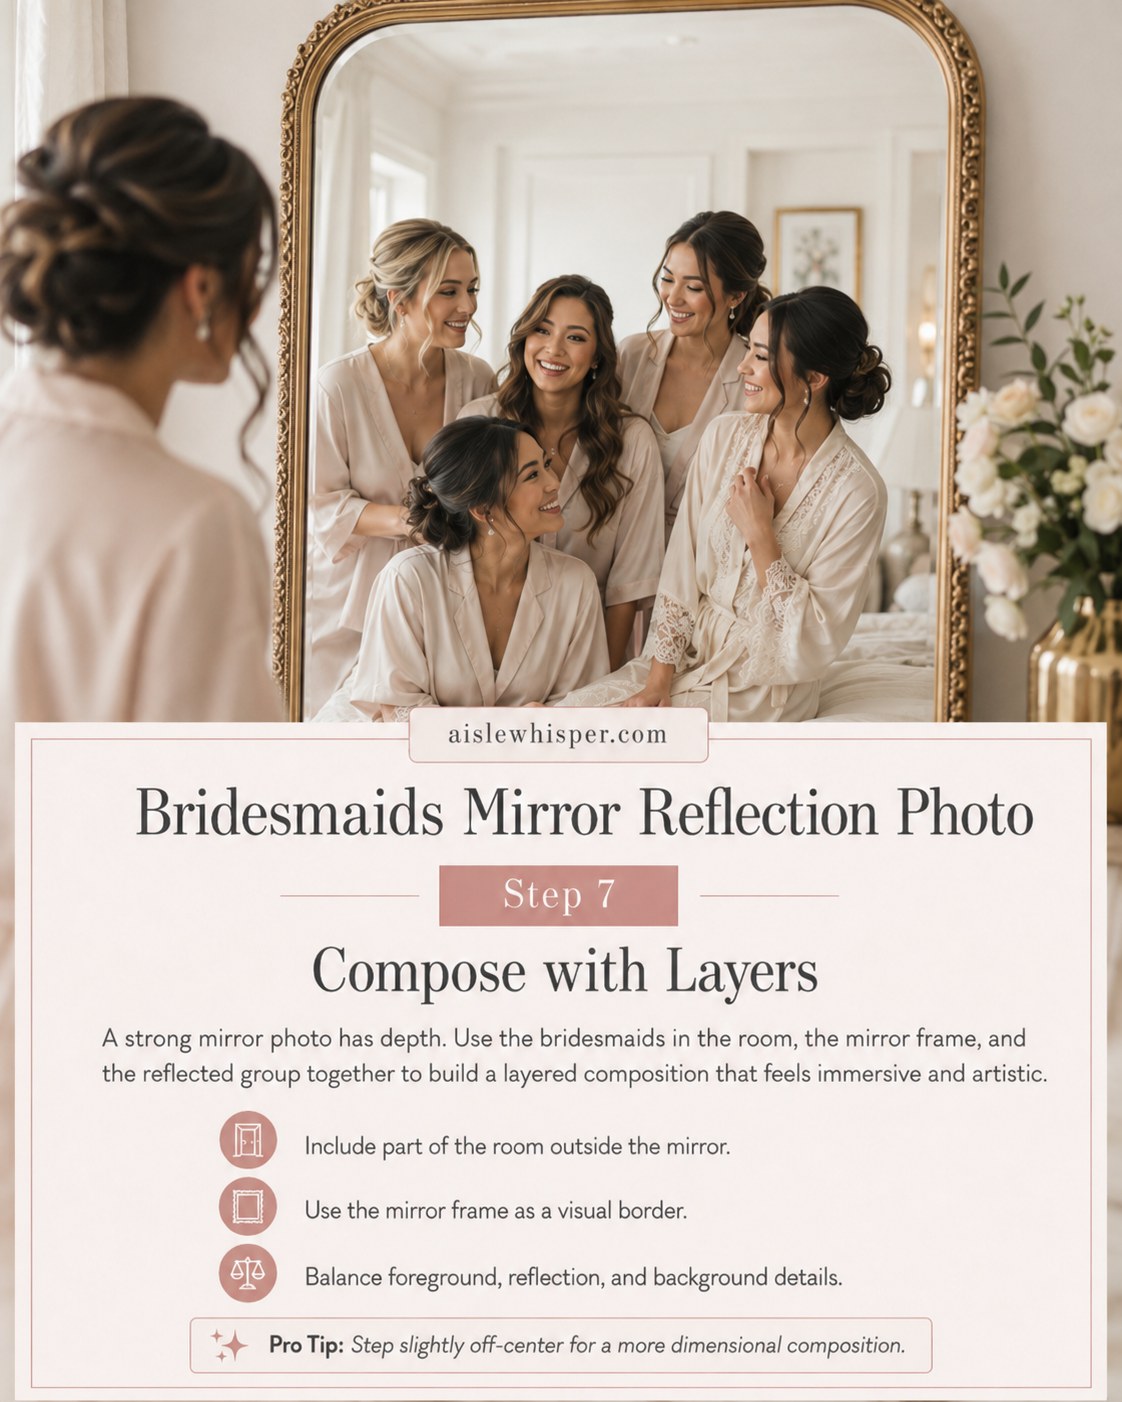
The most memorable version of this photo isn't just a mirror with people in it — it's a composition with actual depth: the room in front, the ornate frame as a visual border, and the reflected group behind it, all working together instead of competing.
Three layers to balance
- Foreground — a sliver of the real room, flowers, or a partial figure.
- The frame itself — used deliberately as a border rather than cropped out.
- The reflection — the actual subject, kept as the visual anchor.
A small trick that changes more than it should: step slightly off-center rather than shooting dead-on. A perfectly symmetrical mirror shot can look flat and a little stiff, while a slight offset gives the whole image dimension and makes it feel less like a product photo and more like art someone would actually hang.
Capture the Connection, Not the Pose
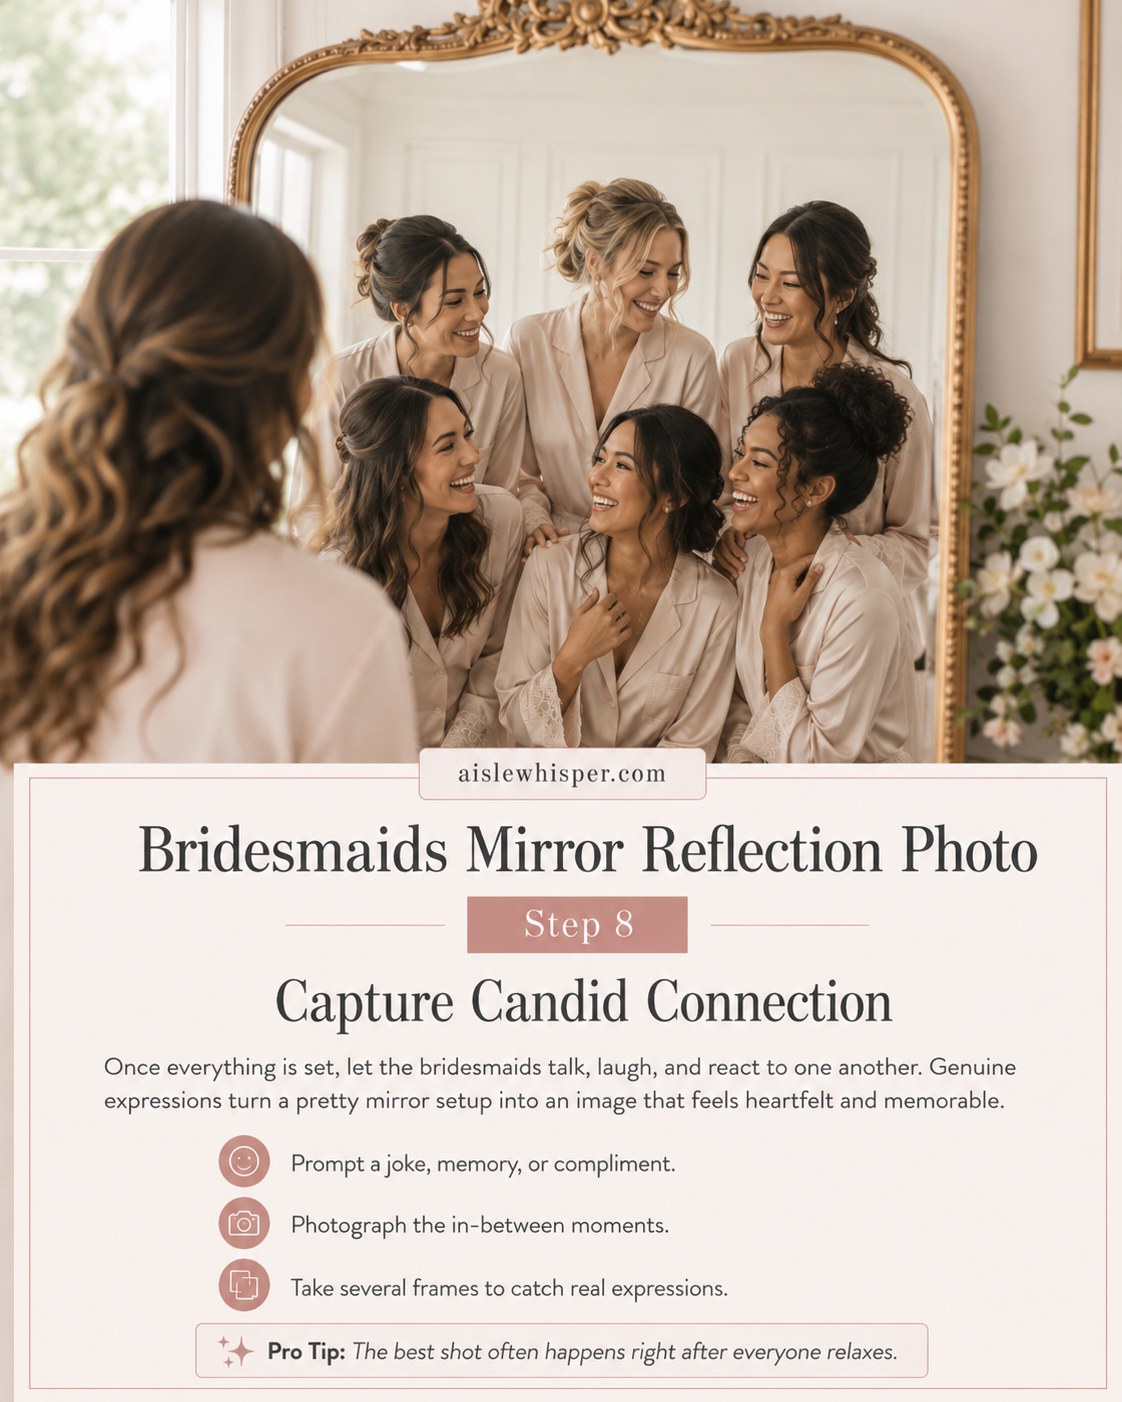
Once the mirror's chosen, the background's clear, and the light is right, the actual job is to get out of the way and let the room be itself. The best frame in almost every sequence I've seen come back from a wedding morning happens right after everyone stops performing — a real laugh, an in-joke, someone catching someone else's eye in the glass.
Ten years advising a yearbook staff taught me the exact same lesson this photo relies on: you can't pose genuine — you can only create the conditions for it and then wait.
- Prompt a real moment — ask for a memory, a compliment, an inside joke.
- Shoot several frames in a row rather than stopping after the first good one.
- Watch for the beat right after everyone thinks the photo's already been taken — that's usually the keeper.
None of this requires a big budget or a second photographer — it requires a decent mirror, a tidy corner of the room, and a few minutes of letting people actually talk to each other instead of holding a smile. Those are usually the photos that end up on the wall years later, long after nobody remembers what the centerpieces looked like.

Frequently Asked Questions
Do we need a professional photographer for this shot, or can we use a phone?
A phone can absolutely produce a beautiful version of this photo — the mirror, the light, and the arrangement matter far more than the equipment. If you're shooting it yourself, tap to focus directly on the reflected faces and take several frames in a row rather than stopping at the first one.
What if our getting-ready room doesn't have a big enough mirror?
Ask your venue coordinator or photographer ahead of time whether a freestanding, full-length mirror can be brought in for the morning. It's a small logistical ask that makes a real difference, and most getting-ready venues I've seen are used to the request.
Should the bride be visible in the mirror or shown from behind, looking in?
Both work, and it really comes down to preference — a lot of the versions I've seen keep the bride in the foreground, slightly out of focus, with the bridesmaids sharp in the reflection, which puts the emotional focus on the group's reaction rather than another shot of the bride herself.
How many bridesmaids can realistically fit in one mirror reflection photo?
It depends on the mirror's size, but somewhere between four and eight tends to work well with a bit of staggered arrangement. Beyond that, faces start getting lost behind shoulders no matter how carefully everyone's positioned, so it's worth splitting into two smaller groupings instead.